If you knit something set it free

For todays #Blogtober post I am re-sharing an older post from the archives, prompted by a discussion that has been circulating on Twitter. A lady in her late 60s crocheted a blanket for a young man, only to be hurt when the gift was rejected.

There are many ‘hot takes’ on this and undoubtedly there are more gracious ways to deal with an unwanted gift but at the heart of this lies the central tenet that handcrafters tend to overemphasise the significance of handmade items, whereas for non crafters it tends to be the opposite and they underestimate their significance.

Anything handmade involves a significant investment of time and energy and it makes sense, upfront to determine what you are hoping to achieve with a handmade gift and to take the time to ensure that it is something the recipient will actually want and use.

The original post on this subject: If You Knit Something Set It Free was written in 2017 and apart from an outdated Ravelry reference it’s still just as relevant today as it was then.

read post


Why am I a knitter?

As today is #WorldMental HealthDay it seems a good time to ask the question why do I knit, or more specifically I guess “Why am I a knitter”.

Anyone can knit of course, it’s a learned skill using needles and yarn. But of those who are able to physically knit, a smaller subsection would define themselves as a knitter - a Knitter with a capital K, if you like. My husband can knit, and produce a passable garter stitch square but he would never say that he is a knitter.

Really, all you need to become a good knitter are wool, needles, hands, and slightly below-average intelligence. Of course superior intelligence, such as yours and mine, is an advantage.
— Elizabeth Zimmerman

I learned to knit as a child and dabbled with it off and on through my teenage years. I picked it up again in my 30s when I had young children and was in need of something to do, something for myself in odd moments of free time.

Knitting fulfilled the requirements of being something I could easily pick up and put down, and something that was portable and easily tidied away out of reach - something of a necessity when you have two active boys with only 11 months between them.

Knitting gave me something to do with my hands and my brain, and was also very clearly something for me. It demarcated my time and was a very clear signal to my boys that mummy was taking a break for a few minutes. Knitting would also sit and wait for me if I was interrupted by a toddler emergency - unlike that precious and elusive hot cup of coffee that I somehow managed to go all day without drinking.

In time I found the online knitting community (this was back when Ravelry was available by invitation only) and that was when I really became a Knitter. Finding a whole host of people online who thought and felt as I did about knitting was a revelation. Coming from a background where knitting patterns were found in Women’s Realm and the ‘wool stall’ on the market - paper booklets corralled in plastic wallets - only to be sold with the designated ‘wool’ from the shelves, finding Knitty online was a total joy and gave me a whole new way of thinking about my chosen hobby.

Community is why knitting really stuck with me. Over the years I’ve also done tapestry, embroidery and dabbled in sewing. But knitting has my heart and it’s because of the friends I’ve made online and in person over the years. I can’t imagine not being a knitter now.

There are always times when I don’t feel like picking up the needles, and I’d rather read or journal or bake something but I’ve come to see that these are all still acts of creativity and they all feed back to my central core of knitting by inspiring me or getting my brain into the kind of relaxed ‘flow state’ where new design ideas or new projects to try come flooding in.

My summer reading challenge, for example came about as a way to boost my own reading goal for the year and also as a way of encouraging those in my Everyday Knitter Facebook Group to join in with me and share their chosen reads - and it was a handy way to get new titles for my ‘to read’ list. On the surface it was nothing at all to do with knitting, but as a way of boosting connections and conversation between fellow knitters it was invaluable - and very enjoyable. So much so that I am planning a winter version to start soon.

What about you? What keeps you coming back to the needles? Is it the yarn, the people or the mental health benefits - or all 3 maybe?

And if you are looking for a drama-free Facebook Group full of knitters with a capital K, please do check out my Facebook Group at the link below. I’d love to see you there.

Join facebook Group

Have A Go Friday

It's OK, I just made that up but I thought it might be a nice change from FO Friday.

If there's one thing I could tell knitters (well, all crafter's really) it's just to have a go at something.

I often get comments from people saying they are fearful of trying a new technique or scared to experiment and that makes me so sad.

It's literally just sticks and string, if it doesn't work - and believe me this little square took a few goes - then just pull it out and you are back where you started.

For this square I tried out the tutorial by @germandercc for a solid (or semi solid) granny square and was pleasantly surprised at how quick and straightforward it was.

I'm planning to take part in her blanket CAL but I need to get a move on and make a decision about whether I'm going to do granny stripes or squares - and indeed whether I have enough DK yarn in my stash (I suspect I know the answer to this one).

What about you? Is there one thing that you are planning to have a go at this weekend? Is there one thing that you've always wanted to try and would like to? If so, why not take a step towards doing that one thing - even if it's just finding out more about it, or looking up a resource or two.

What's the worst that could happen?


What is magic loop knitting?

Hoar Frost socks

I used to teach a class on this, and the most common response after I had run through the basics and a short demo was “oh, is that all it is”.

It really is quite straightforward once you understand the principle, but like many things it sounds a lot more complicated than it actually is.

Essentially it is another way of knitting a tube in the round, along with DPNs and small circulars. It’s just another technique - with a slightly fancier name.

All you need is a circular needle with a long cable. For socks I like to use 2.5mm needles with an 80cm long cable.

It is important that the cable be long enough. 60cm is the bare minimum and personally I find the 100cm cables a bit too long - the extra loops always seem to get in my way.

The only other caveat I would add is that the cable itself needs to be reasonably flexible. Yes, you probably could use that grey plastic one that came free on the front of a magazine once but it is unlikely to be a pleasurable experience.

HOW TO MAGIC LOOP:

  1. Cast on the required number of stitches - for socks for example - 64..

  2. Work 2 rows of rib (not essential but it makes it easier to join.

  3. Identify the halfway point - 32 sts - and slide stitches onto the cable portion.

  4. Pull the cable through the halfway point to make a long loop. Stop when the two sets of stitches are resting on the needle tips.

  5. Align the stitches with the cast on edge facing inwards and the tips facing away from you.

  6. Hold working yarn in right hand and slide the stitches on the RH needle back down onto the cable.

  7. Insert the now free RH needle tip into the first stitch on the LH needle and work in rib for 32 stitches.

  8. Once you’ve worked these 32 stitches, you’ll have them on the RH needle, with the 2nd set of stitches still on the cable. Slide them back up to the LH needle.

  9. With your right hand, pull the RH needle tip away from you allowing the stitches on the RH needle to slide back onto the cable.

  10. This frees up with RH needle to work across the 2nd set of stitches.

Points to remember: Once you’ve worked across half the stitches always slide both sets of stitches back onto the needle tips. Then you can pull the RH needle out, sliding those stitches safely back onto the cable. This ensures that your stitches stay in two, neat manageable halves. All you are doing is working one half of the stitches, pulling the cable through and then working across the 2nd half.

You can use magic loop to knit anything that requires a tube to be knit in the round. It lends itself particularly well to socks especially if they have a pattern as one needle will hold the plain sole/back of leg stitches whilst all the pattern action happens on the other needle. Magic loop can also be used for mitts, hats - I often use it for baby hats when there aren’t enough stitches to stretch around my cable, or indeed sleeves.

The world is your (knitting) oyster.

view my patterns

A different way to knit socks

You’ve tried cuff down and toe-up socks, so what’s next.

How about knitting a sock snake?

A couple of years ago now I published a tutorial on how I knit a sock snake - a long tube with a toe at each end, that I snipped in half to add cuffs and afterthought heel and it generated a surprising amount of interest.

You can read the original post along with step by step instructions HERE

But why would you choose to do such a thing?

First of all it’s important to start by saying that necessity is the mother of invention. I was knitting a sock on a train journey. A pretty long journey. I had podcasts, I had coffee and snacks and I had a fun stripy sock to knit. It’s fair to say that I was in my happy place. Partway through my journey I realised that I had zipped way past the point at which I would normally start the heel and has essentially created a very long foot.

I was determined not to rip back all the pretty stripes I had had such fun knitting and so I spent the rest of the journey working out how I could create a pair of functional socks from a long tube - and this was the result.

Would I choose to do this as a default method? Probably not, but it was a cunning plan that served me well and I share it with you in the hope that one day, it might help you too.

Side note: if knitting socks where the stripes are in a particular sequence, the socks will not match but will instead be opposites with the stripes going in one direction on one sock and in the other direction on the other. I just mention it in case it’s the kind of thing that would bother you.

shop sock patterns

PIN FOR LATER


What is the best way to knit socks: Cuff down or toe-up

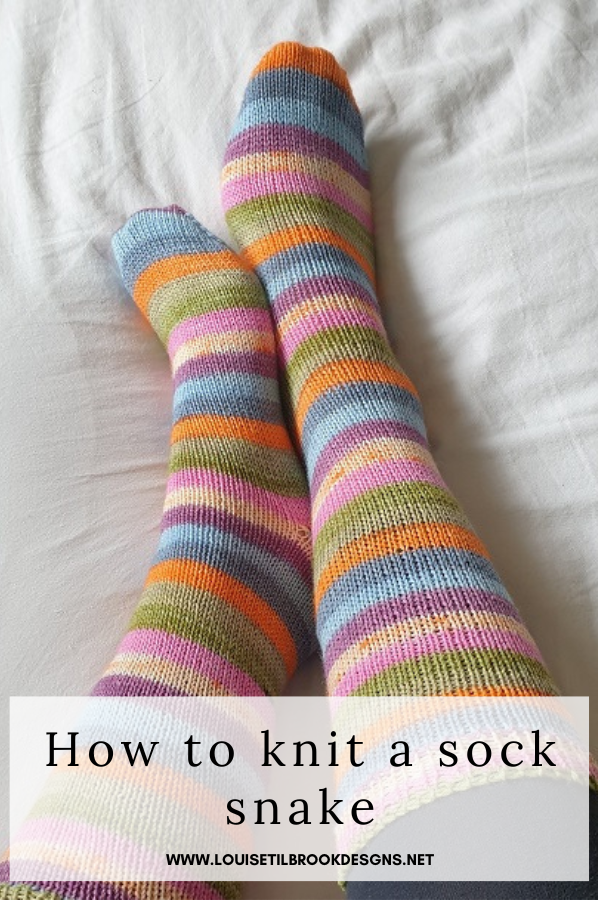
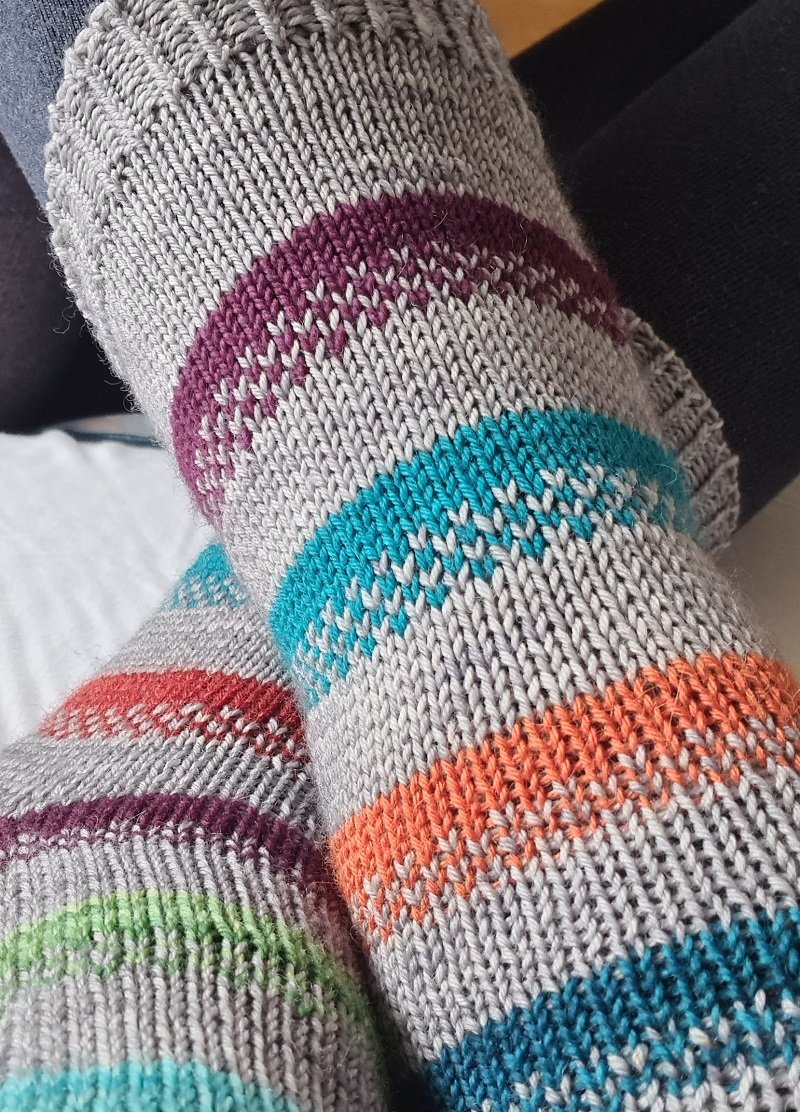
So which is the best way to knit socks - cuff down or toe-up. As with most things in life, as well as in knitting, the answer is: It depends.

It depends on what you want to achieve, who you are knitting for and the style of sock that you are knitting also comes into play. Both ways of knitting socks have their pros and cons.

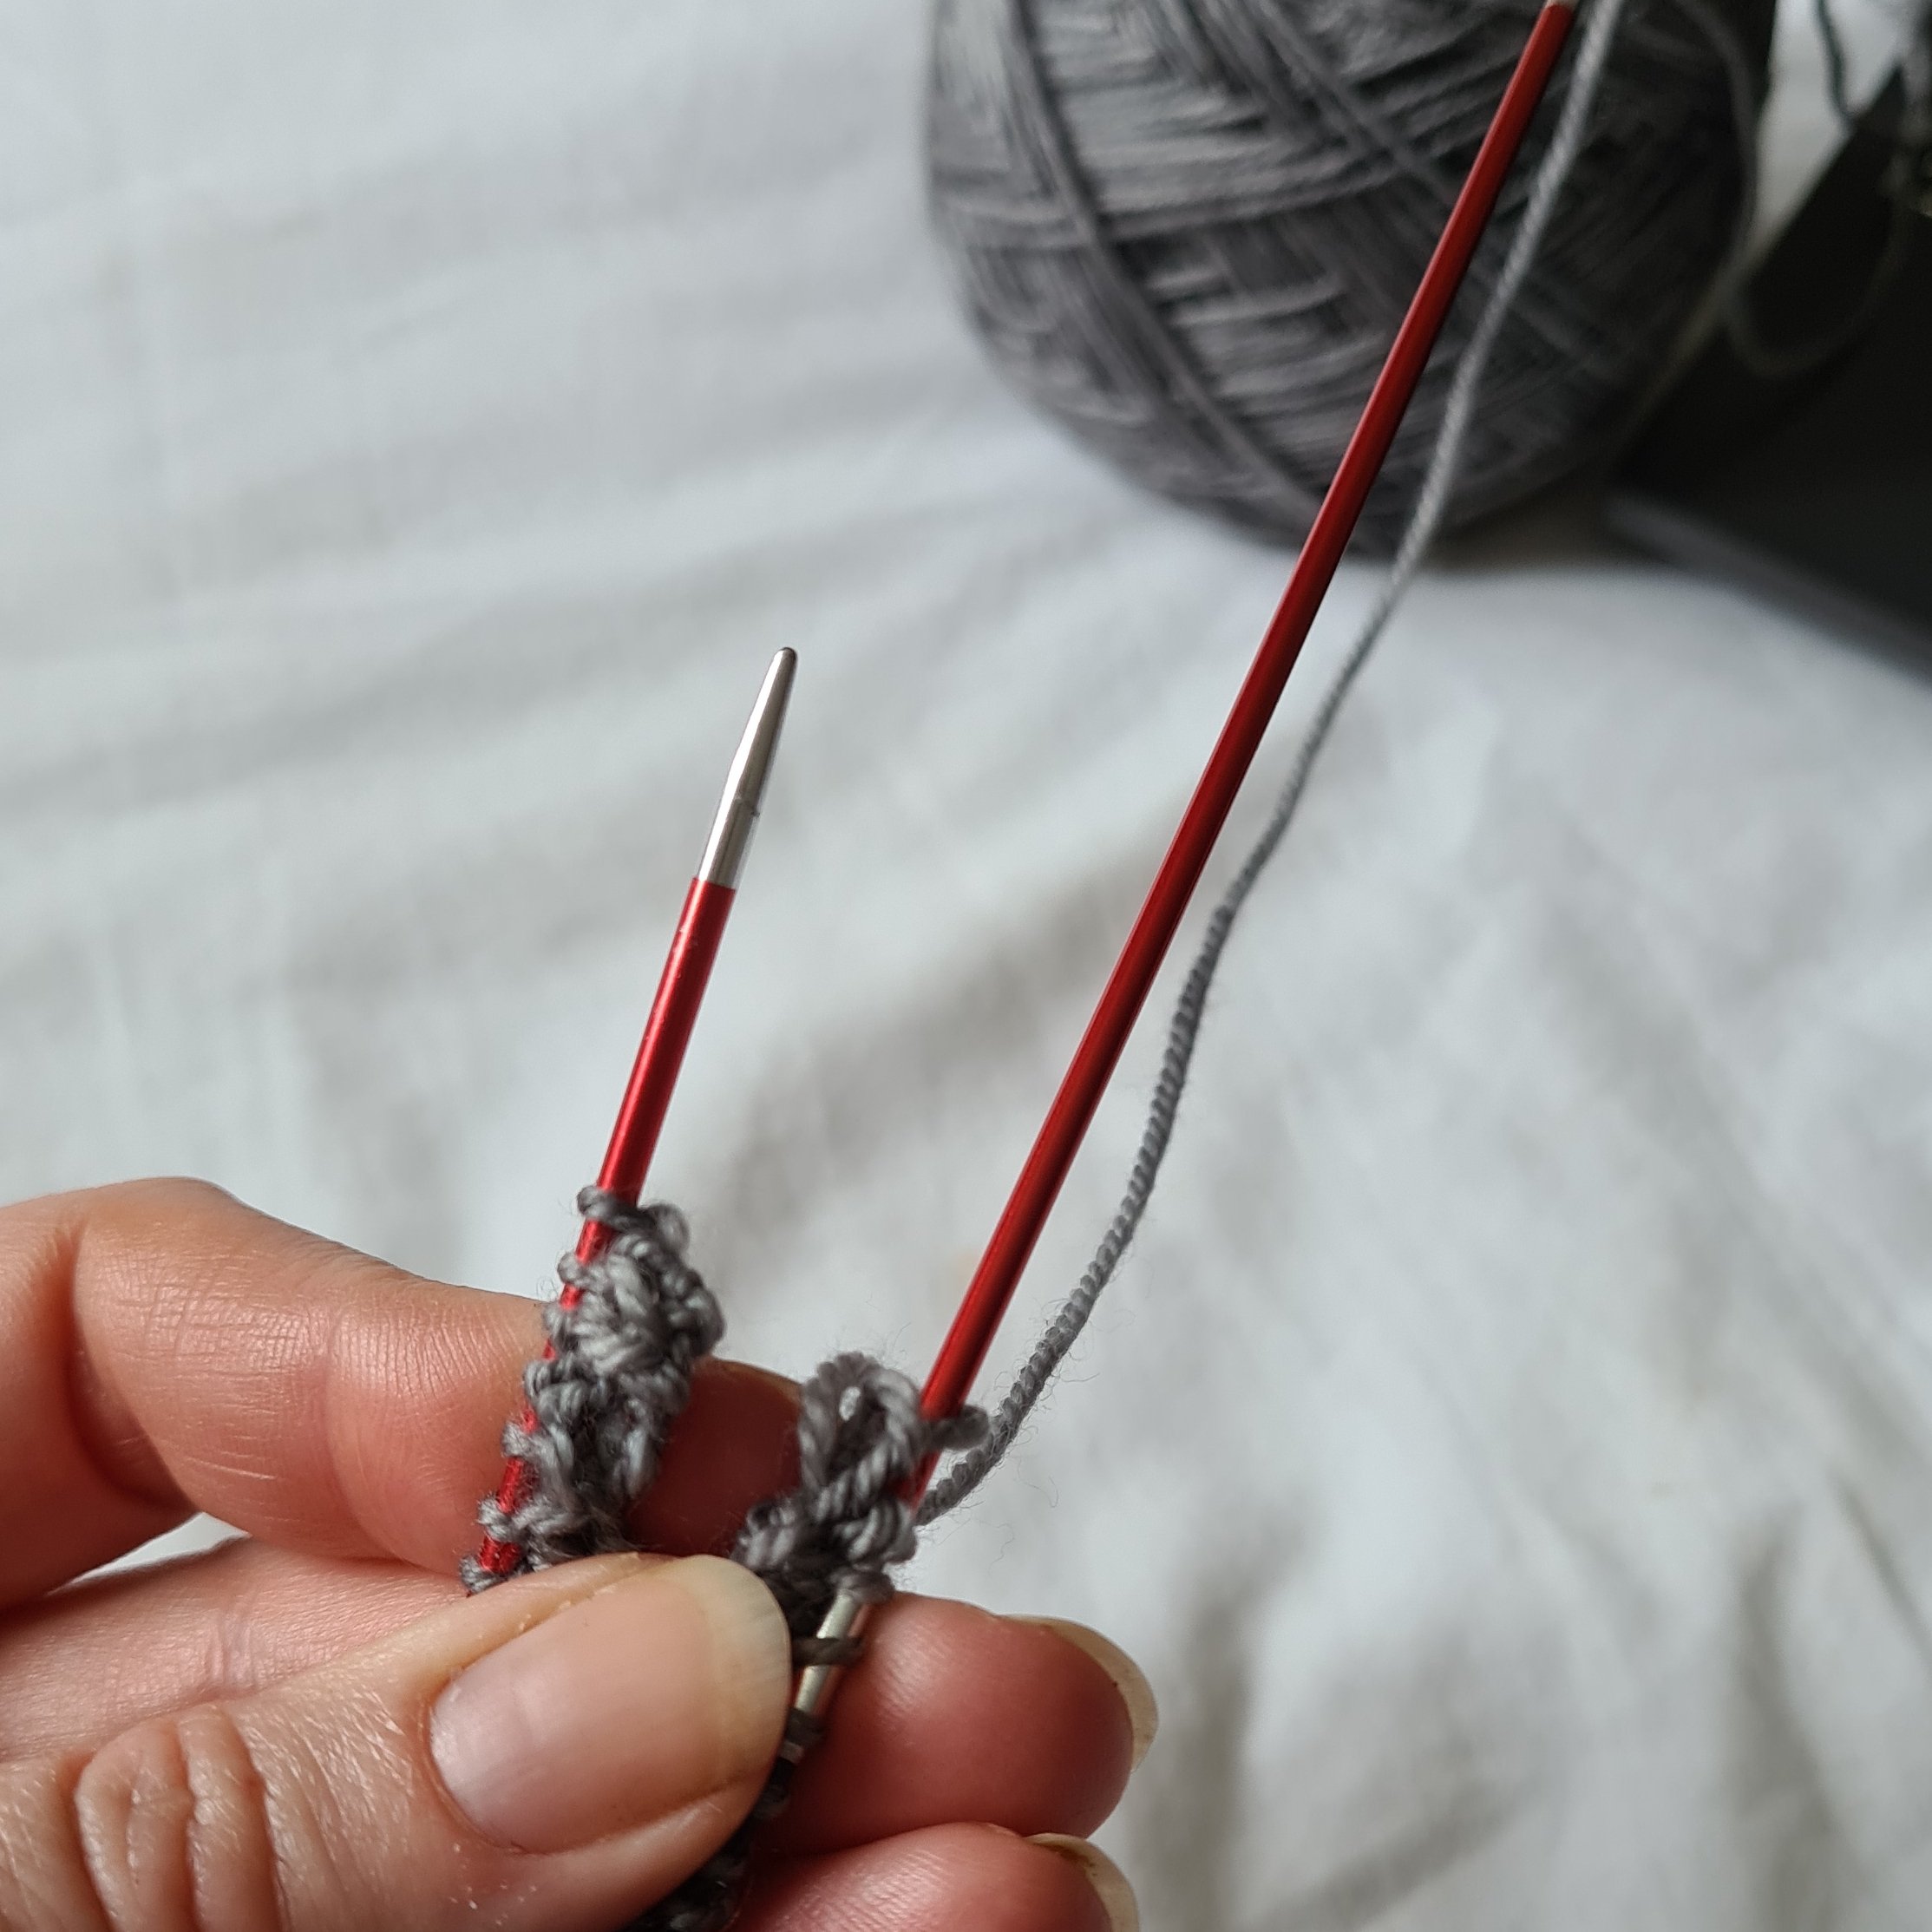
Cuff down socks: These are often suggested as the way to start your sock knitting journey for a variety of reasons but it does mean that you have to navigate the twisty cuff and couple of inches of ribbing first before you can settle into the good plain knitting section of the leg. To avoid the dreaded instruction ‘join to knit in the round, being careful not to twist’, I have a handy tip for that.

That being said, it is very easy to estimate the leg length when you are working this way and it works for a variety of heel types. Once past the heel you can pull the sock on as needed to check the foot length and decide where to start the toe decreases. An obvious disadvantage for some is the need to graft the toe closed (not everyone’s favourite procedure) although you can get around this by knitting a rounded toe (for example).

Gift knitting - if knitting socks for others I tend to opt for cuff down purely because it’s a little bit easier to get a reliable length for the foot. There are standard foot length charts available and that tell you exactly when to start decreasing for the toe. When working toe-up there is always the slight element of chance - depending on the kind of heel you are working.

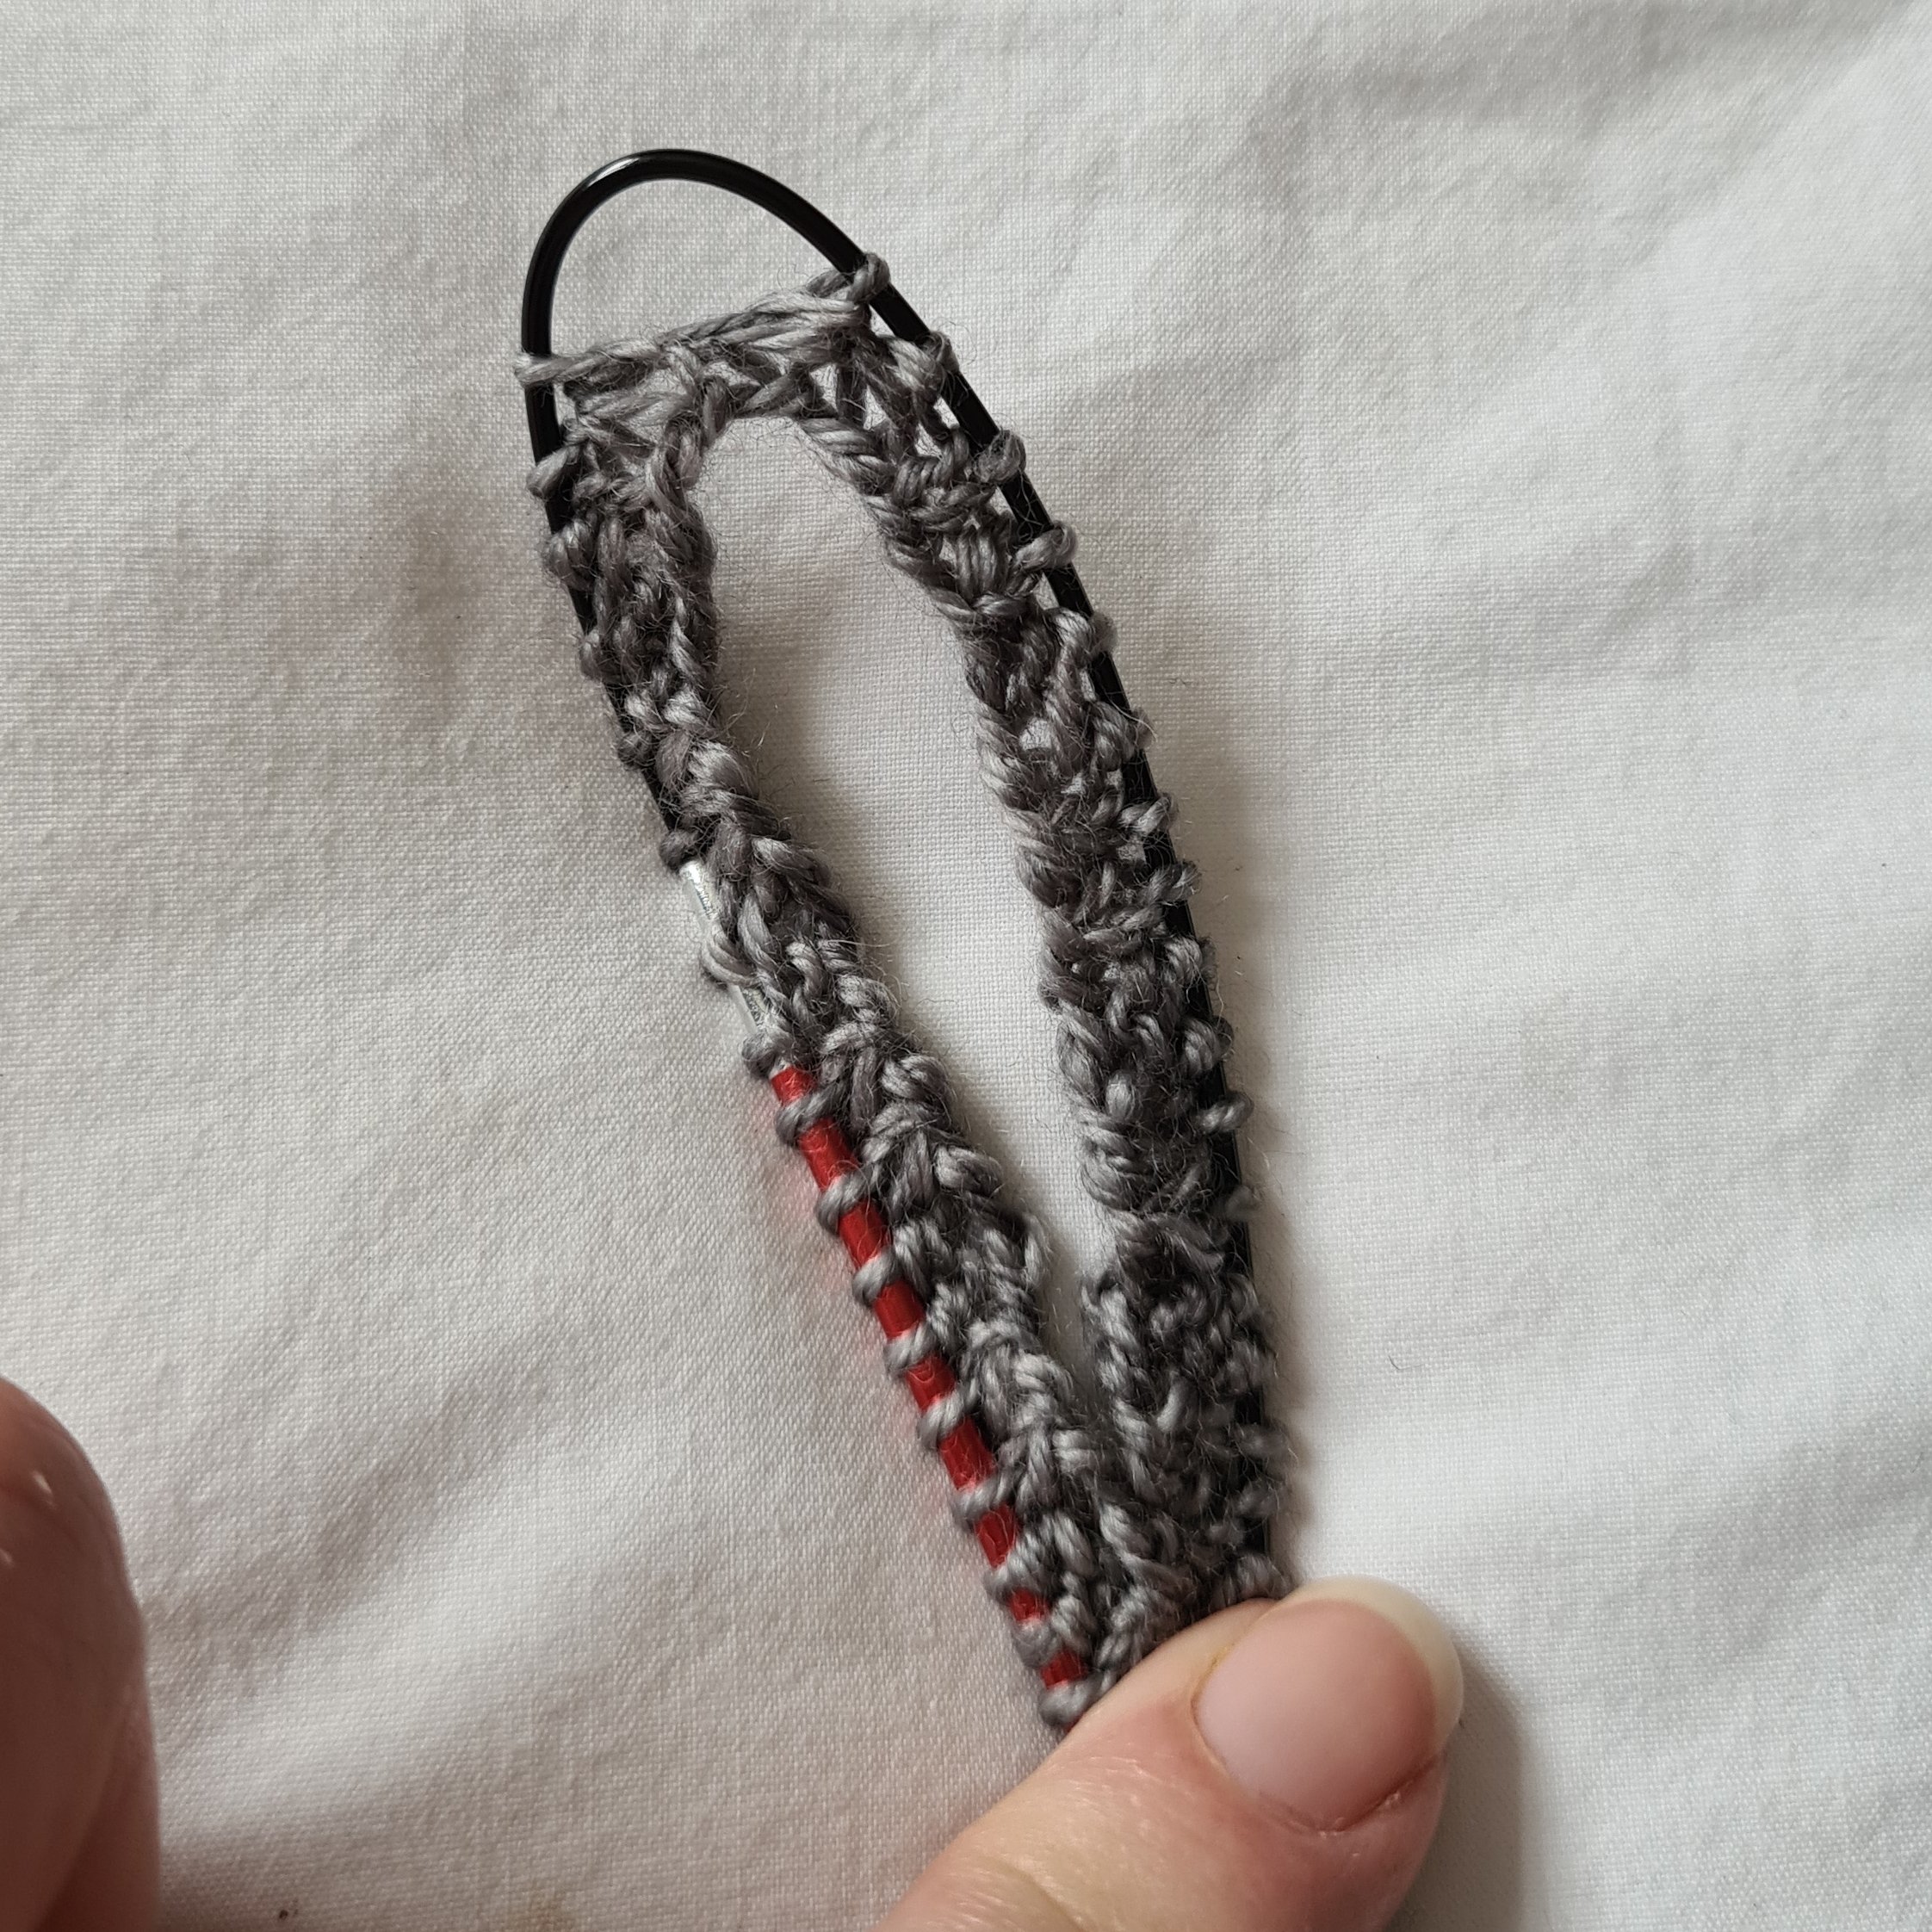
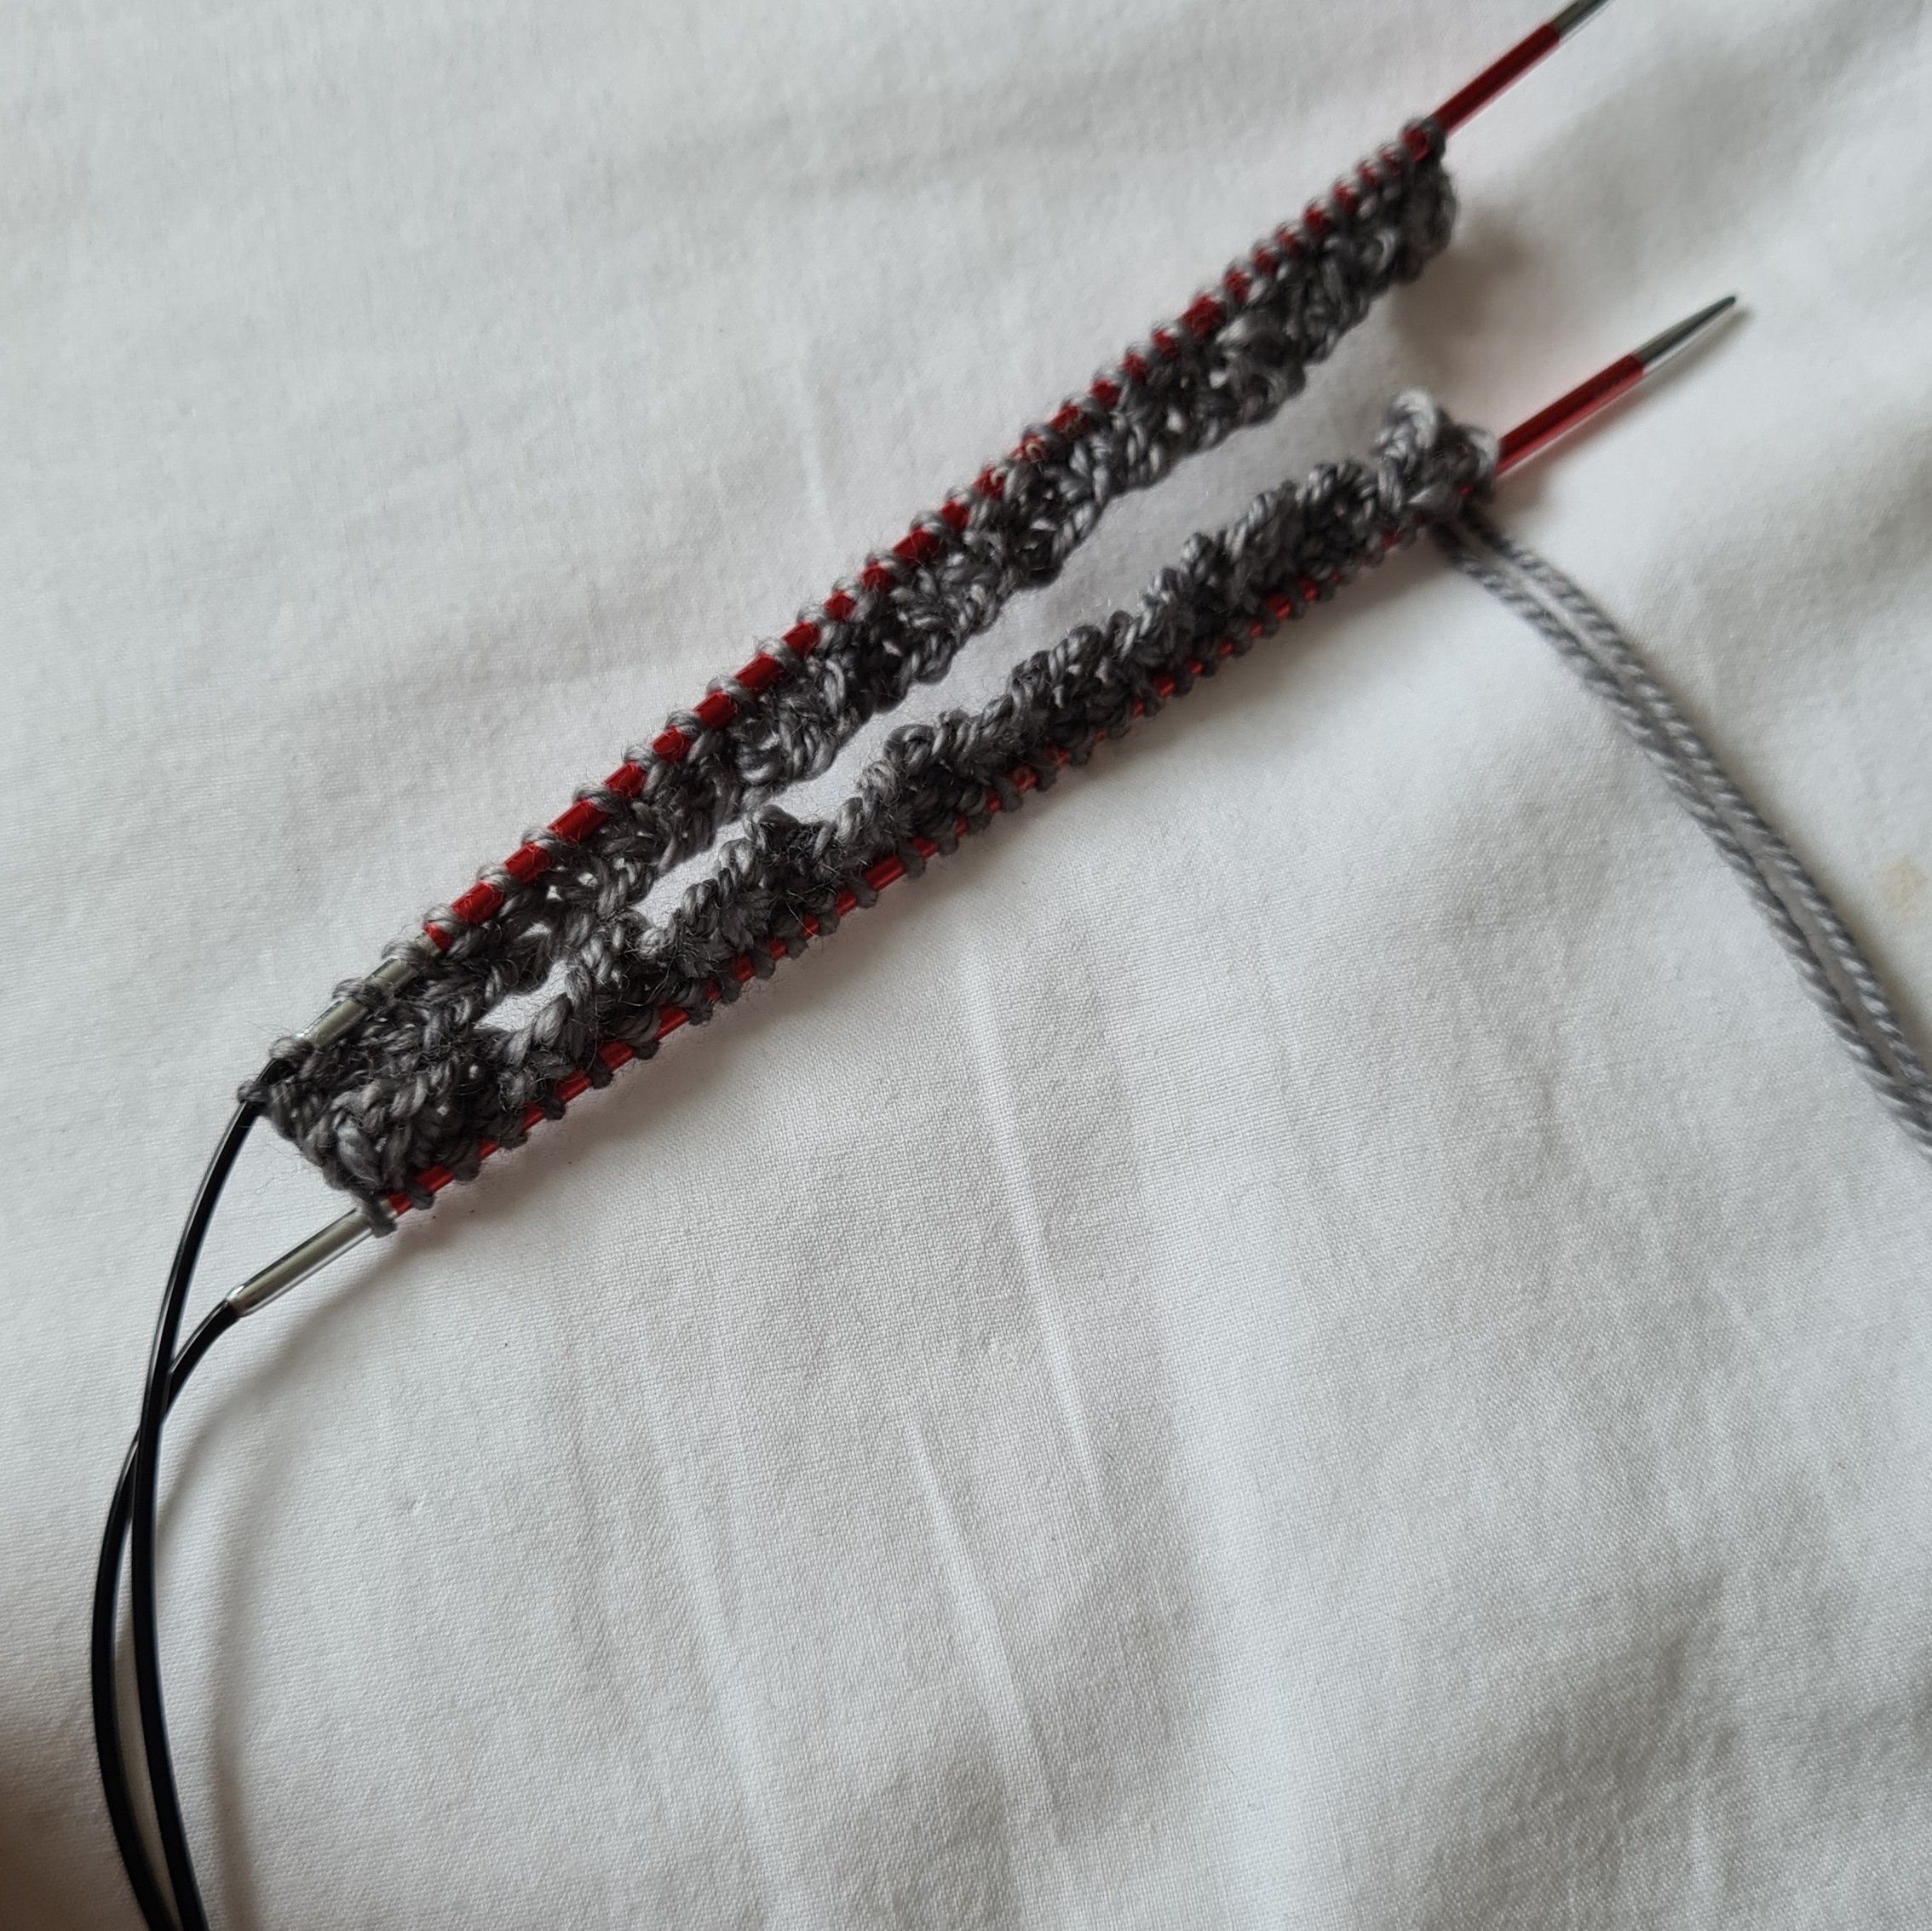
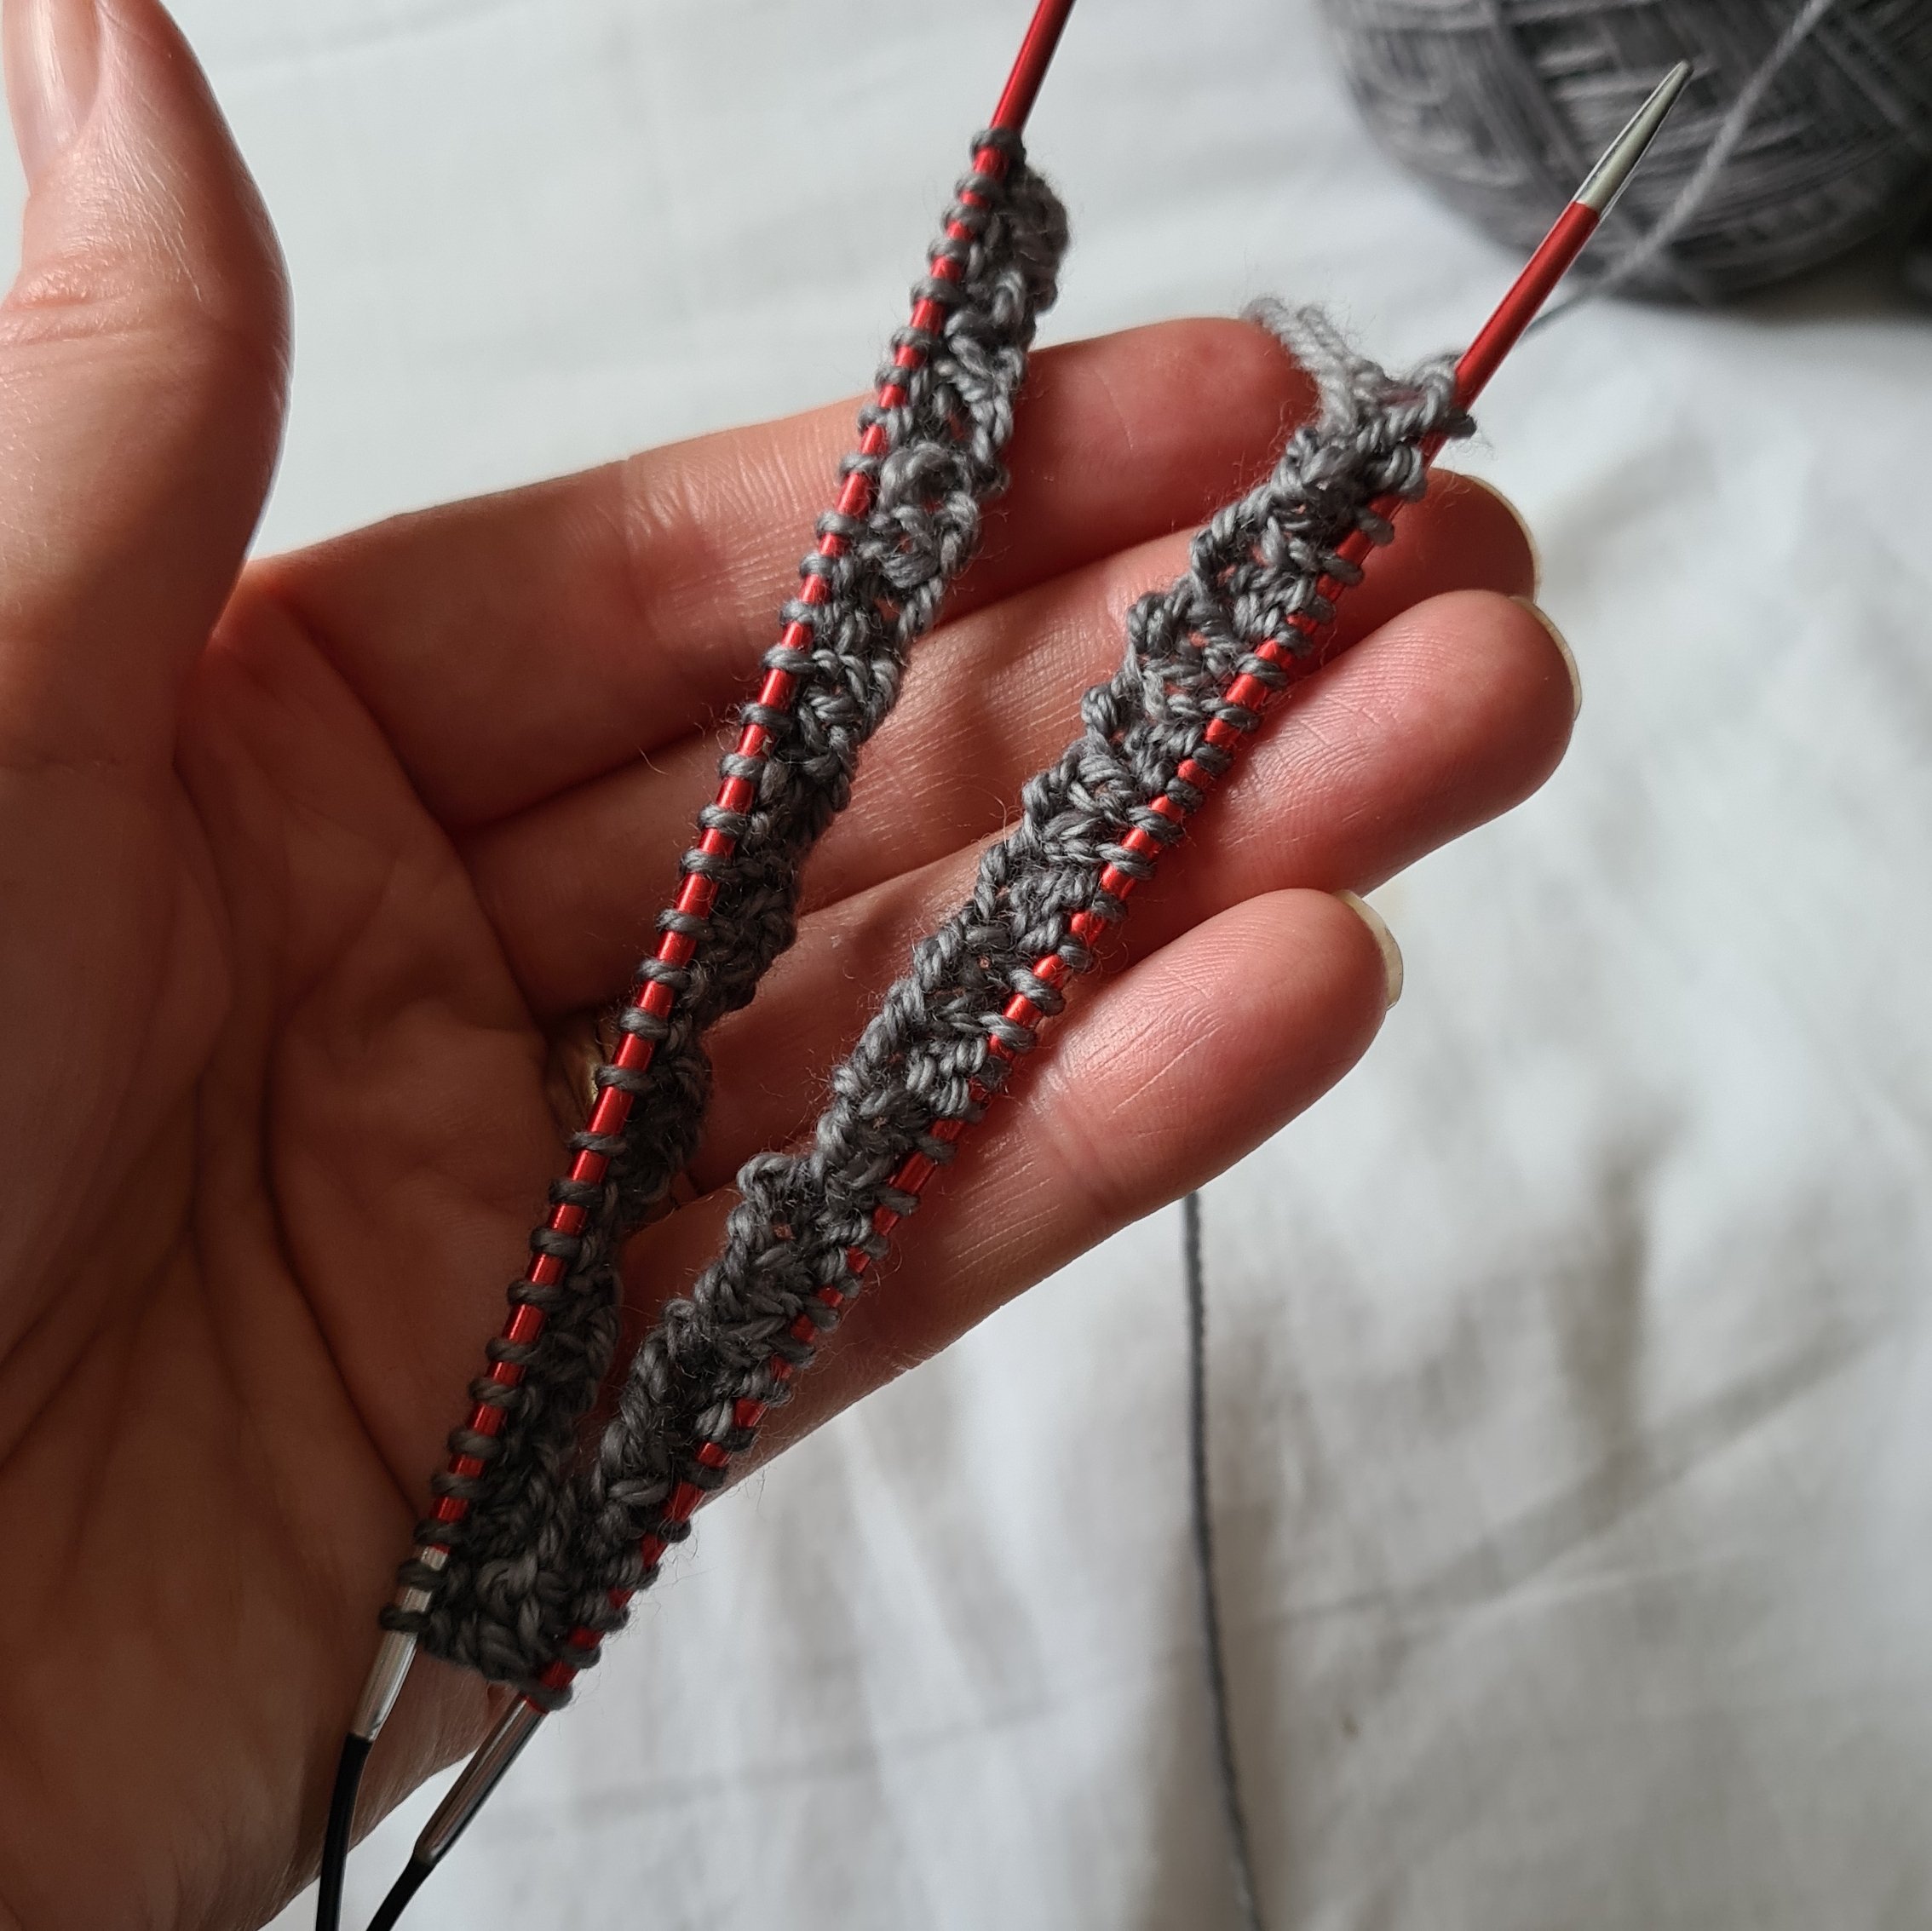
Toe-up socks: It’s often said that it’s easier to try on socks that are knitted toe-up although I have to say that I’ve never had any particular issues trying on socks whichever direction they are knitted in. Toe-up socks certainly offer a faster start and there are very few things as satisfying in my knitted life as sitting down with fresh needles and yarn, and 30 minutes later having a fully functional sock toe and several inches of happy plain knitting ahead of me.

For this reason I often start a sock toe-up as it lends itself well to travel knitting and other times when you want to knit on the go. I’ve even started a toe-up sock in the cinema before now - although I wouldn’t recommend it. I’ve been known to have a sock toe, on the needles stashed around the house in case I need to grab a quick, travel friendly project in a hurry. You never know when you might need it and there’s no harm in being prepared…right?

There is sometimes concern over when to start the heel for toe-up socks and a common mistake that people make is to have the foot too big - ie starting the heel turn too late. When deciding where to start the heel it’s always best to bear in mind that socks need a little negative ease for a good fit and so slightly stretching the sock (whether on a sock ruler on your foot) is needed to make sure that you get that all important negative ease. My advice is always to slightly stretch the foot, and then stretch it a tiny bit more. It’s very unscientific I grant you but it works for me. THIS blog post has some tips that can help.

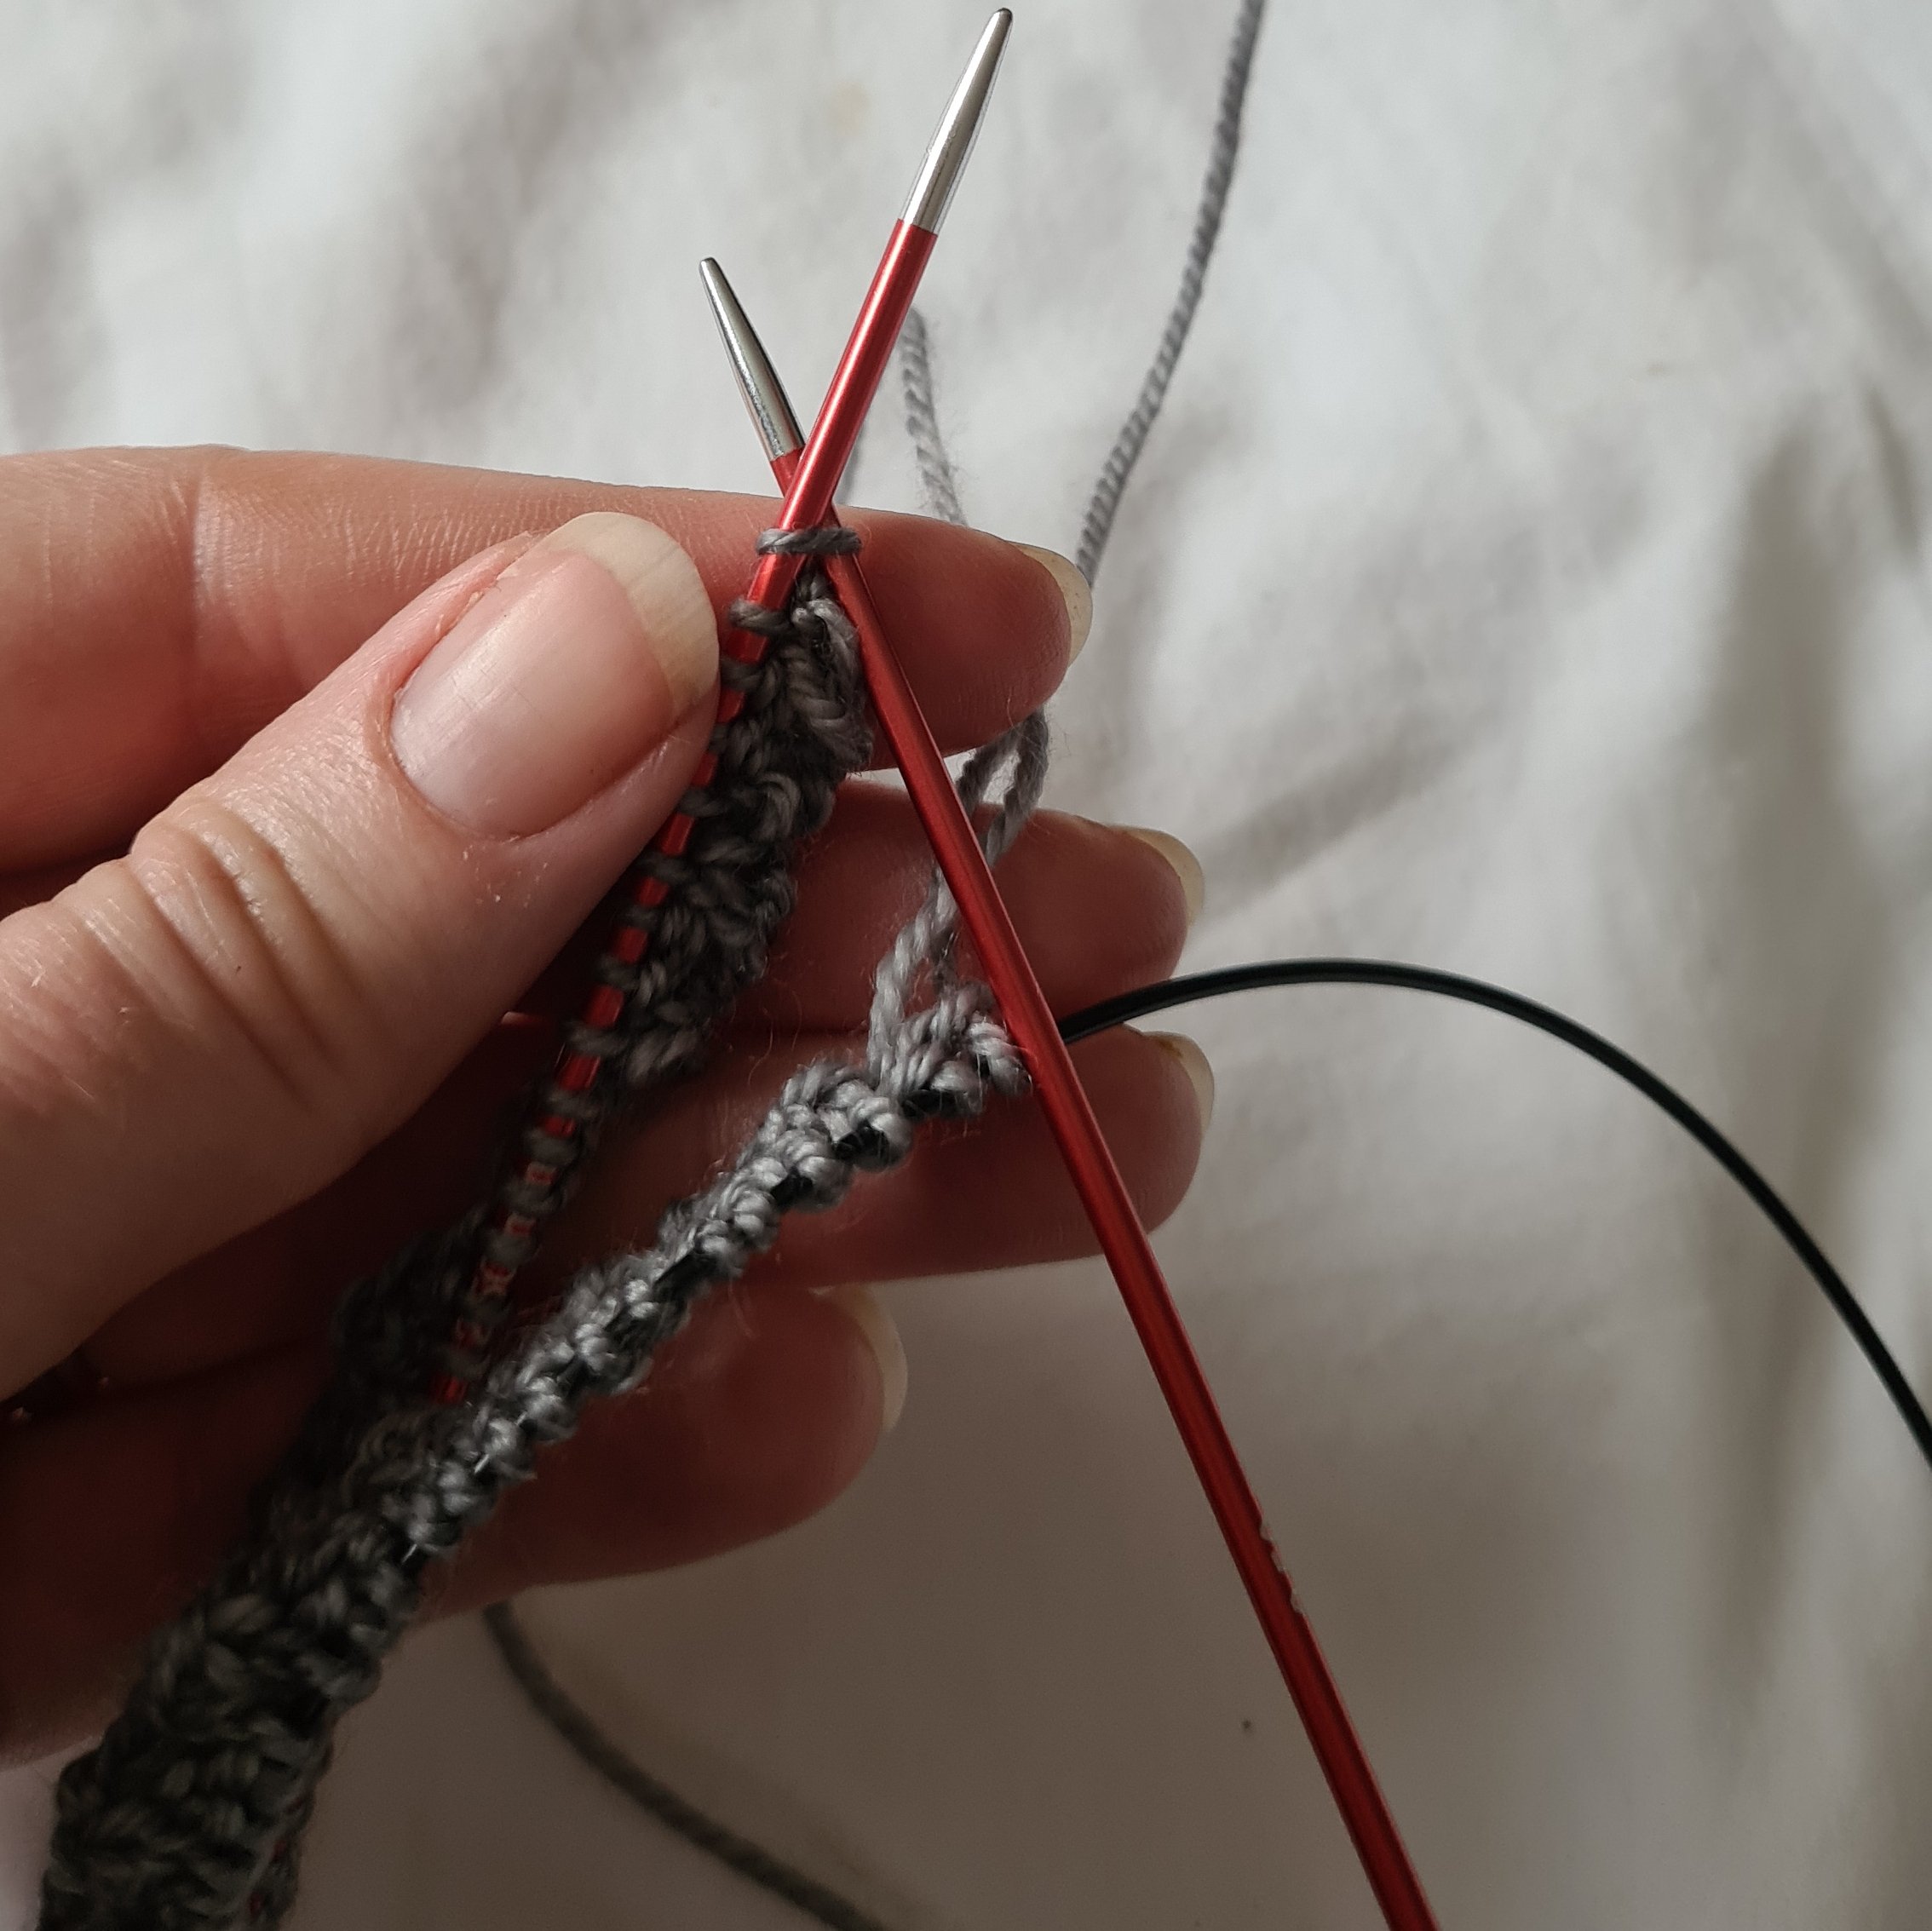
Working toe-up, of course means that there is no tricksy grafting and once you’ve worked the leg it’s just a bit of ribbing and you’re done. As long as you make sure not to cast off too tightly then you should have a perfectly lovely sock, ready to wear.

At the end of the day, it’s horses for courses. Some people will swear by one direction rather than another but it’s what you are happy with that counts. It’s always best to be able to work both ways - just in case as these skills are never lost. And in most cases, even if you are a devoted cuff down knitter and you inadvertently buy a toe-up pattern, it’s possible to convert a sock design to your preferred method. There are only a few directional patterns that in all honesty will only work one way.

So which are you - cuff down or toe-up? Or are you happy to knit in each direction - a sock ambivert perhaps?

shop my sock patterns

PIN FOR LATER: