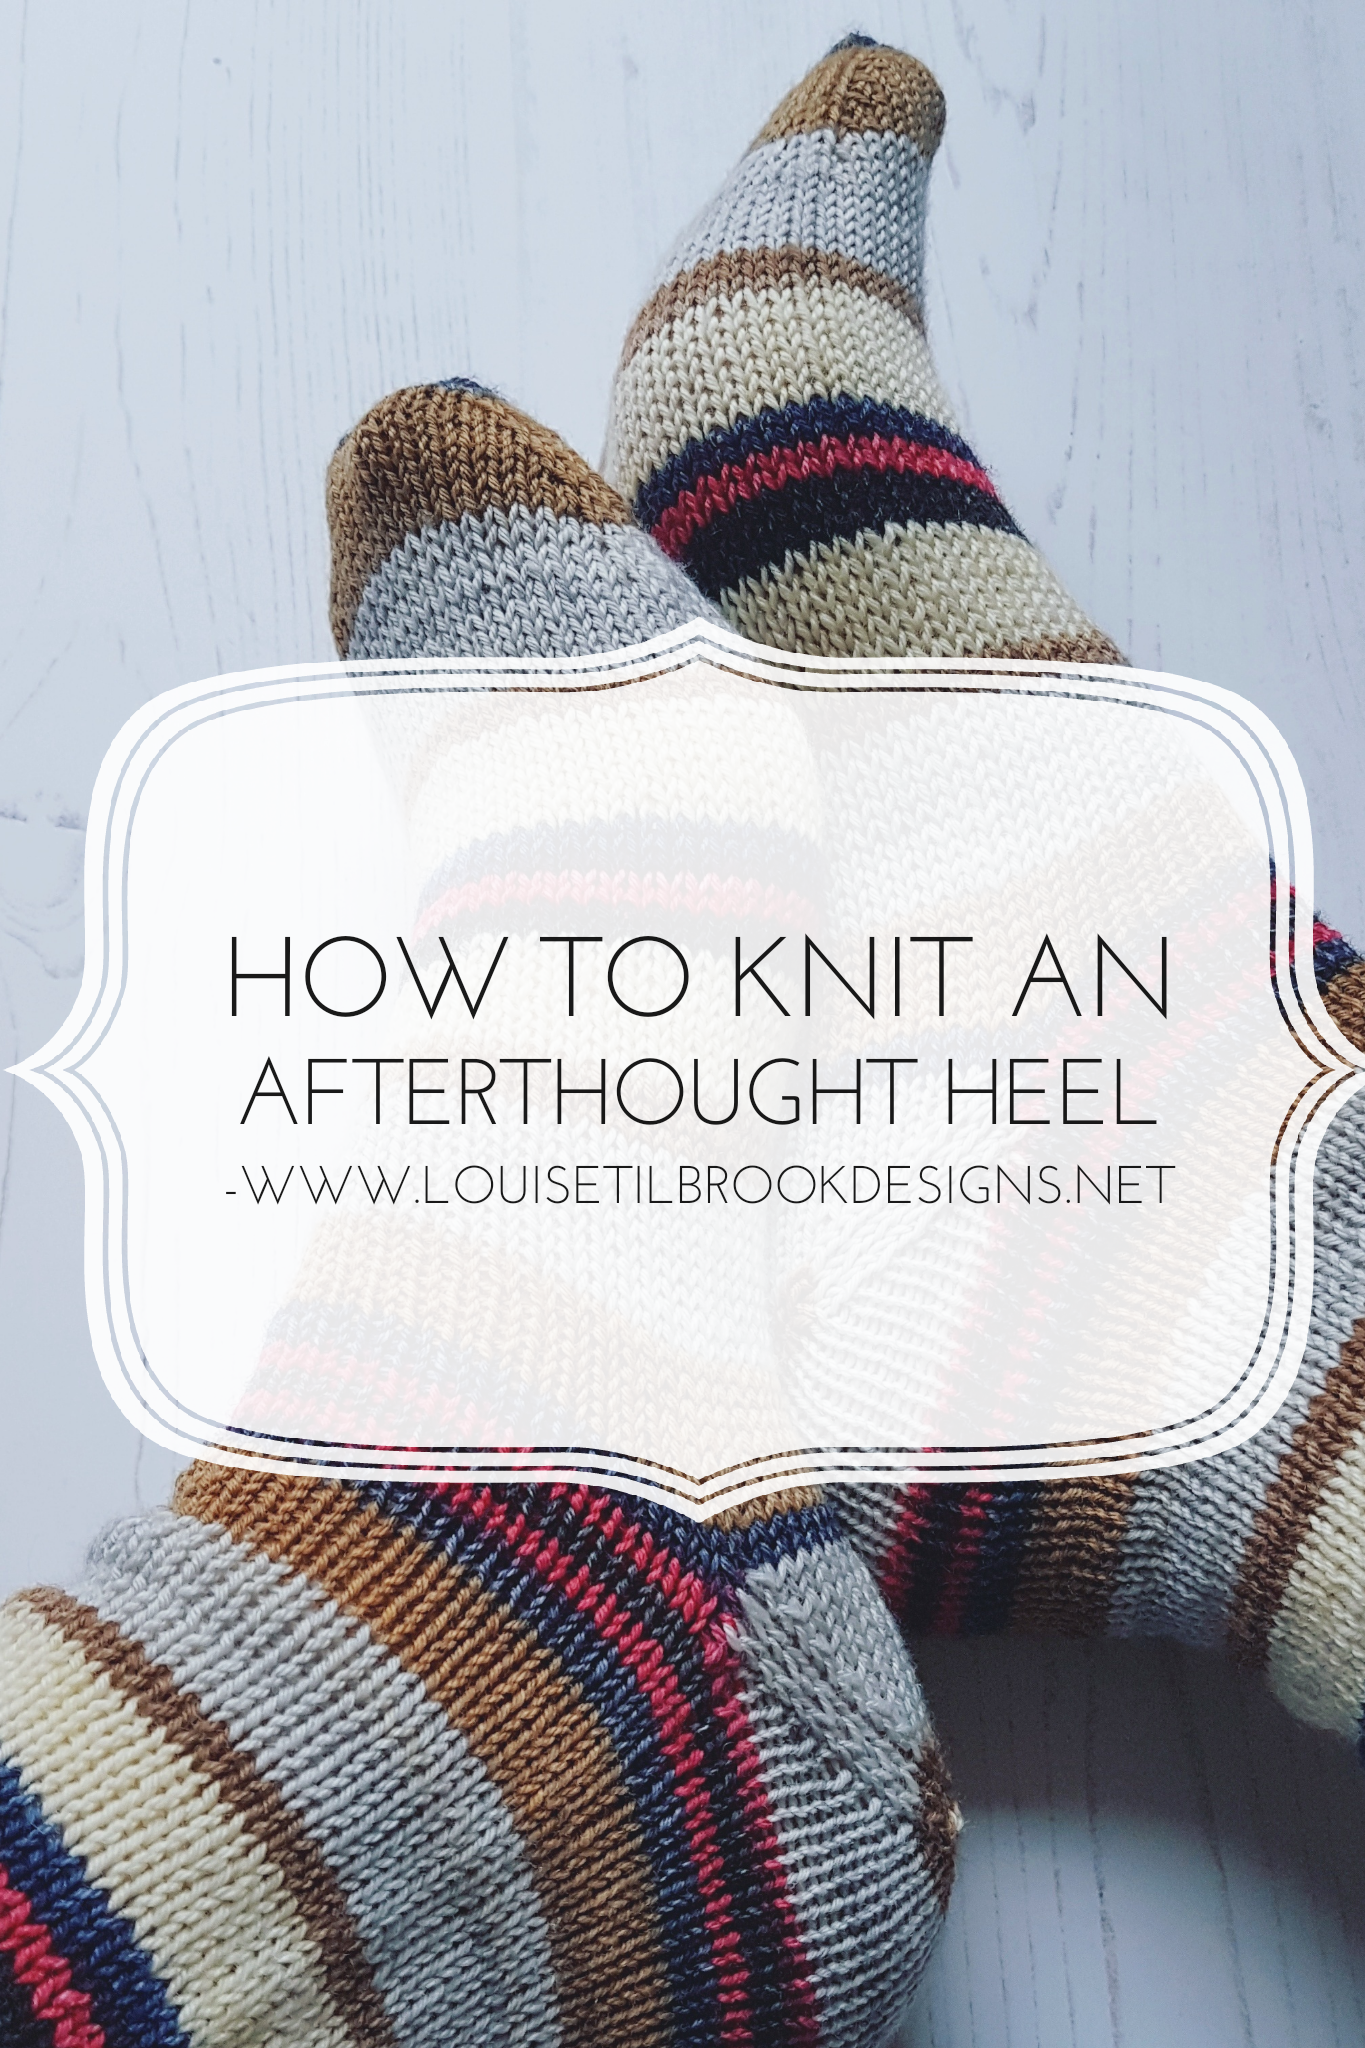
If you follow me on social media you will more than likely know that I'm a huge fan of the afterthought heel and indeed it is one of my favourite classes to teach. Every time I post an image on the subject though it generates a lot of comment and interest and so I thought I would do my best to summarise how I go about inserting a true afterthought heel.
There are also methods which involve knitting in a strand of waste yarn at the point where the heel is to go. This can then be removed from the sock tube and the live stitches placed onto your needles. Confusingly this may also be referred to as an afterthought heel when in fact it is really a Forethought heel - you need to know in advance where your heel is going to go. As you are merrily knitting your sock tube it isn't always possible to stop and try it on or otherwise determine where to place the heel - think crowded train carriage or dark cinema. For these and other reasons I vastly prefer the true afterthought heel.
For this you will need:
Your completed sock tube. I prefer to knit both socks and put in the heels at the same time.
3 DPNs - I prefer wooden DPNs with sharp tips
1 lockable stitch marker
1 tapestry needle
Sharp scissors
Tape measure

1. Work out where to put the heel
Try the sock on and pull it firmly up the leg. Find your ankle bone on the inside of your foot and trace an imaginary line with your finger down to the sole (underside of your foot). Mark this point with a removable stitch marker. It is normally about 2-2.5" from the back of your heel.

2. Start to pick up stitches
Take the sock off, lay it flat being sure to have the toe flat - your heel needs to align with the toe - and starting at one side of the sock start to insert a DPN tip into the first leg of each stitch from the row you have marked with your stitch marker (self striping yarn can be helpful here as, often you can follow the line of a colour change).
Work your way across, take your time being sure to pick up the leg of each stitch until you have half the number of stitches of your total sock circumference. eg. for a 64st sock I would pick up 32st. I find that wooden DPNs are easier to use as they are more flexible but this is personal preference.
Once you have 1 line of stitches picked up repeat the process on the 2nd row below your first DPN. You will end up with stitches on 2 DPNs separated by 1 row of knitted stitches.

3. Identify where to start snipping
Insert a tapestry needle into the leg of one stitch in the middle of that row and pull it up firmly to make a loop. Take a deep breath and snip that loop. Now breathe out and slowly start to unpick the loose thread you have created on each side of the fabric.

4. Start to snip!
Keep going all the way across until you have 2 DPNs each with 32 (or your chosen number) stitches on them and two curly strands of yarn at either end. These ends can be woven in later. I normally tie them in a knot with the working yarn to keep the tension even. I then untie them and darn them in at the end.

5. With all stitches present and correct
It happens to the best of us. During the picking up of stitches if you find that you have missed a stitch and you have one loose, just secure it with a lockable stitch marker and slip it back on the needle as you knit that row.
Use your locking stitch markers to capture any strays
Now, just reattach your working yarn and start decreasing as you would for a toe. Essentially you are knitting a 2nd toe in the middle of your sock. My preferred way of doing this is:
Rnd 1: ssk (sl 1 knitwise, sl 1 purlwise, k those 2 tog tbl), k to last 3 st, k2tog, k1. Repeat on 2nd DPN
Rnd 2: k
You may come across the odd stitch which is aligned back to front on the needle, if that happens simple knit it through the back loop to correct it.
Repeat Rnds 1 and 2 until you have decreased the total number of stitches by half. For my 64st sock this would be 2 DPNs each holding 16st. Try on the sock at this point and check the fit. If you need to do a few more rounds you can continue 1 or 2 more decrease rounds.
Finally - thread a tapestry needle and graft the heel closed, exactly as you would do a toe.
Weave in all the ends and do a happy dance in your new socks! Take a photograph to show me (tag it with #louisetilbrookdesigns) - I'd love to see your finished heels :)
