socktips

Check your gauge

As with anything to do with gauge this post comes with a huge caveat. Everyone knits differently and you might not have the same experience as me. That being said I find that often when I knit a plain vanilla stocking stitch sock I find that my usual 64st on 2.5mm needles doesn't work for me and the sock ends up being ever so slightly loose on the foot.

Instead I find that dropping to 60st for me (and from 72 to 68 for DH) gives a much better fit in plain stocking stitch.

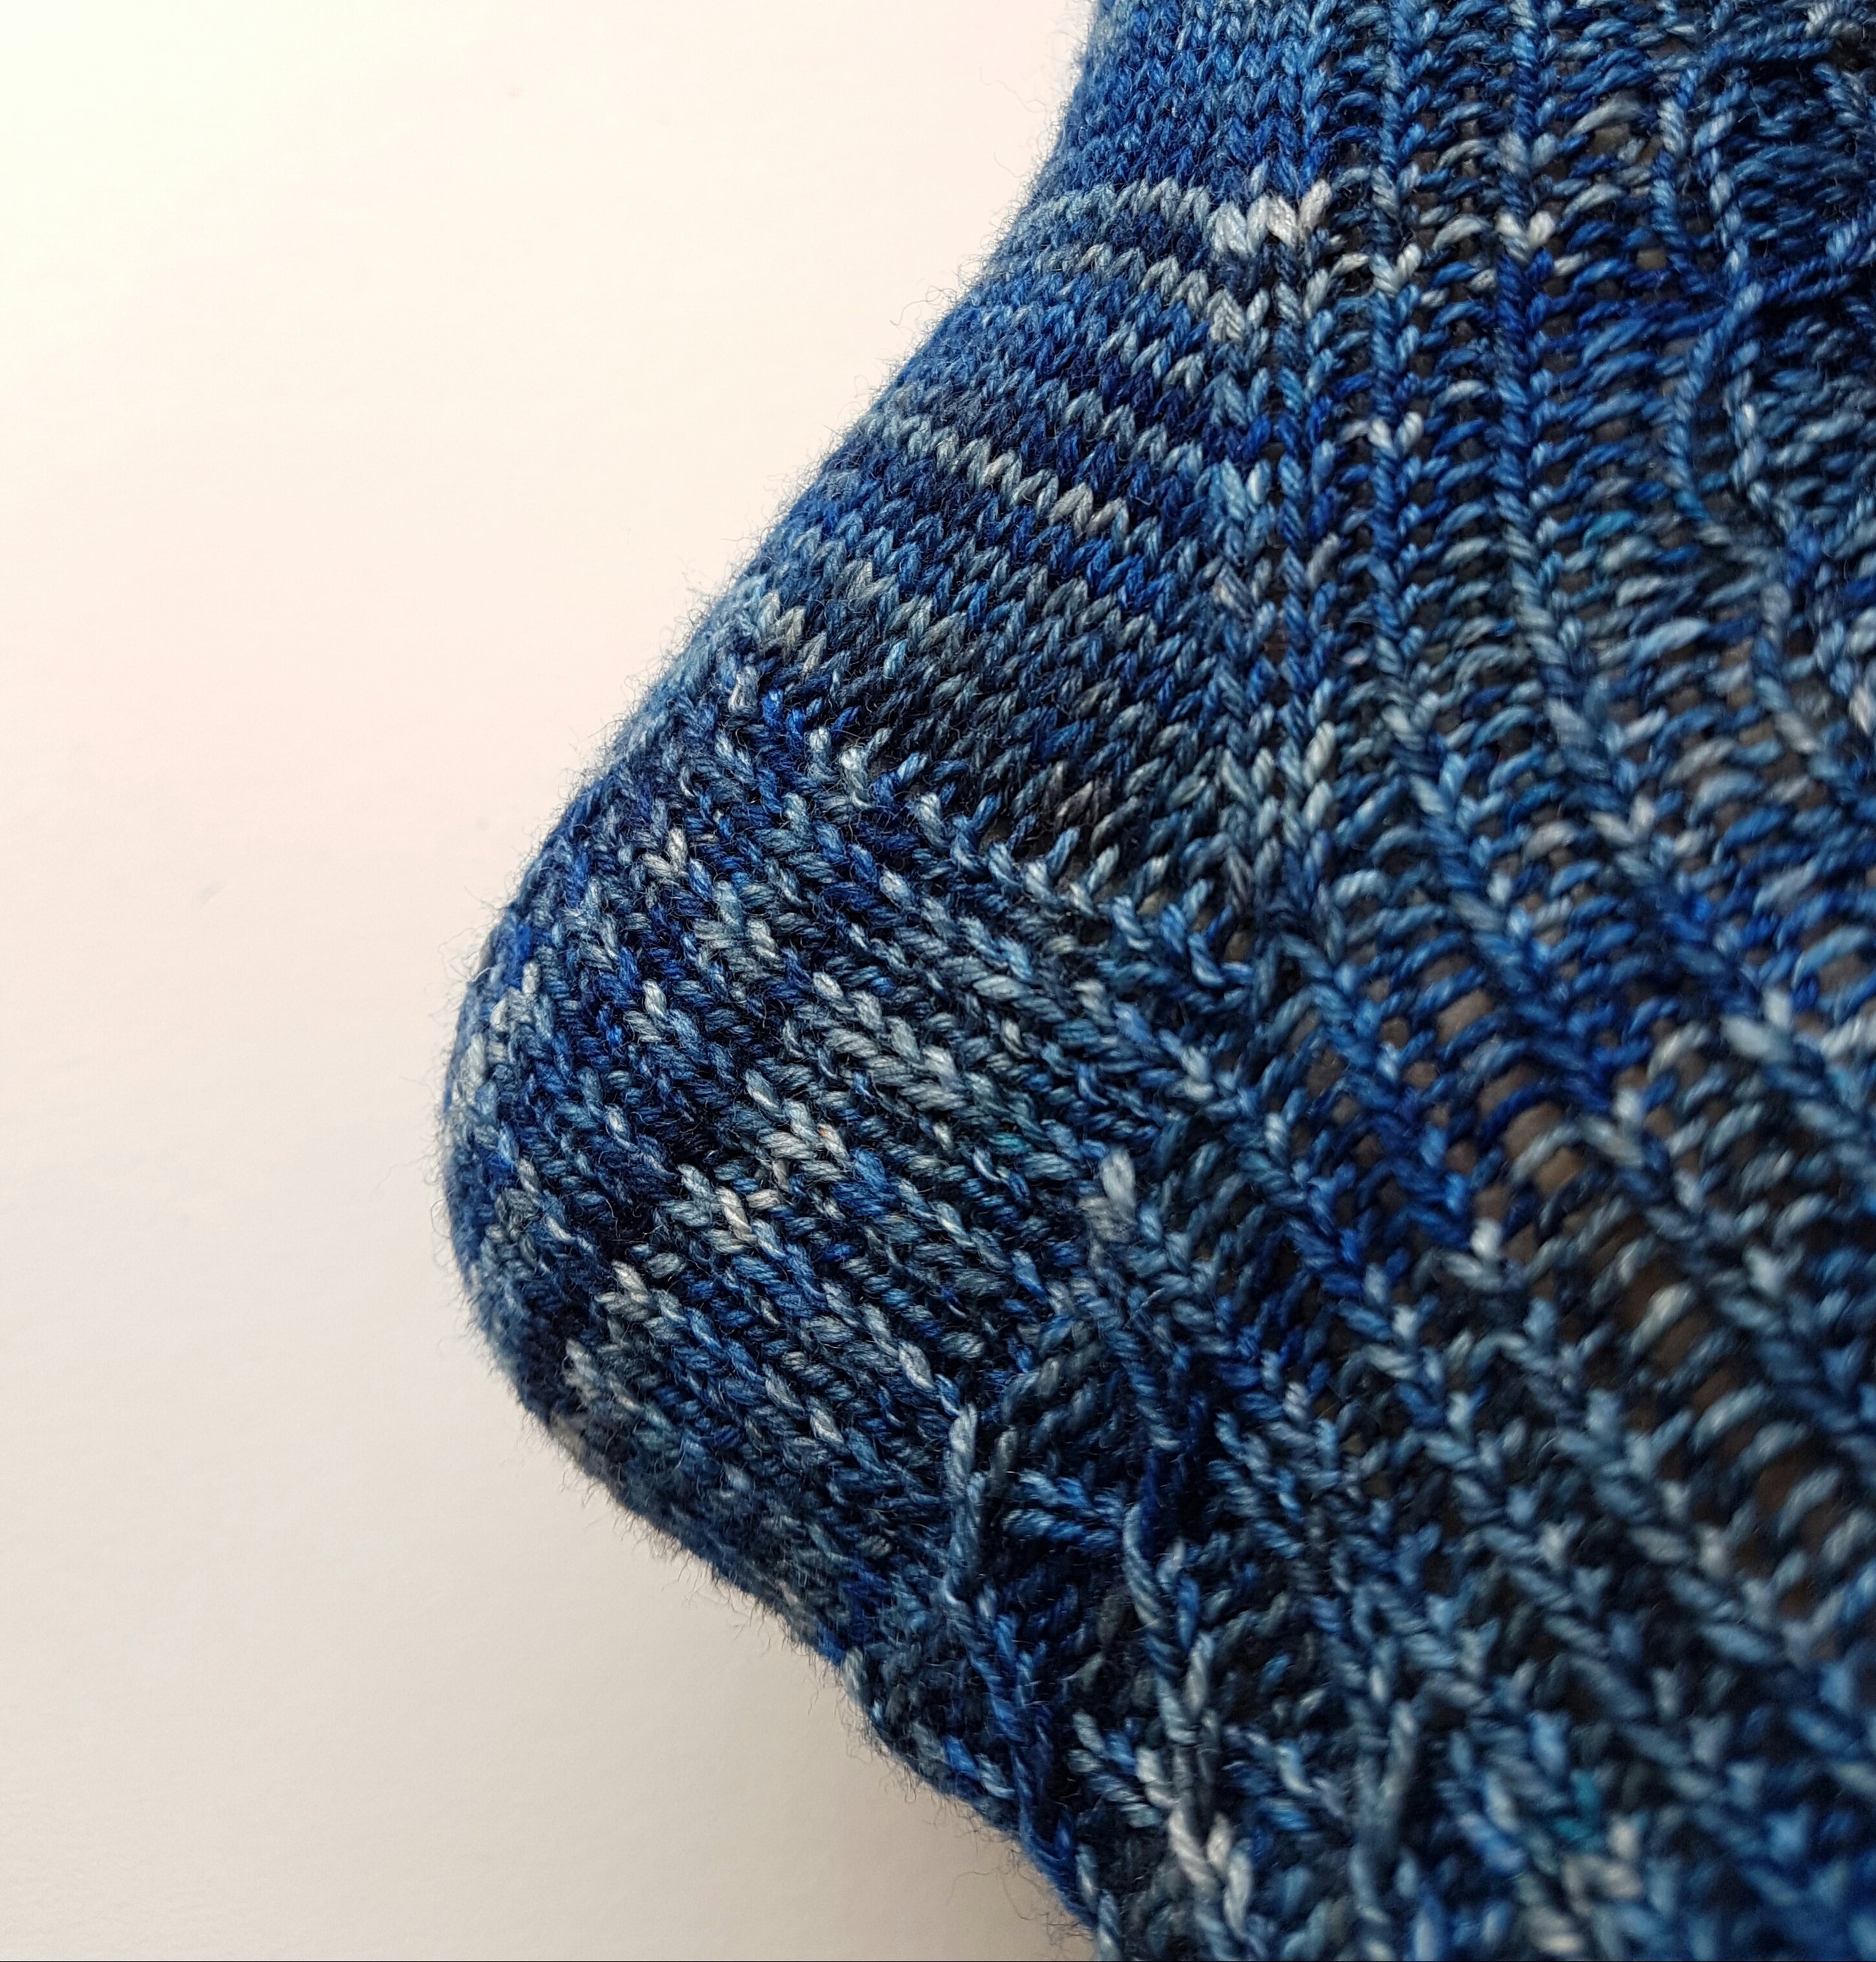
Socks with a pattern or cable often have a slight degree of extra rigidity, unless there is a lot of ribbing. Plain stocking stitch however tends to have equal stretch in both directions. This makes for a beautifully smooth fabric - all the better to show off that gorgeous self stripe yarn - but which also has the potential to be ever so slightly baggy.

Going down just those few stitches creates the negative ease that is so crucial for a good sock fit.
Do you find the same thing ? I've love to know if you have the same experience too.

The art of a good heel flap

When it comes to the heel flap everyone has their personal favourite. I know some people who prefer a plain stocking stitch heel flap but personally I prefer something with a bit more texture and a bit more structure. The plain stocking stitch, whilst being smooth and simple to work can lack structure and end up creating a heel flap that is a bit too loose.

My personal favourite is a slipped stitch heel flap where the right side rows are worked (slip 1, Knit 1) all the way across and the wrong side rows are purled across (after the first stitch is slipped). This creates a thicker fabric as the slipped stitches create an extra layer of bulk across the back of the heel. The slipped stitches draw in the fabric and create a heel which grips better and gives a good fit.

There is also the Eye of Partridge heel where the right side rows are worked as follows:

Row 1: sl1, k1 to end

Row 2: sl1, p to end

Row 3: sl1, (sl1, k1 )to end

Row 4: sl1, p to end

This creates a really lovely texture, but it is a little bit more difficult to remember and for that reason it tends not to be my go-to heel. But it is well worth a go if you are looking for a pretty and fun alternative.


Invest in sock blockers

They really do make a big difference to the finished look of your socks. Yes they do cost a little bit of money but compared to all the time and effort you have put into knitting them it really isn't very much. If money is tight there are some great tutorials available online to make your own.

If the socks are for you there's absolutely nothing wrong with blocking them in the time honored fashion of bunging them on your feet. But if they are for a gift or, let's face it, if you want to photograph them and Instagram the heck out of them, then sock blockers are your friend.

Whether you choose wooden or plastic or whether you make your own, the blockers allow the stitches to properly relax under just the right amount of tension. Just pop you finished socks in to soak for 20 minutes, blot them dry with a towel, slip them onto the blockers and then leave them to air dry away from direct heat.

Then you can photograph the living daylights out of them.

A cunning use for dental floss

I’ve alluded to their use before when discussing toe-up socks and heel placement but one of the things I really recommend that every sock knitting bag has neatly stashed is a little roll of dental floss. It makes the perfect lifeline especially for socks where the stitches are likely to be very small. Using thicker yarn as a lifeline can distort the stitches and thinner yarn such as laceweight may not always have the required strength needed to stand up to being your lifeline.

A small roll of dental floss is brilliantly compact - and comes with it’s own little cutter. All you need to have to hand is a tapestry needle which your bag probably already has and you are good to go. Whenever you come a tricky point in your pattern or if you feel like you just need that little bit of extra reassurance, you can just whip in alifeleine in a matter of minutes and your sock progress is safe and secure.


The right bind off

If you are knitting toe-up socks achieving the perfect bind off can be a bit of trial and error. You want something stretchy and elastic so that they are comfortable to wear. Not so tight that they cut off your circulation and not so loose that the cuff frills out and is baggy. Frilly cuffs look OK when you are 5 but after that it isn't really a good look.

My personal favourite is the Russian bind off. Super simple and easy to work. Just k2tog, slip that stitch back to your left hand needle and repeat to the end...simples!

The trick is to not pull the stitch too tight as you return it to the left hand needle. Give it a bit of room to manoeuvre and you will find that the cast off edge achieves the perfect balance of stretch and firmness.

As with so many things in knitting there are a wondrous variety of different methods to try. Some swear by Judy's Surprisingly Stretchy bind off and the sewn bind off as recommended by Elizabeth Zimmerman herself also works well. I tend to go for the simplest one which gives good results and for me that is the Russian bind off.

Have a go and see which one works best for you.