sockknitting

Time for a Socktober Sale

Socktober Tips Sale.png

It seems like as good a time as any to have a Socktober sock sale. I haven’t managed to transfer all of my sock designs over onto Payhip yet, but all of those that are there are available with a 25% discount from now until the end of the month.

Just use code SOCKTOBER (don’t laugh, I don’t have the energy to come up with a cunning code today) and it applies to as many designs as you would like.

Thank you and happy sock knitting

xx

Tips for perfectly matched stripy socks

Socktober Tips 2.png

#SocktoberTips #2
Top tips for perfectly matching stripy socks - without the hassle of knitting 2 at a time

1. Wind yarn into 2 X 45g balls before you start - with 10g left for heels/toes. Or use 10g of contrast yarn.

2. I prefer to work toe-up as I find it easier to get a good match.

3. Work a short row heel to avoid longer rows (and thinner colour bands) over the heel. The Fish Lips Kiss heel works well.

4. If you like your socks to match perfectly look for indie dyers who sell matched 50g skeins - @muststashyarn is a favourite. And here in the UK Needle and Fred also offers this type of yarn as does Ripplescrafts, although they always teens to sell out very quickly

Pure Luck socks

Pure Luck socks

It seems that new designs are like buses - you wait for ages and then a few come along at once.

Today is October 1st - the start of Socktober and what better way to celebrate than with a new sock pattern.

These are toe-up socks with a little difference in the toe detail. Perfect if you want to try something different for your next toe-up pair.

You can find all the details over on Ravelry - and if you use the code SOCKTOBER at checkout you’ll get a 25% discount with my compliments.

There will be a few more Socktober happenings as well during the month so be sure to check in for news - or sign up to my newsletter so you don’t miss out.

Click here to jump to the pattern

Introducing BOB - a basic sock for beginners

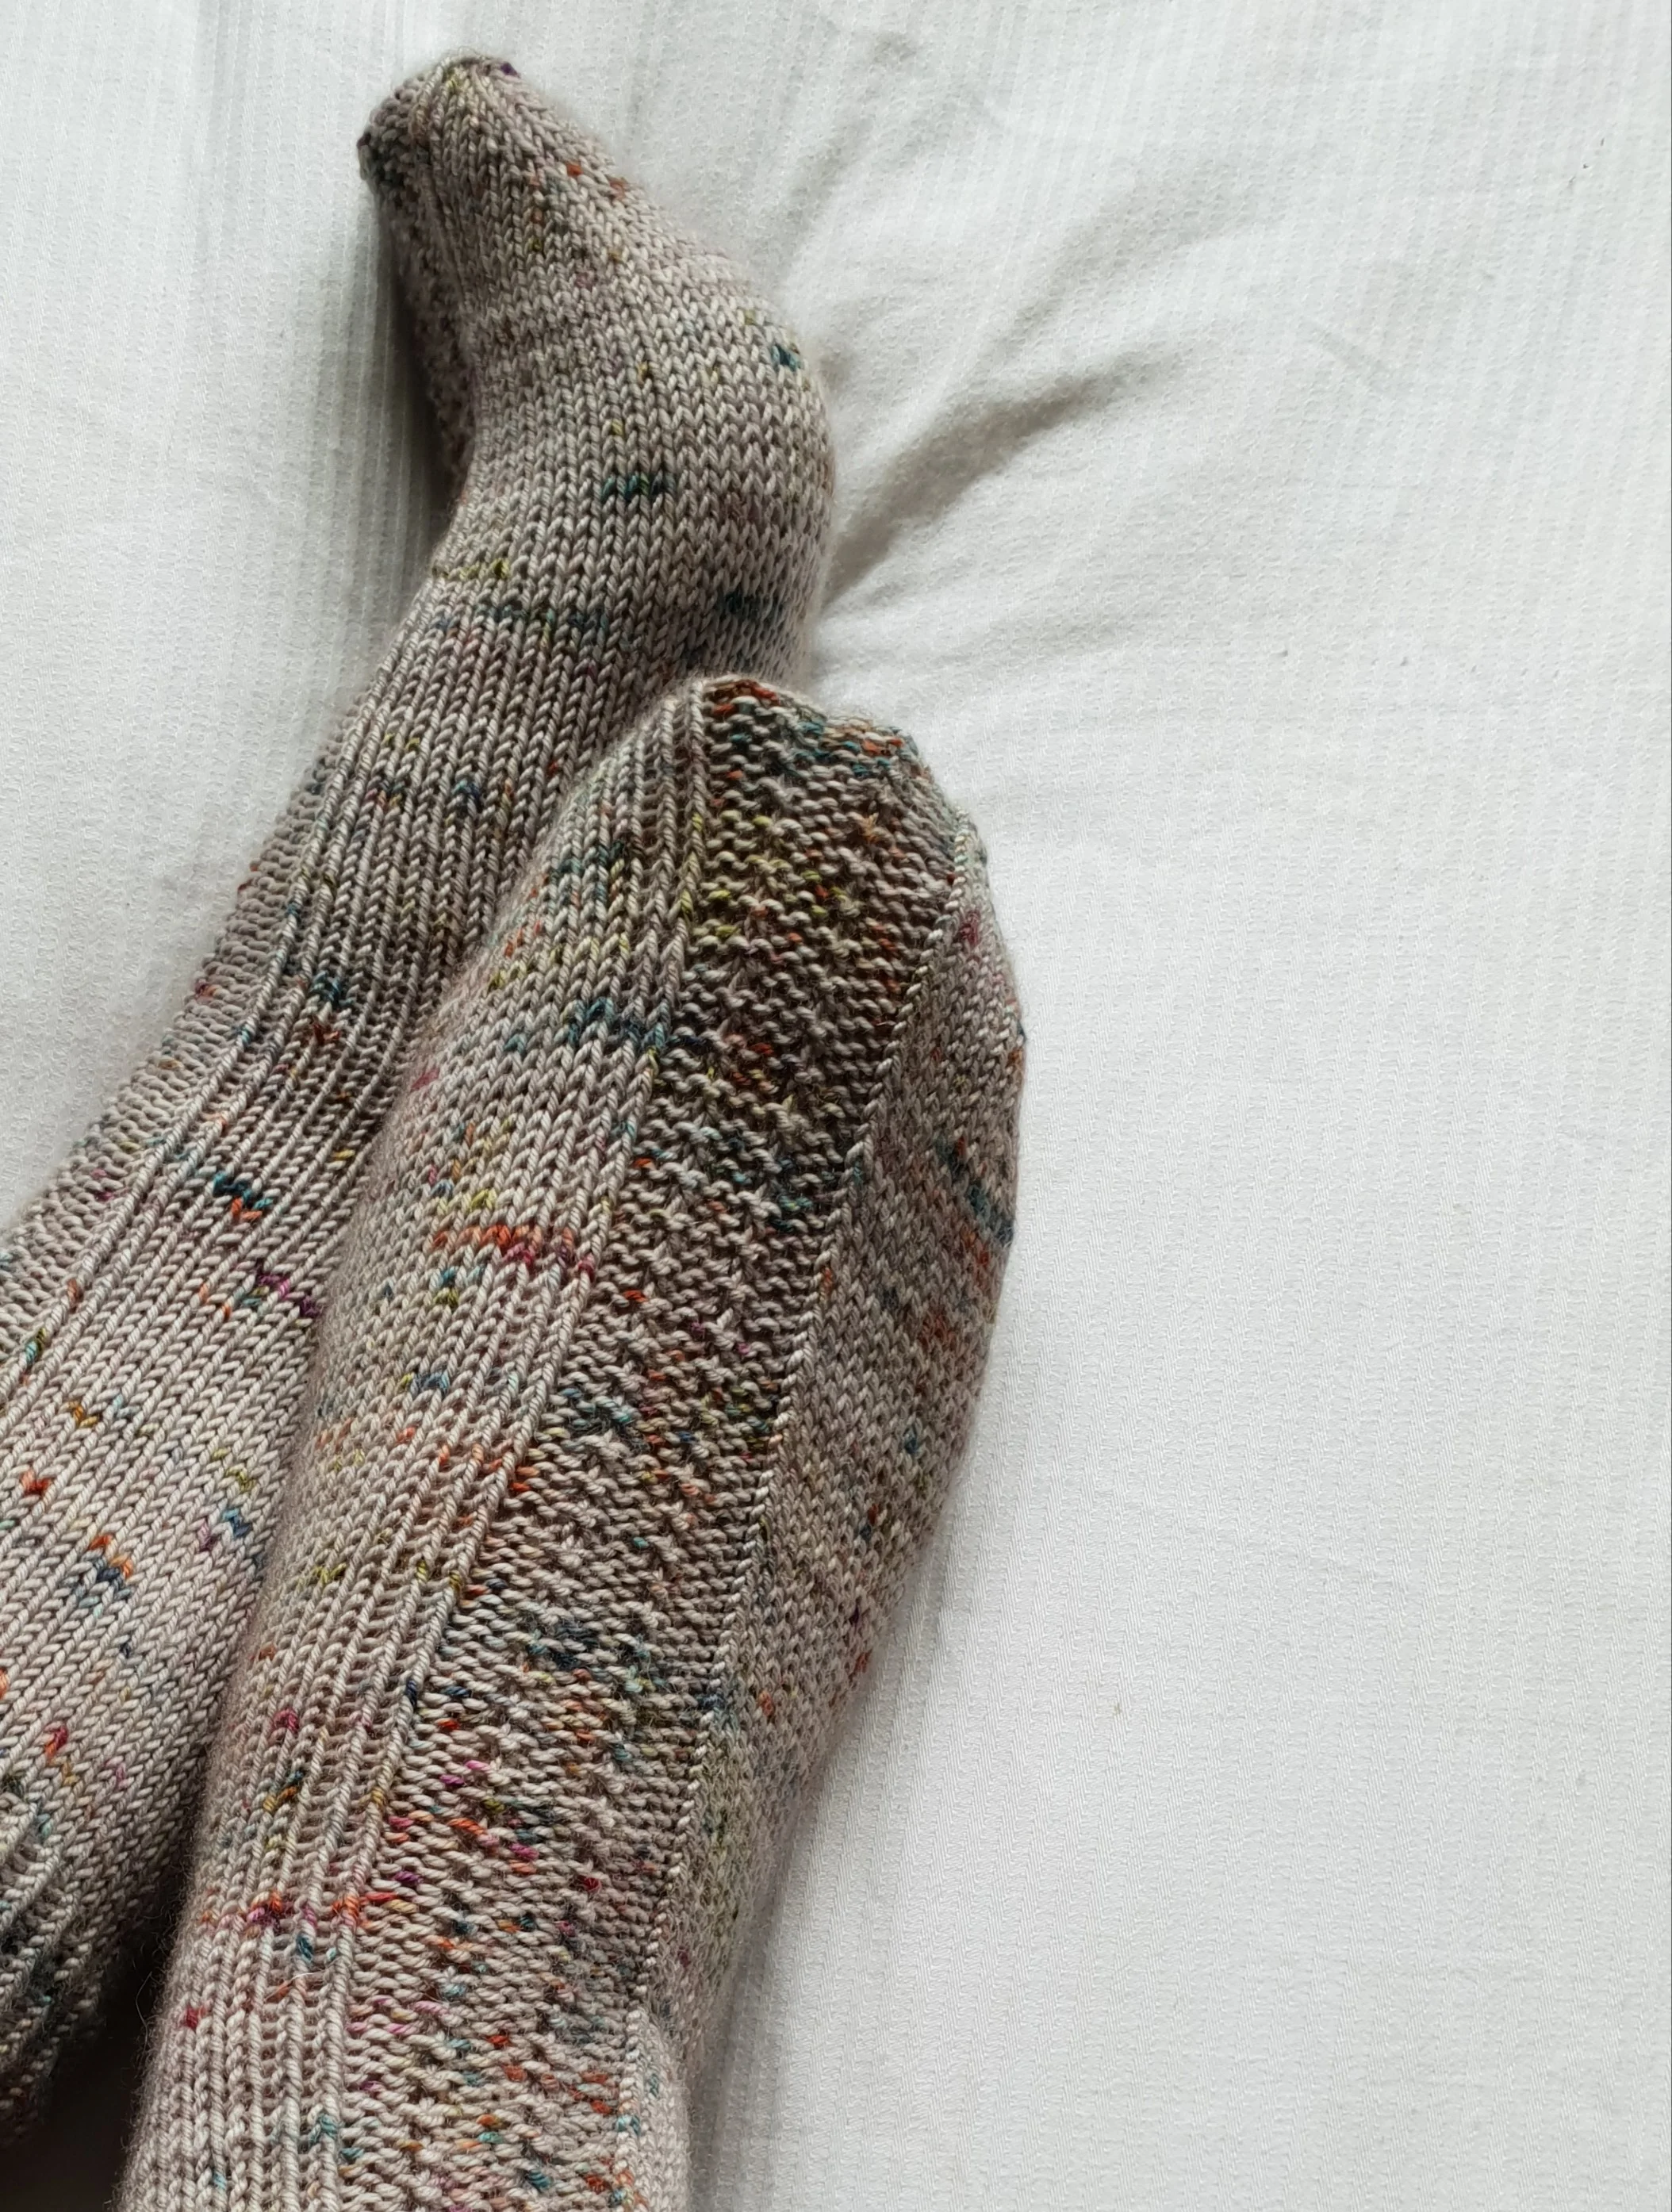
Meet BOB - short for "Build on the Basics".

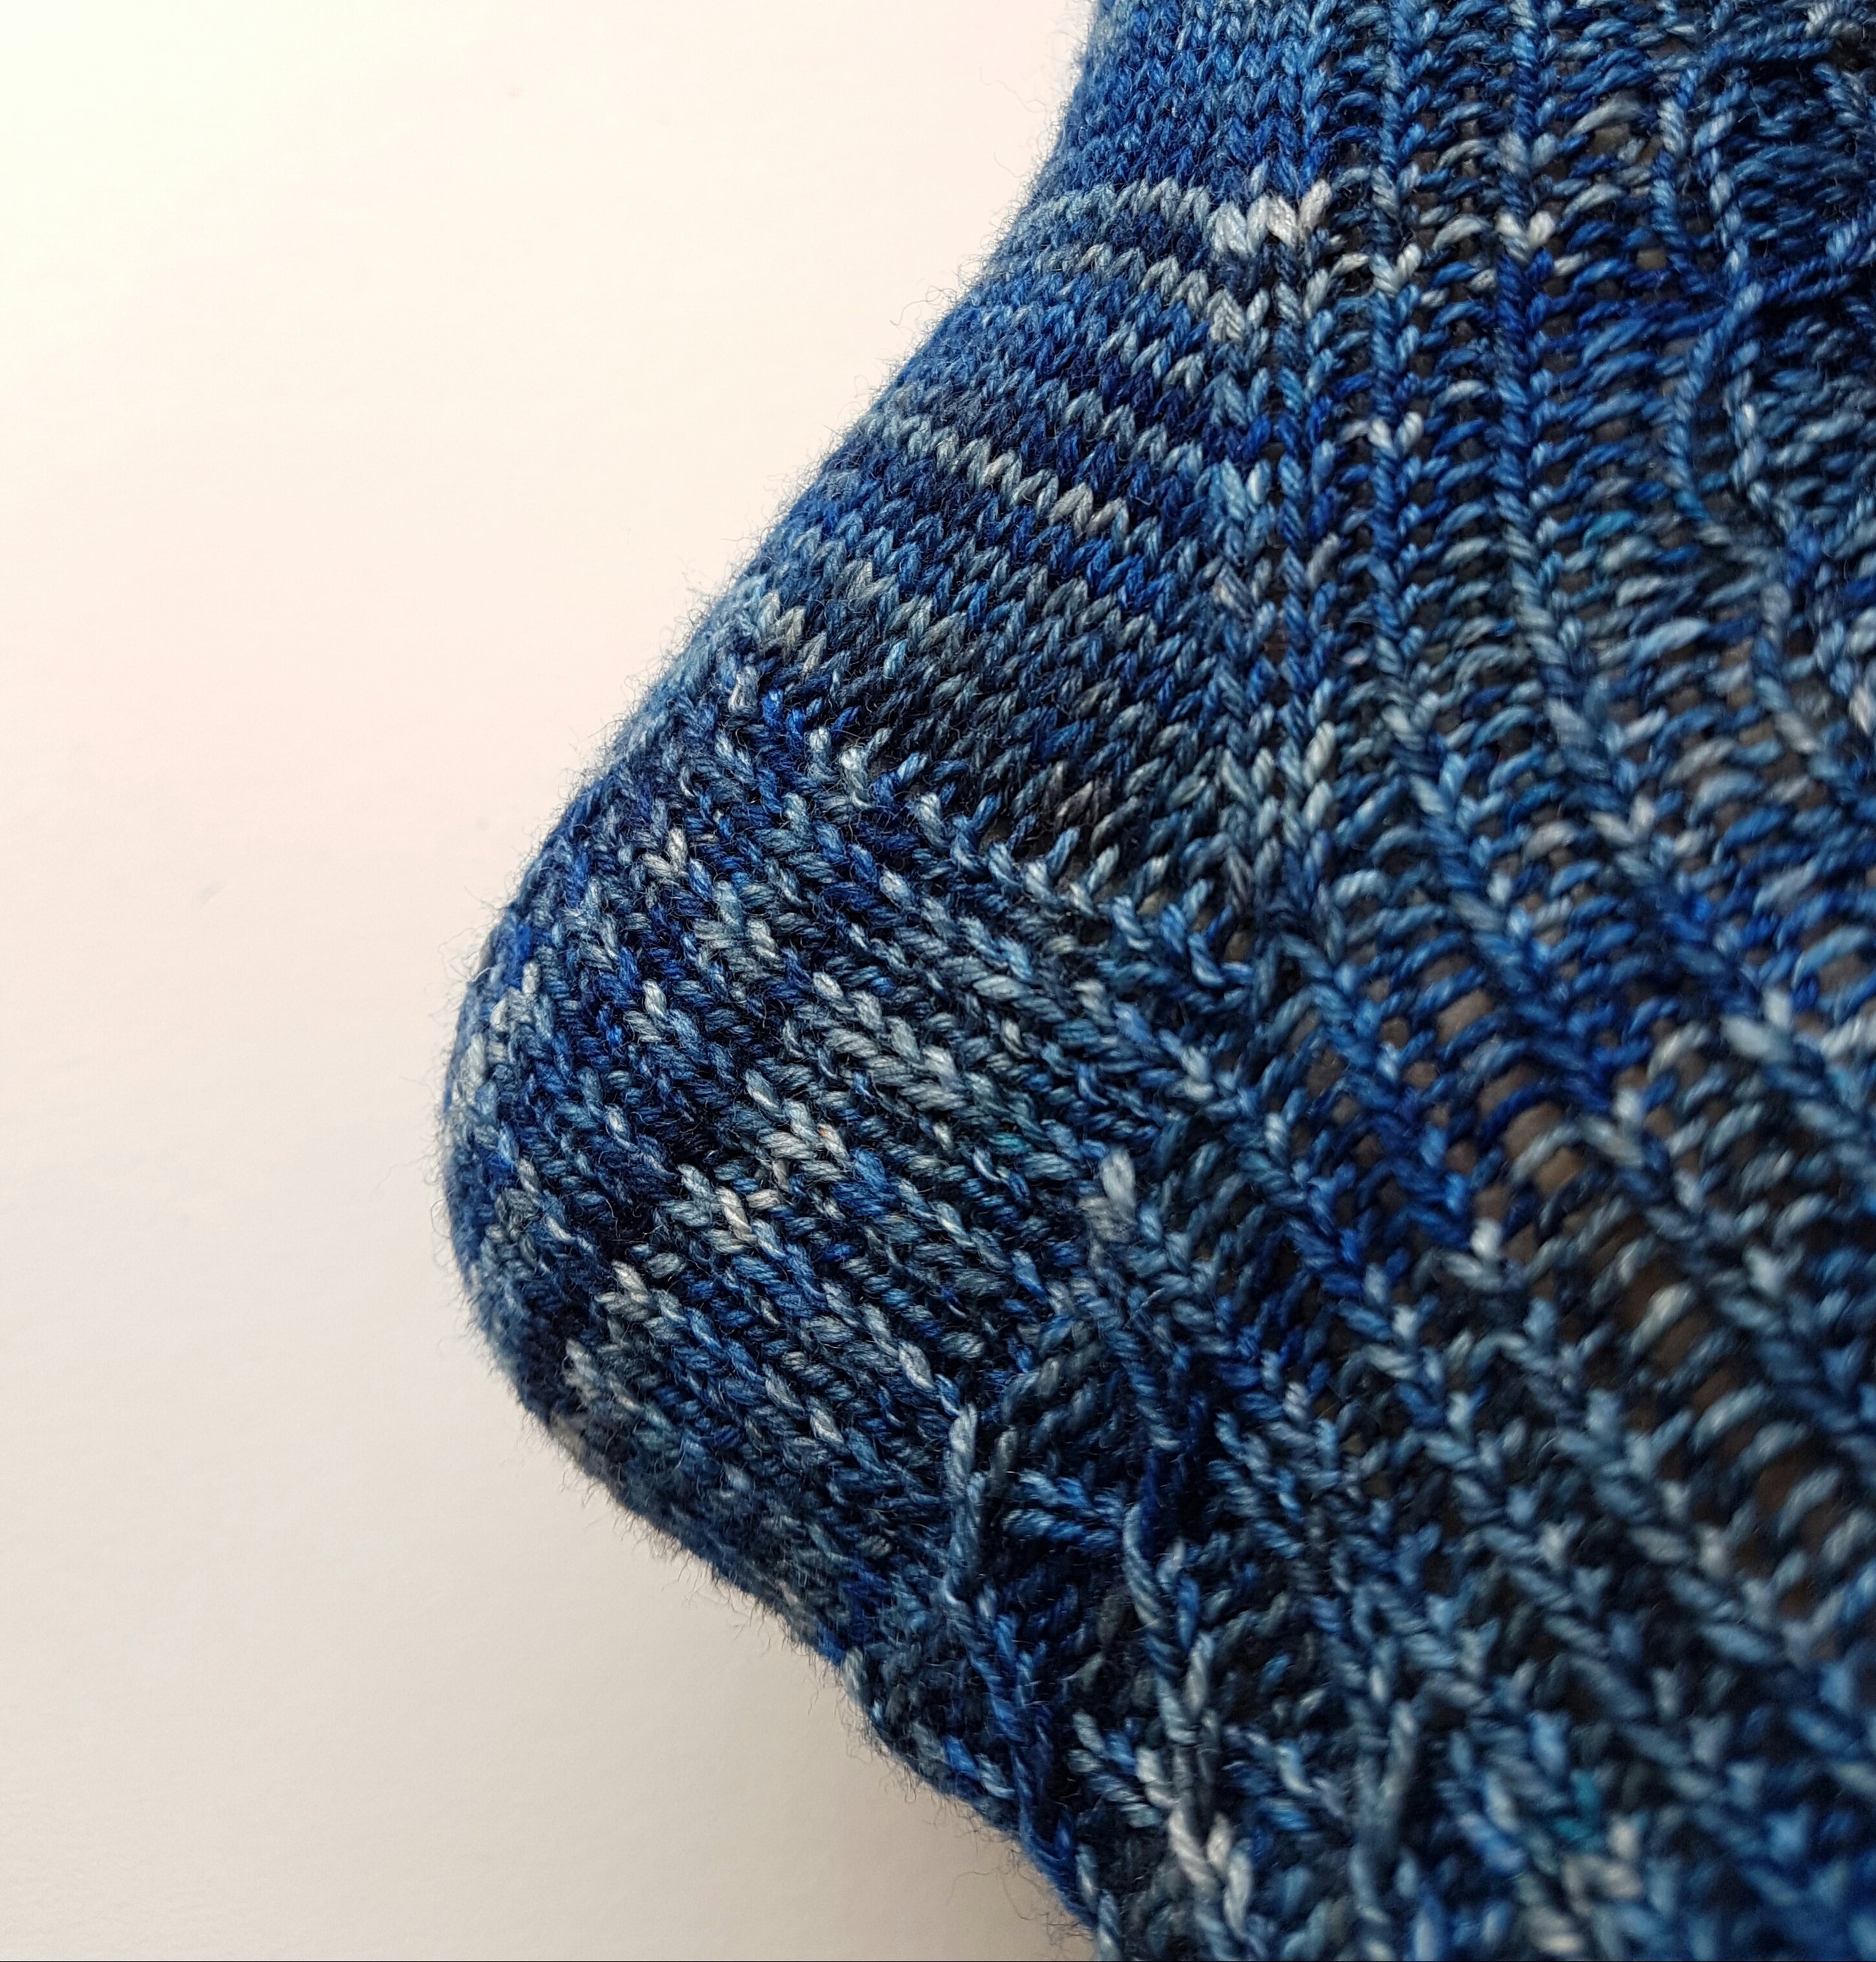
This is a sock which is ideal for a beginner but also offers something a little different from the standard basic sock. If you want to try a cuff down sock without a heel flap and that doesn’t require Kitchener stitch to graft the toe - then you are in the right place.

This pattern is for a 64st sock - sized to fit a foot circumference of 9” 

Eventually this pattern, with expanded sizes and design options will become a paid pattern on Ravelry but just for now, I’m offering the basic version in weekly installments for your knitting pleasure. There is a pattern page there however for those of you that like to track your projects. The purpose of this post is to let you know what materials you need so that you can get started when the first installment comes out on Monday (June 19th, 2017).

Installments will be posted here and also on my Instagram account . If you want to save the installments to your Instagram 'collections' just click on the little bookmark symbol to the bottom left of your screen.

For these socks you will need:

Yarn: 100g sockweight yarn (4ply) of your choice -  Speckles or self stripe make the knitting more fun. 

Needles: I use 2.25mm Hiya Hiya sharp interchangables with an 80cm cable. We are aiming for a gauge of 32st and 44 rows to 4”. Please adjust your needle size if necessary to obtain correct gauge.

Skills: if you can knit, purl and knit 2 together you can knit these socks. There is a different type of stitch - the wrap and turn - at the heel but I’ll talk you through this.

 Technique: throughout the knitting of these socks I will be using the magic loop technique with 32 stitches on one needle and 32 stitches on the other. You are of course welcome to use your preferred method of small circumference knitting and I will give the directions for needle 1 (N1) which covers the 1st 32st, and needle 2 (N2) which covers the 2nd 32st.

I'm really excited to run this KAL in a slightly different format to my usual ones and I hope you are too. I'll be back on Monday with the first installment but if you have any questions please don't hesitate to ask.

Check your gauge

As with anything to do with gauge this post comes with a huge caveat. Everyone knits differently and you might not have the same experience as me. That being said I find that often when I knit a plain vanilla stocking stitch sock I find that my usual 64st on 2.5mm needles doesn't work for me and the sock ends up being ever so slightly loose on the foot.

Instead I find that dropping to 60st for me (and from 72 to 68 for DH) gives a much better fit in plain stocking stitch.

Socks with a pattern or cable often have a slight degree of extra rigidity, unless there is a lot of ribbing. Plain stocking stitch however tends to have equal stretch in both directions. This makes for a beautifully smooth fabric - all the better to show off that gorgeous self stripe yarn - but which also has the potential to be ever so slightly baggy.

Going down just those few stitches creates the negative ease that is so crucial for a good sock fit.
Do you find the same thing ? I've love to know if you have the same experience too.

The art of a good heel flap

When it comes to the heel flap everyone has their personal favourite. I know some people who prefer a plain stocking stitch heel flap but personally I prefer something with a bit more texture and a bit more structure. The plain stocking stitch, whilst being smooth and simple to work can lack structure and end up creating a heel flap that is a bit too loose.

My personal favourite is a slipped stitch heel flap where the right side rows are worked (slip 1, Knit 1) all the way across and the wrong side rows are purled across (after the first stitch is slipped). This creates a thicker fabric as the slipped stitches create an extra layer of bulk across the back of the heel. The slipped stitches draw in the fabric and create a heel which grips better and gives a good fit.

There is also the Eye of Partridge heel where the right side rows are worked as follows:

Row 1: sl1, k1 to end

Row 2: sl1, p to end

Row 3: sl1, (sl1, k1 )to end

Row 4: sl1, p to end

This creates a really lovely texture, but it is a little bit more difficult to remember and for that reason it tends not to be my go-to heel. But it is well worth a go if you are looking for a pretty and fun alternative.