Knitting life

Two different mitered square decreases

A mitered square over an even number of stitches (left) vs one with an odd number (right)

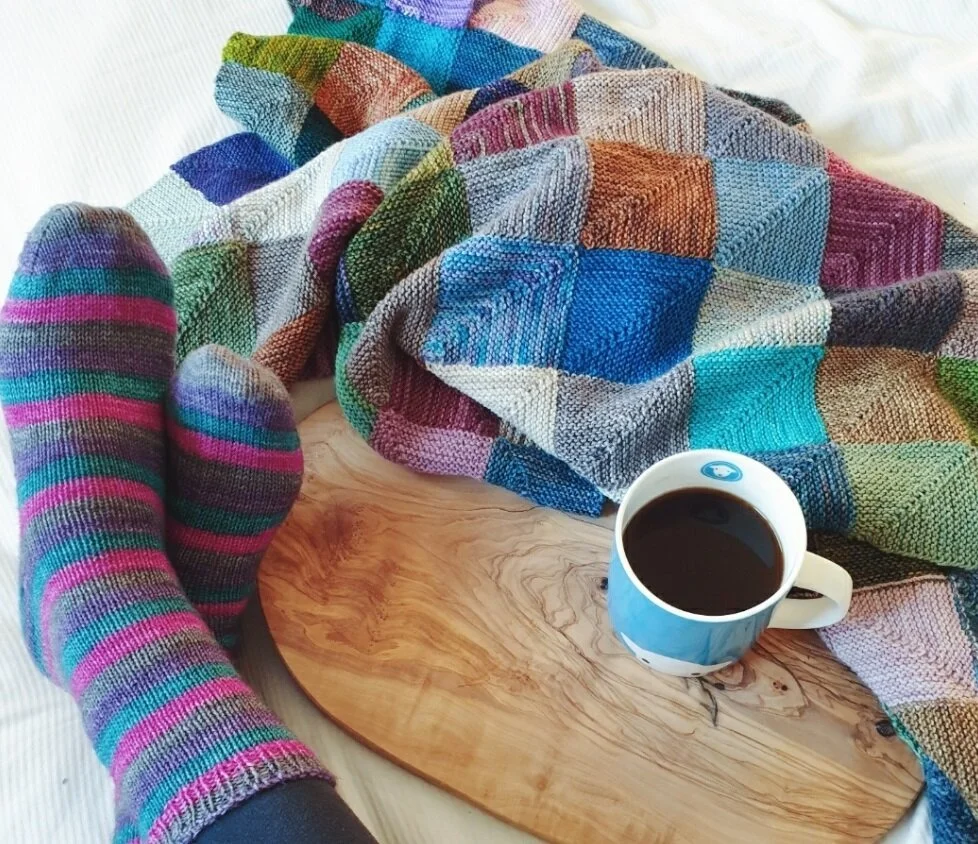
Everyone loves the look of a mitered square blanket but one of the most common questions is around which decrease to use to create the distinctive mitered square look.

There are several different options available for how to knit a mitered square but they fall into two camps - those worked over an even number of stitches and those that use an odd number.

Even number of stitches: These have a marker at the centre point and an even number of stitches either side (32 sts in total in my example above). On each RS row the square is worked:

K to 2 sts before m, ssk, sm, k2tog, K to end.

The WS row is knit all the way across.

This creates a fairly broad ridge up the centre of the mitered square. It’s simple and easy to remember but some people are looking for a narrower, more defined ‘spine’ to their work.

Odd number of stitches: These squares have a central marked stitch with an even number of stitches on either side of that stitch. In my example above the 2 sides have 16 sts, with a central stitch (33 in total).

In this case the spine is formed by creating a central double decrease (CDD) - decreasing by 2 sts at the central point:

K to 1 st before central marked st, sl 1, k2tog, pass slipped st over the k2tog just worked (psso), K to end.

There are number of different ways to work a CDD - I have just given one option here - but the principle is always the same. You knit to 1 st before the central stitch then do a double decrease.

It gives a neat, defined line up the centre of the stitch which some people prefer.

I love the look of the CDD but I have an irrational dislike of actually carrying out the decrease itself. It’s always advisable to mark the central stitch in some way (I use a little bulb pin) but every time you do the CDD you need to move the marker up to make sure you do the CDD in the correct place on the next RS row.

Every time that I get lazy and think I’ll remember where the CDD goes - I forget. It’s OK when you are paying close attention but it only takes a momentary lapse and suddenly your nice straight spine looks more like a dogs hind leg.

For this reason |I always prefer to do my mitered squares over an even number of stitches - you always know where you are with a paired ssk/k2tog decrease.

But, as with everything it’s worth experimenting and seeing which decrease you prefer. Do you have a favourite? Let me know in the comments below.

Top tips for faster knitting

I originally wrote about this in 2017, but I thought it was time to revisit the topic of faster knitting. A lot of people comment that I must knit very quickly in order to be able to churn out the projects that I do. Having seen other, very accomplished knitters in action I have to say that I’m pretty slow in comparison.

What I do however, is short bursts of very focused knitting where I can power through quite a lot in a short space of time. The other thing that I do is to take my knitting everywhere - and I mean everywhere - so that if I find myself with an unexpected wait somewhere I can whip the needles out and get a few rounds in. It’s amazing how much those little moments accumulate throughout the day.

Now, don’t get me wrong, I do love a good meditative knit sometimes and not every project knits to be rushed off the needles. But as deadlines loom or a loved ones birthday approaches there are always those times where a bit of power knitting is called for. If you’ve ever wondered how to knit faster I hope that these few simple tips will help.

Top tips for faster knitting:

  1. Use super slick and shiny needles: As slick as you can get away with without your stitches flying off the needles. I like Addi Turbos in particular for lots of stocking stitch. The points aren't the sharpest but they really are super speedy.

  2. Front load your stitches: Scoot as many stitches as you can to the tip of your left hand needle. That way you don't have to pull the next stitch to the top of the needle - it will already be there.

  3. Knit at the tips: Knit each stitch right at the tip of the left hand needle - but be sure to wrap the yarn fully around the wider part of the right hand needle as this is what determines the tightness of each stitch.

  4. Set your timer for 10 minutes. Eyes down and why not see how much you can knit when you really put your mind to it.

When is a skein not a skein

When is a skein not a skein? A chance conversation with an online pal lead to a very confusing "crossed wires" situation.
I'd shared some advice for new knitters (in my last post) about not trying to knit direct from a skein but to wind it first.

She responded that she always knits direct from the skein. And I wondered how on earth she ever left the house.

I turns out that we were talking about 2 completely different things. To me, a skein (let's not get into pronunciation 😂) is a tightly twisted length of yarn as in the picture.

But to my friend, this is a hank. She refers to the kind of fat ball (swipe left) that sits neatly on a shelf as a skein - hence the confusion.

Partly it might be a geographical thing I guess. I've only ever heard hank refer to rope - or embroidery thread.

But it was a timely lesson to remember, especially for newer knitters, to always be clear exactly what you are referring to. And not to assume anything.

So what would you call this?
Skein or hank? Let me know in the comments

Five things I wish I'd known when I started knitting

5 mini skeins from As Yet Yarns

I’ve been a knitter a long time now, first learning as a child sat on my Grandma’s knee. Then in my early 30s picking up the needles again by way of respite from life with two babies under 2. I knit most days, on a variety of projects and I’m never without knitting on my person when I leave the house. In short, I’m a knitter with a capital K.

But everyone starts somewhere and it’s easy to forget that things we now take for granted, we once didn’t know. Not only that we didn’t know. But that we didn’t know that we didn’t know.

It would never occur to me now to try and knit from yarn directly from the skein. But once, I did. Not only that but I tried to do it in a parked car with the yarn looped around the gearstick. As I said - I didn’t know what I didn’t know.

But, we live and learn - at least most of the time. I still persist in thinking that I don’t need to make a note of the needles I’m using for a particular project for example. But most of the time we do.

And in that spirit I thought I would present a short list of things I wished someone had presented me with (ideally on a laminated sheet for my project bag) back when I was a new knitter.

  1. Wind the yarn into a ball before you start. I know I already mentioned this one but it really is my top tip for anyone new to knitting who is tempted to try the joys of hand dyed yarn. Don’t fall into the trap of thinking you need fancy equipment. Just loop the yarn around two chair backs pushed other or employ the hands of a handy helper.

  2. Keep a knitting notebook - either on paper or digital. Make a note of the yarn and needles you are using along with any notes you might want to refer back to. It also really helps when you are getting to grips with gauge swatches and helps you keep a record of the stitch count you are likely to get with certain yarn weights and needle sizes.

  3. Gauge matters - I’m not going to labour the point on this one. Others have done that much better than I - see this post. But it really, really matters.

  4. There are better alternatives to the thumb cast on. This was the one I used for years (thanks, Nana) before it dawned on me that it was a bit wibbly and unstable for anything more than a short piece of knitting. Finding the long tail cast on was a revelation. There are others, of course and it’s always worth experimenting, but this is the one I always turn to first.

  5. Always mark the right side of your work. I generally clip a little bulb pin to the front of my work, just to remind me which is the right side. On a stockinette sweater of course, it’s easy to tell once you get going but just for those first few rows - and particularly if you are a new knitter it really does help to orientate you - and stop you picking up your work and accidentally knitting back the way you have come.

How about you. if you could write one piece of advice to your younger knitting self what would it be? Why not let me know in the comments.

The messy middle

The 'messy middle' is something that we don't talk about very often. It's a term often used to describe the creative process - whether that process is knitting, or writing or anything else for that matter.

You've got the excitement of the fresh start out of the way. You have a clear idea in your head of what you want the end project to look like. The only trouble is that what you often see in front of you doesn't really match up to that ideal.

It might do, in time.

But in truth it often looks more like a bedraggled duckling rather than the majestic bird that you envision in your minds eye.

That's a lot of words really to explain why there hasn't been a lot of fresh knitting content on the timeline this week. Everything on my needles is currently in the 25-50% done phase. A phase that's often accompanied by thoughts of 'oh, this just isn't working' - and sometimes swears are said.

It's so tempting at times like this to just throw your hands up and cast on for yet another mitered square blanket - or a pair of socks - after all, you know where you are with a pair of socks.

But for now I'm restraining myself with a bit of therapeutic journaling (aka a written rant) and a packet of biscuits.

Although I'm not ruling out a new cast on later on tonight.

What do you do when you hit that 'nothing is working' phase? Do you grit your teeth and soldier on or give in and raid the sock yarn stash? Let me know in the comments.

Can a beginner knit socks?

The answer, as with so many things in life is “It depends”.

Sock knitting is often perceived to be hard, for reasons that I’m yet to fully get to grips with. Some people seem to attribute almost mystical levels of skill to turning a heel and the often heard refrain is that ‘sock knitting is hard’.

But really, it’s like so many other things with knitting. A few skills are needed but they aren’t anything that you wouldn’t use on other knitting projects. If you can do the knit stitch in the round then you can knit socks.

Honestly, in my view socks are no more difficult than any other piece of knitting - with the possible exception of a flat garter stitch scarf. Although with socks you are far less likely to die of sheer boredom.

I've known knitters of over 40 years who have yet to knit a sock - and who are too nervous to try. And I've known brand new knitters pick up a set of DPNs or a long circular needle and start knitting socks with complete gusto.

It's more about attitude and willingness to embrace something new than it is about the length of time you've known how to knit and purl.

Like any knitting project, a beginner knitter may need a hand getting started. Any type of cast on can be tricky at first, whether you are knitting flat or in the round. But the majority of sock knitting is just working stocking stitch round and round - totally achievable for a beginner and an absolutely brilliant confidence booster.

The only part that I would say could be a little tricky is when you come to graft the toe closed (with cuff down socks). But the BOB socks shown here have a rounded toe - with absolutely no grafting needed.

If you don’t want to work a heel (although it really isn’t that bad) you could just knit a tube sock.

And at the end of the day, you have nothing to lose. If it all goes pear shaped (and oh - how I wish I’d kept my first sock attempt where the heel mysteriously appeared on the side of the sock rather than in the back) you can just rip the yarn out and try again.

At the very least, it’s more entertaining and you’ll learn far more than you ever will slogging away on a 6-foot garter stitch scarf.

If you'd like to know more, I've put together a blog post with some resources and suggestions for the adventurous sock knitter to be.

Link here