Not all ribbing is created equal

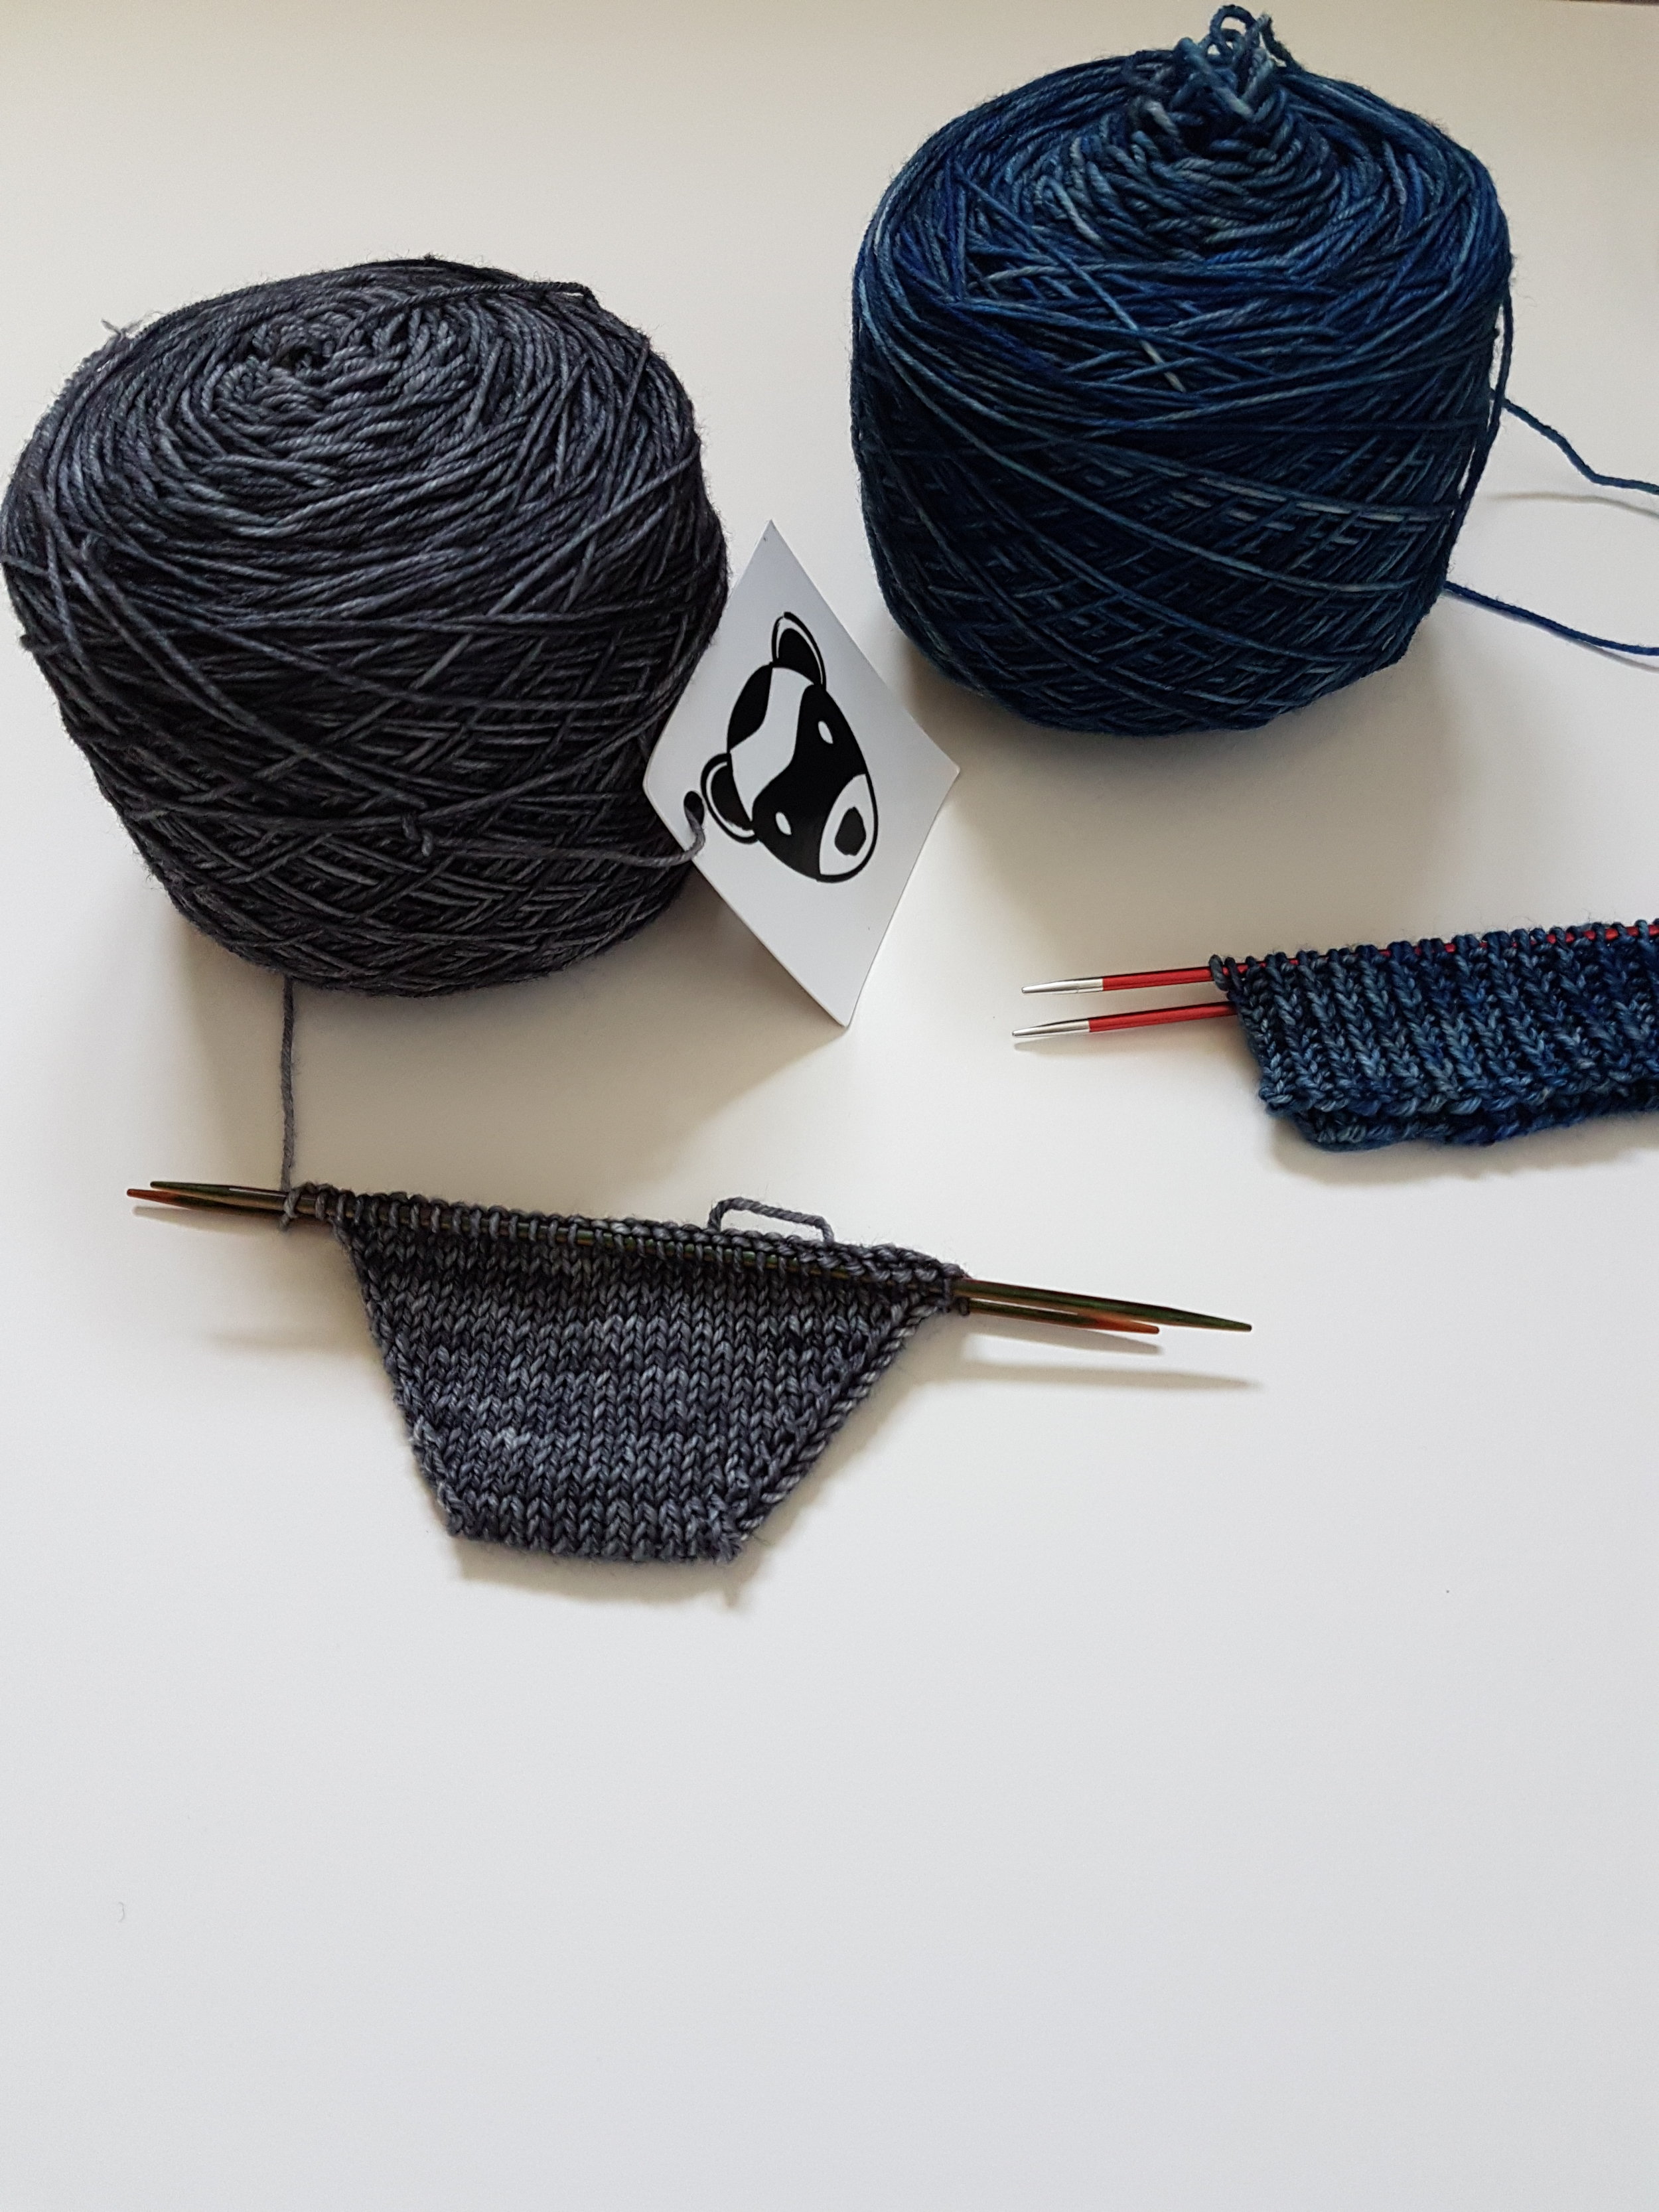
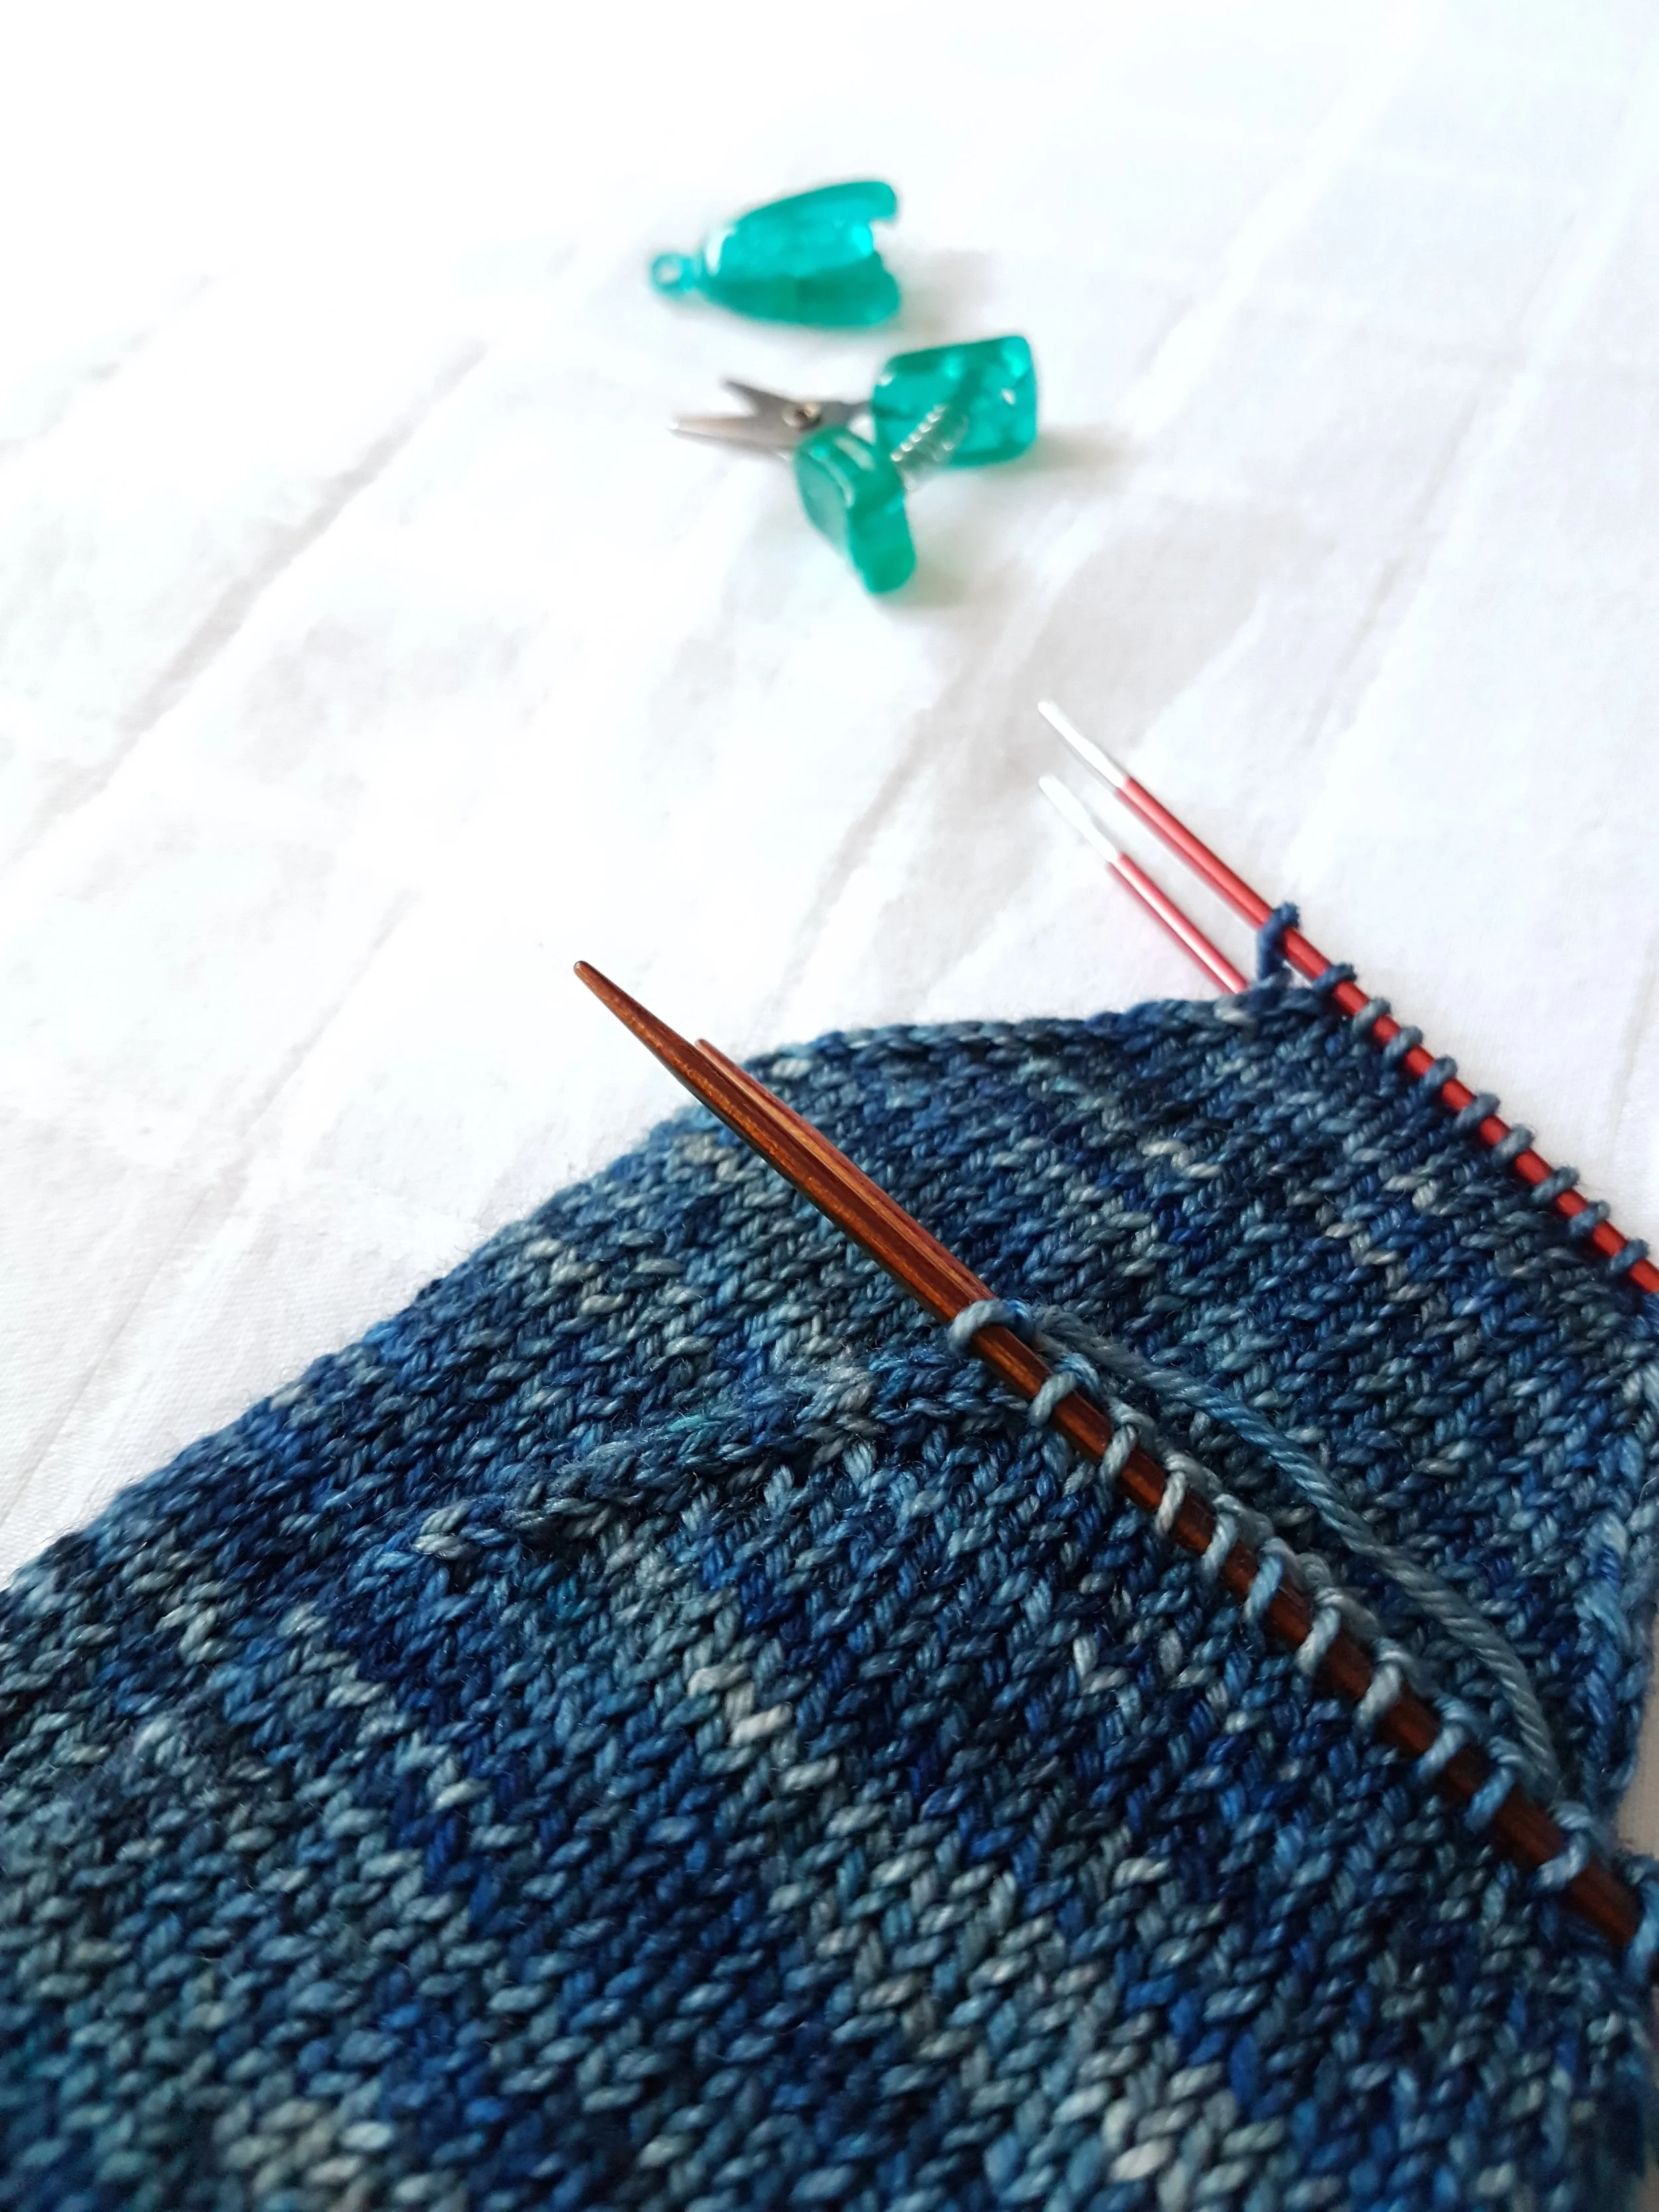
The cuff of the Catbells sock

When it comes to sock cuffs a bit of experimentation can often help get the perfect rubbed cuff. Obviously you need a firm cuff which isn't too loose and saggy bit it needs to stay put without cutting off your circulation.

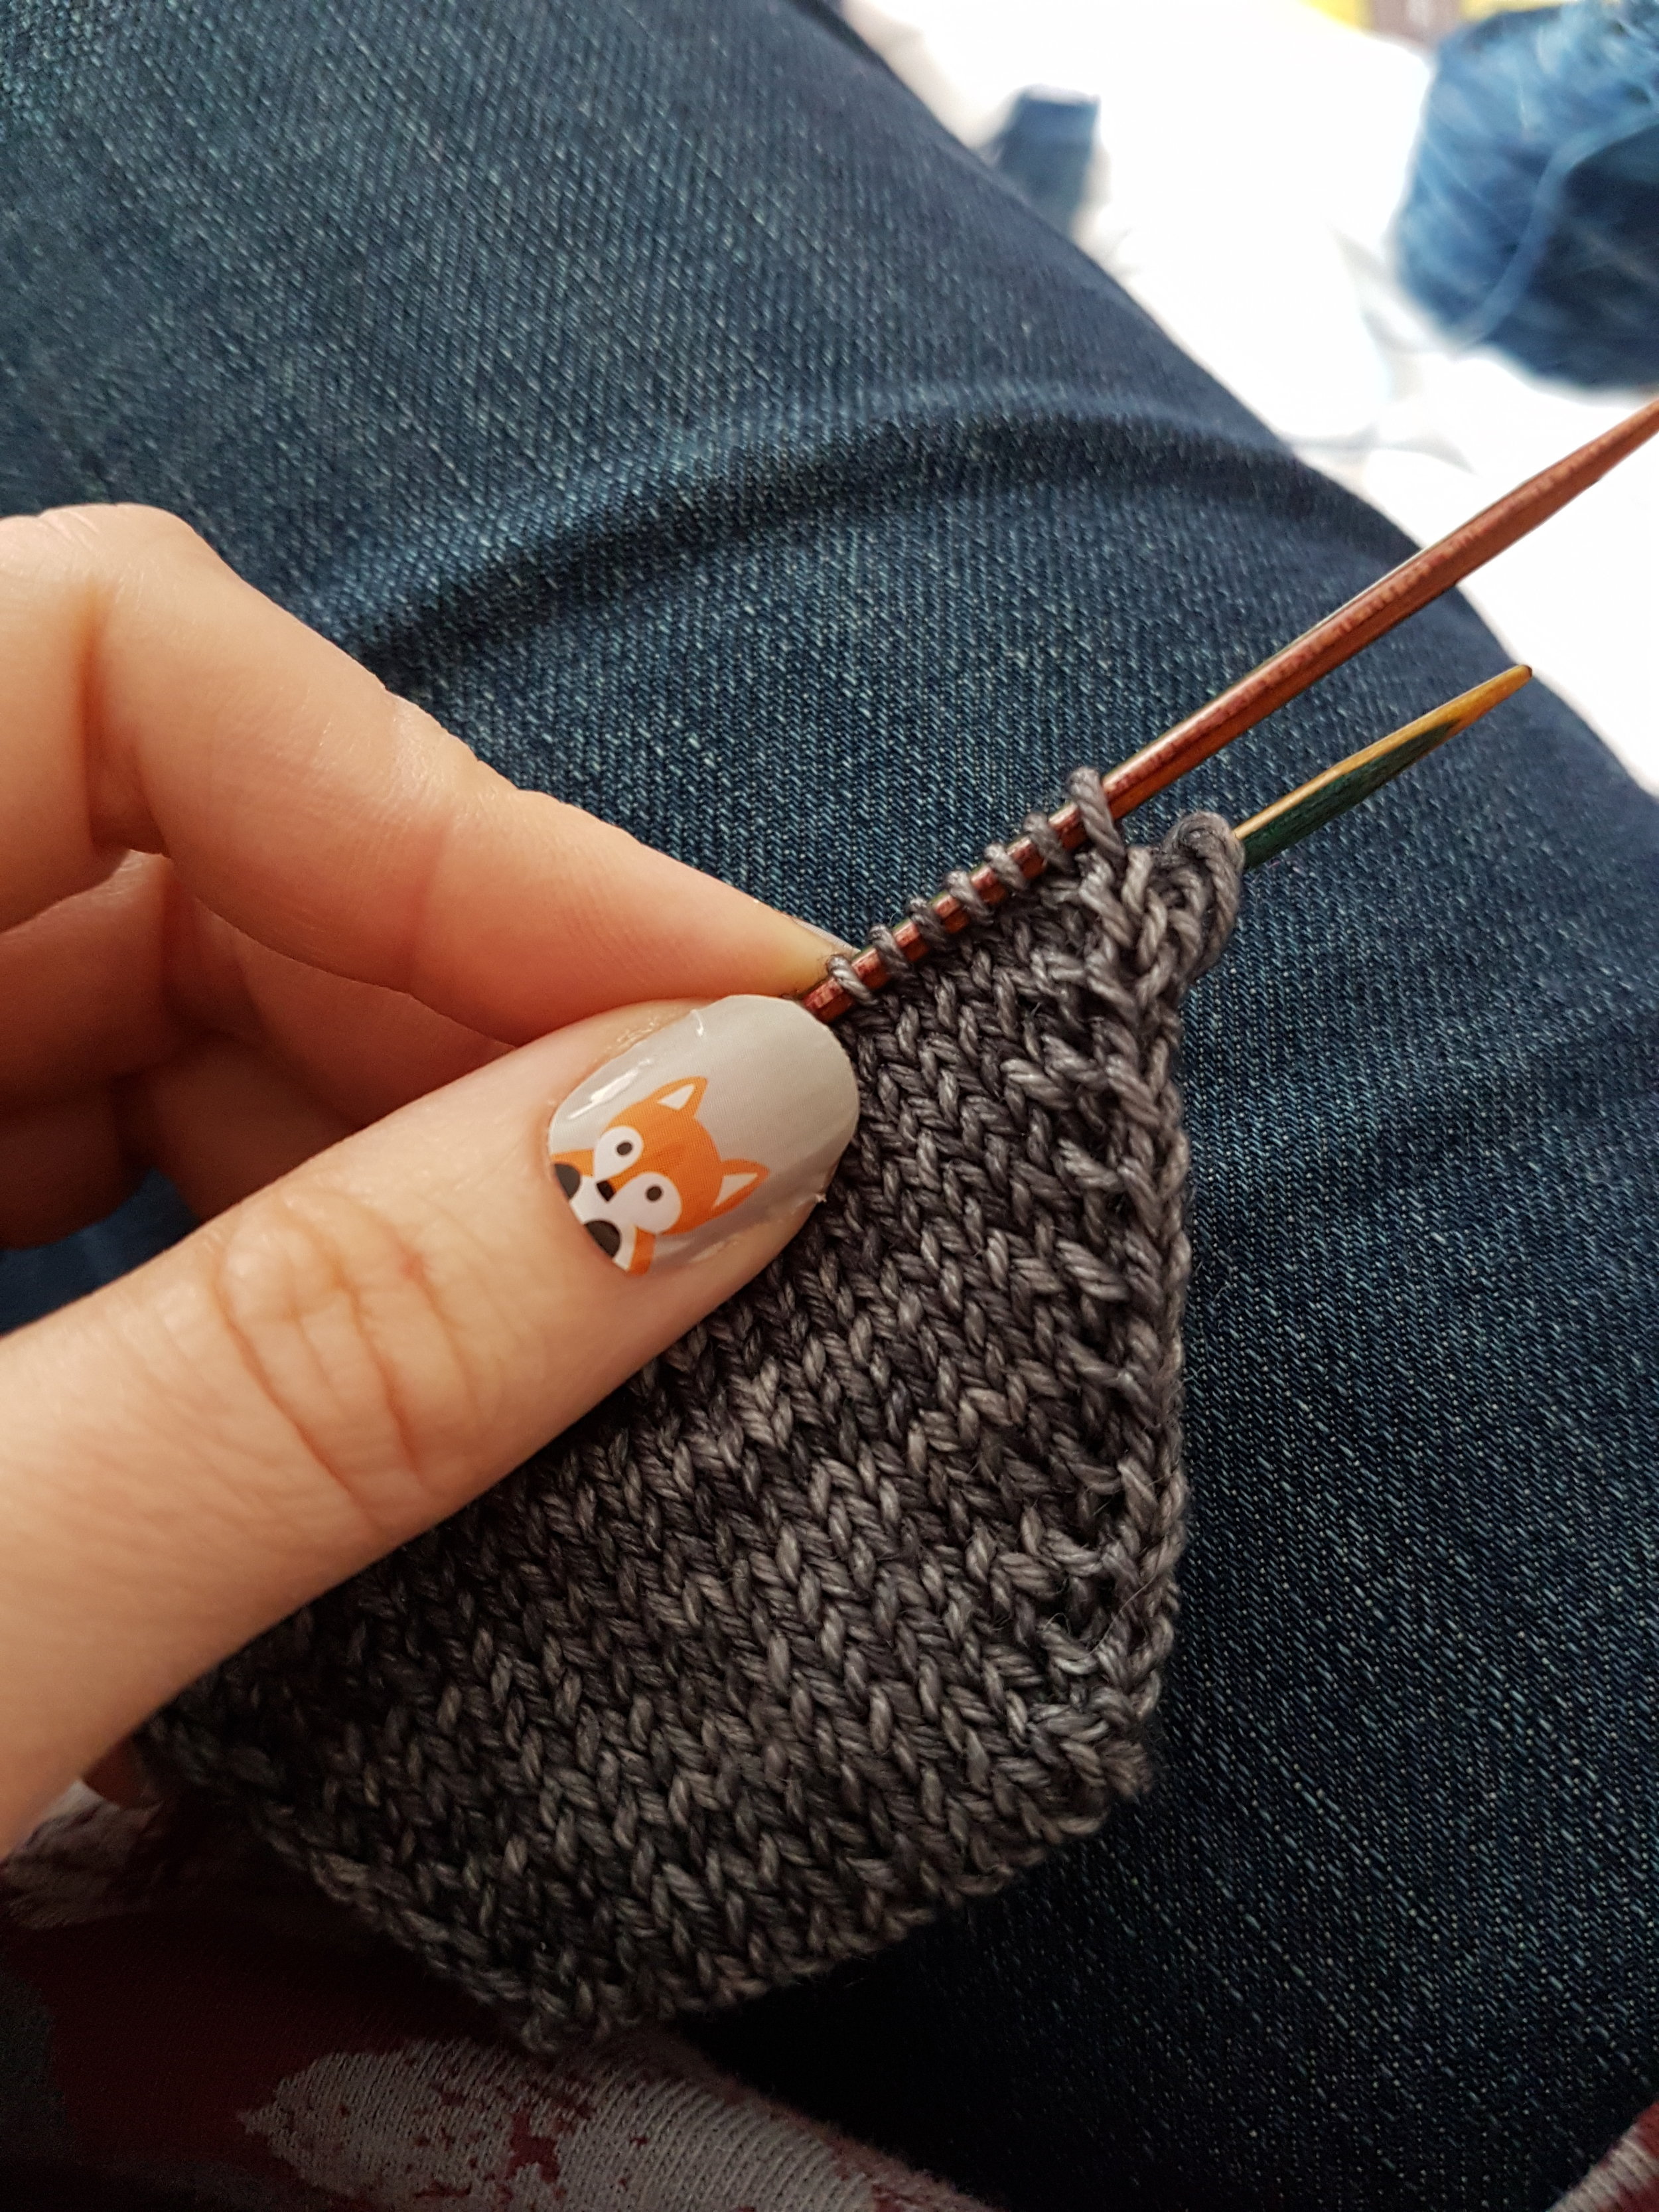
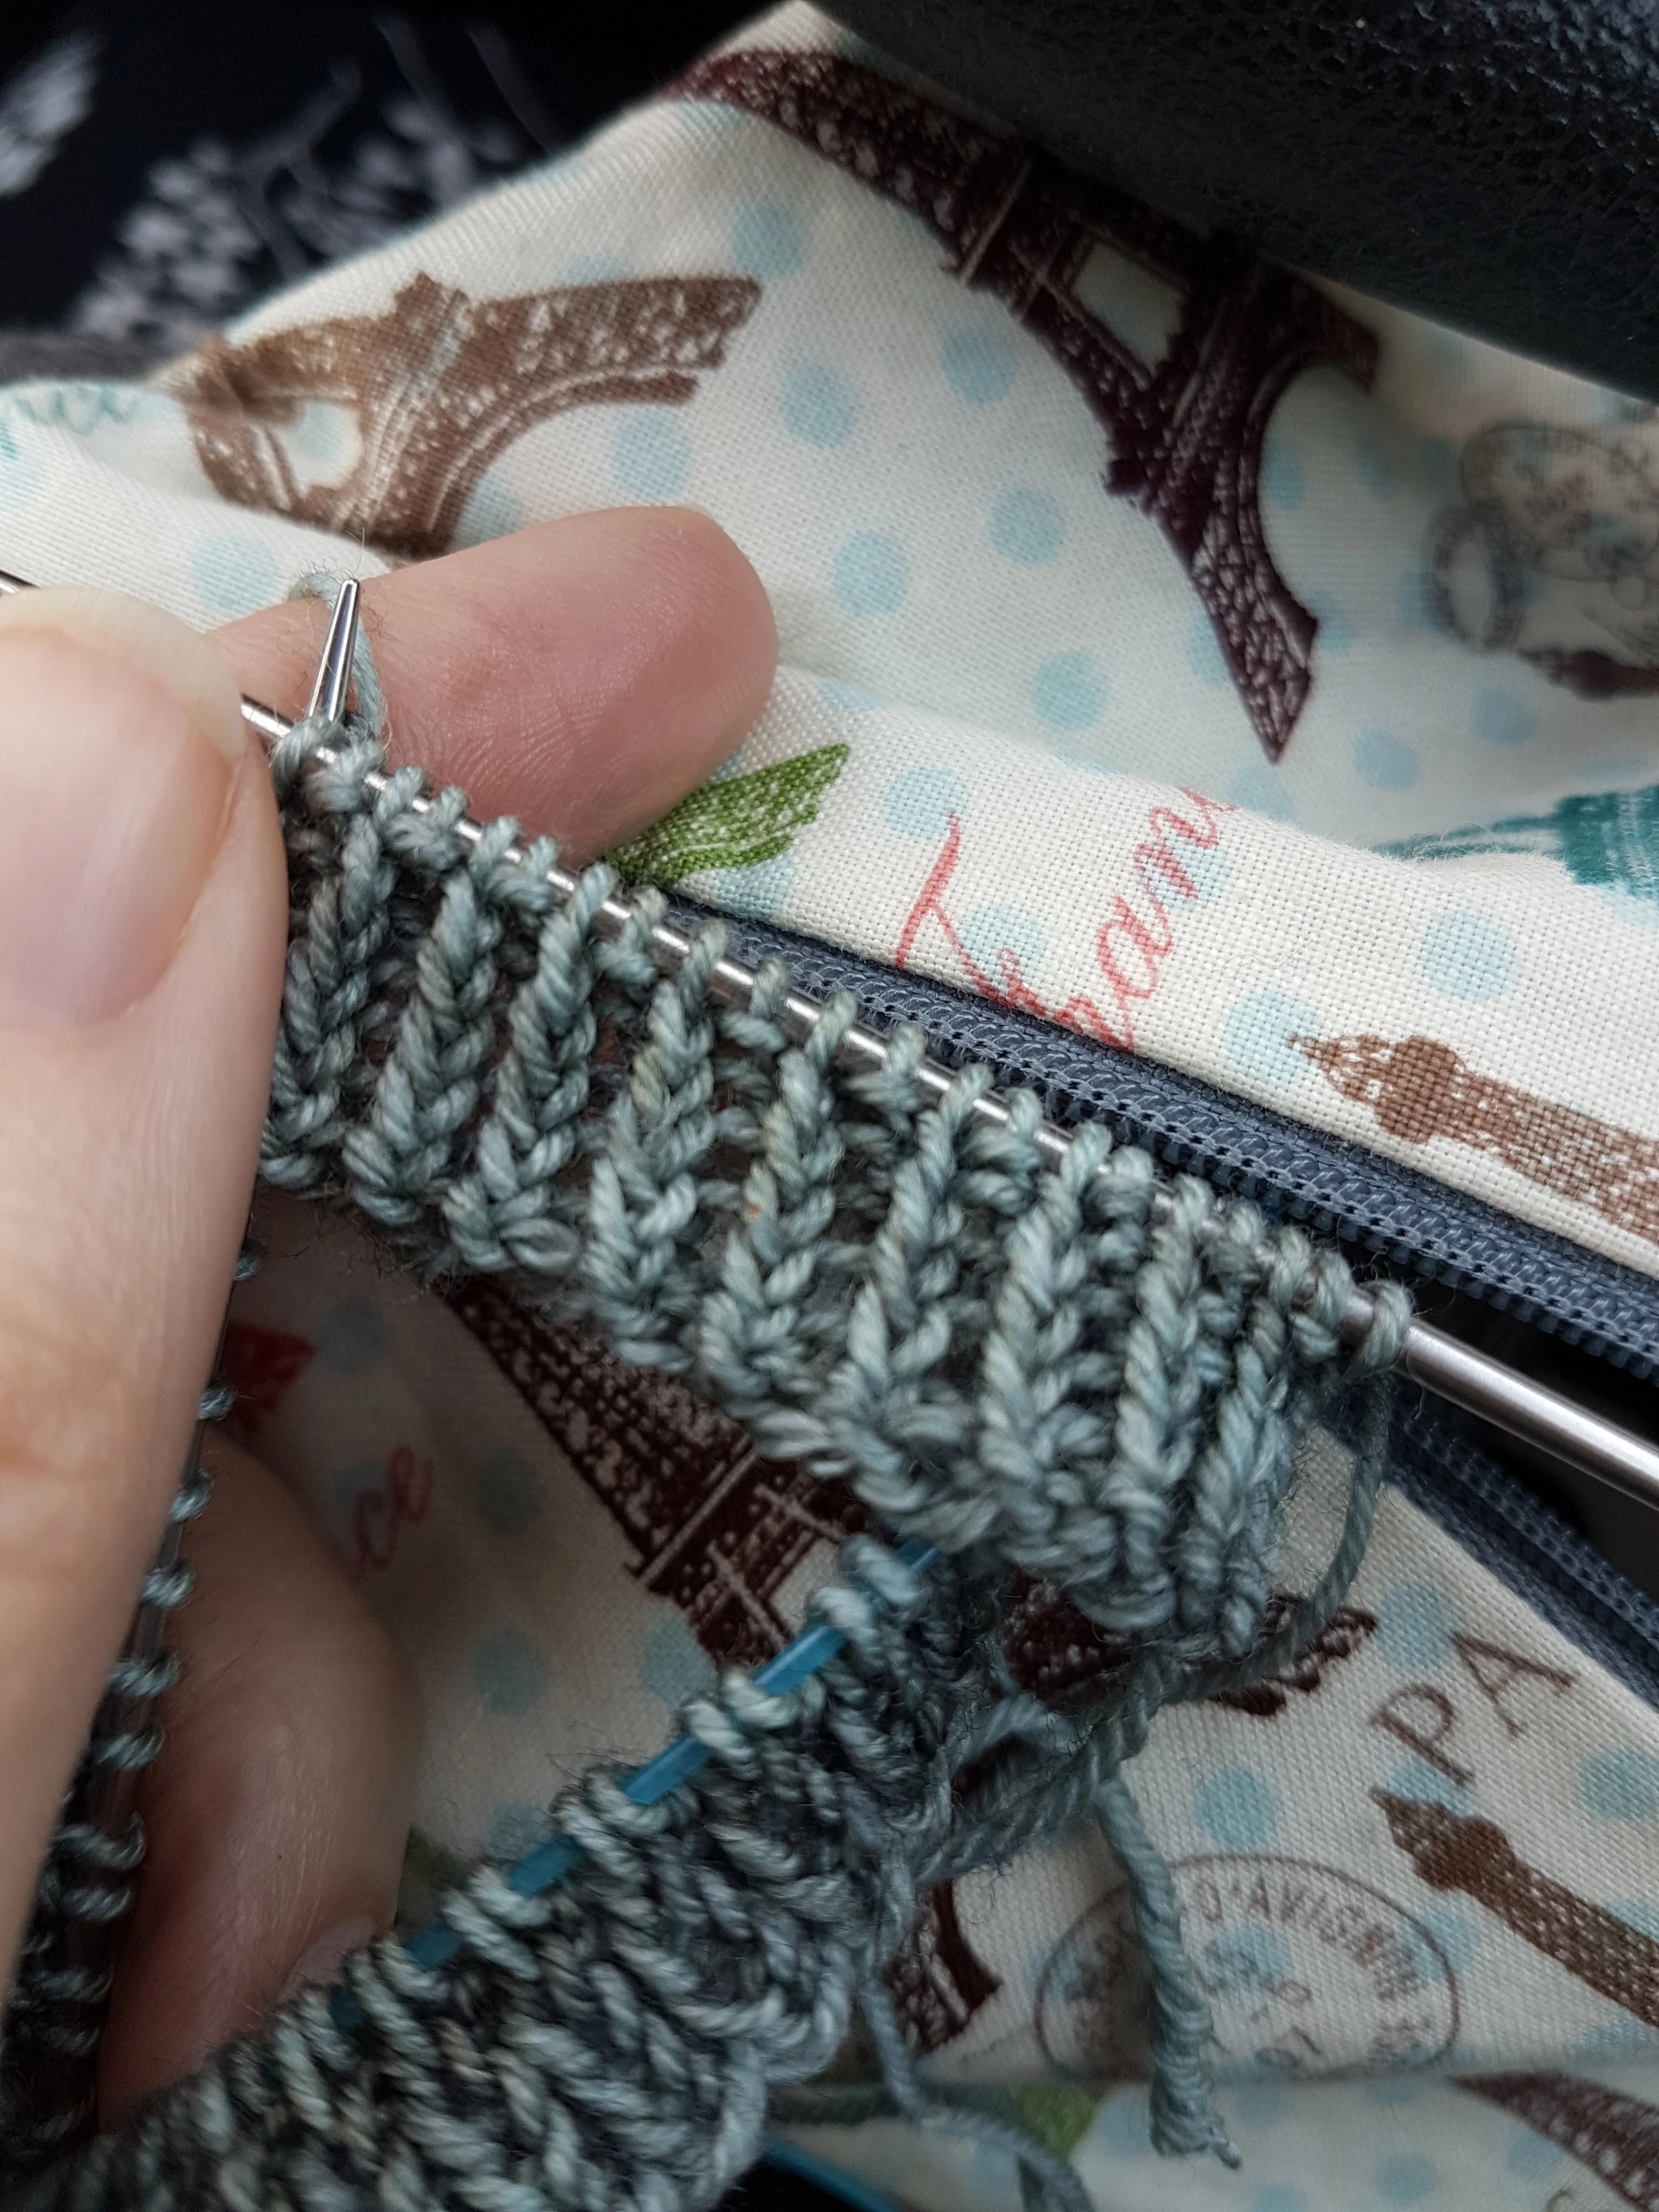
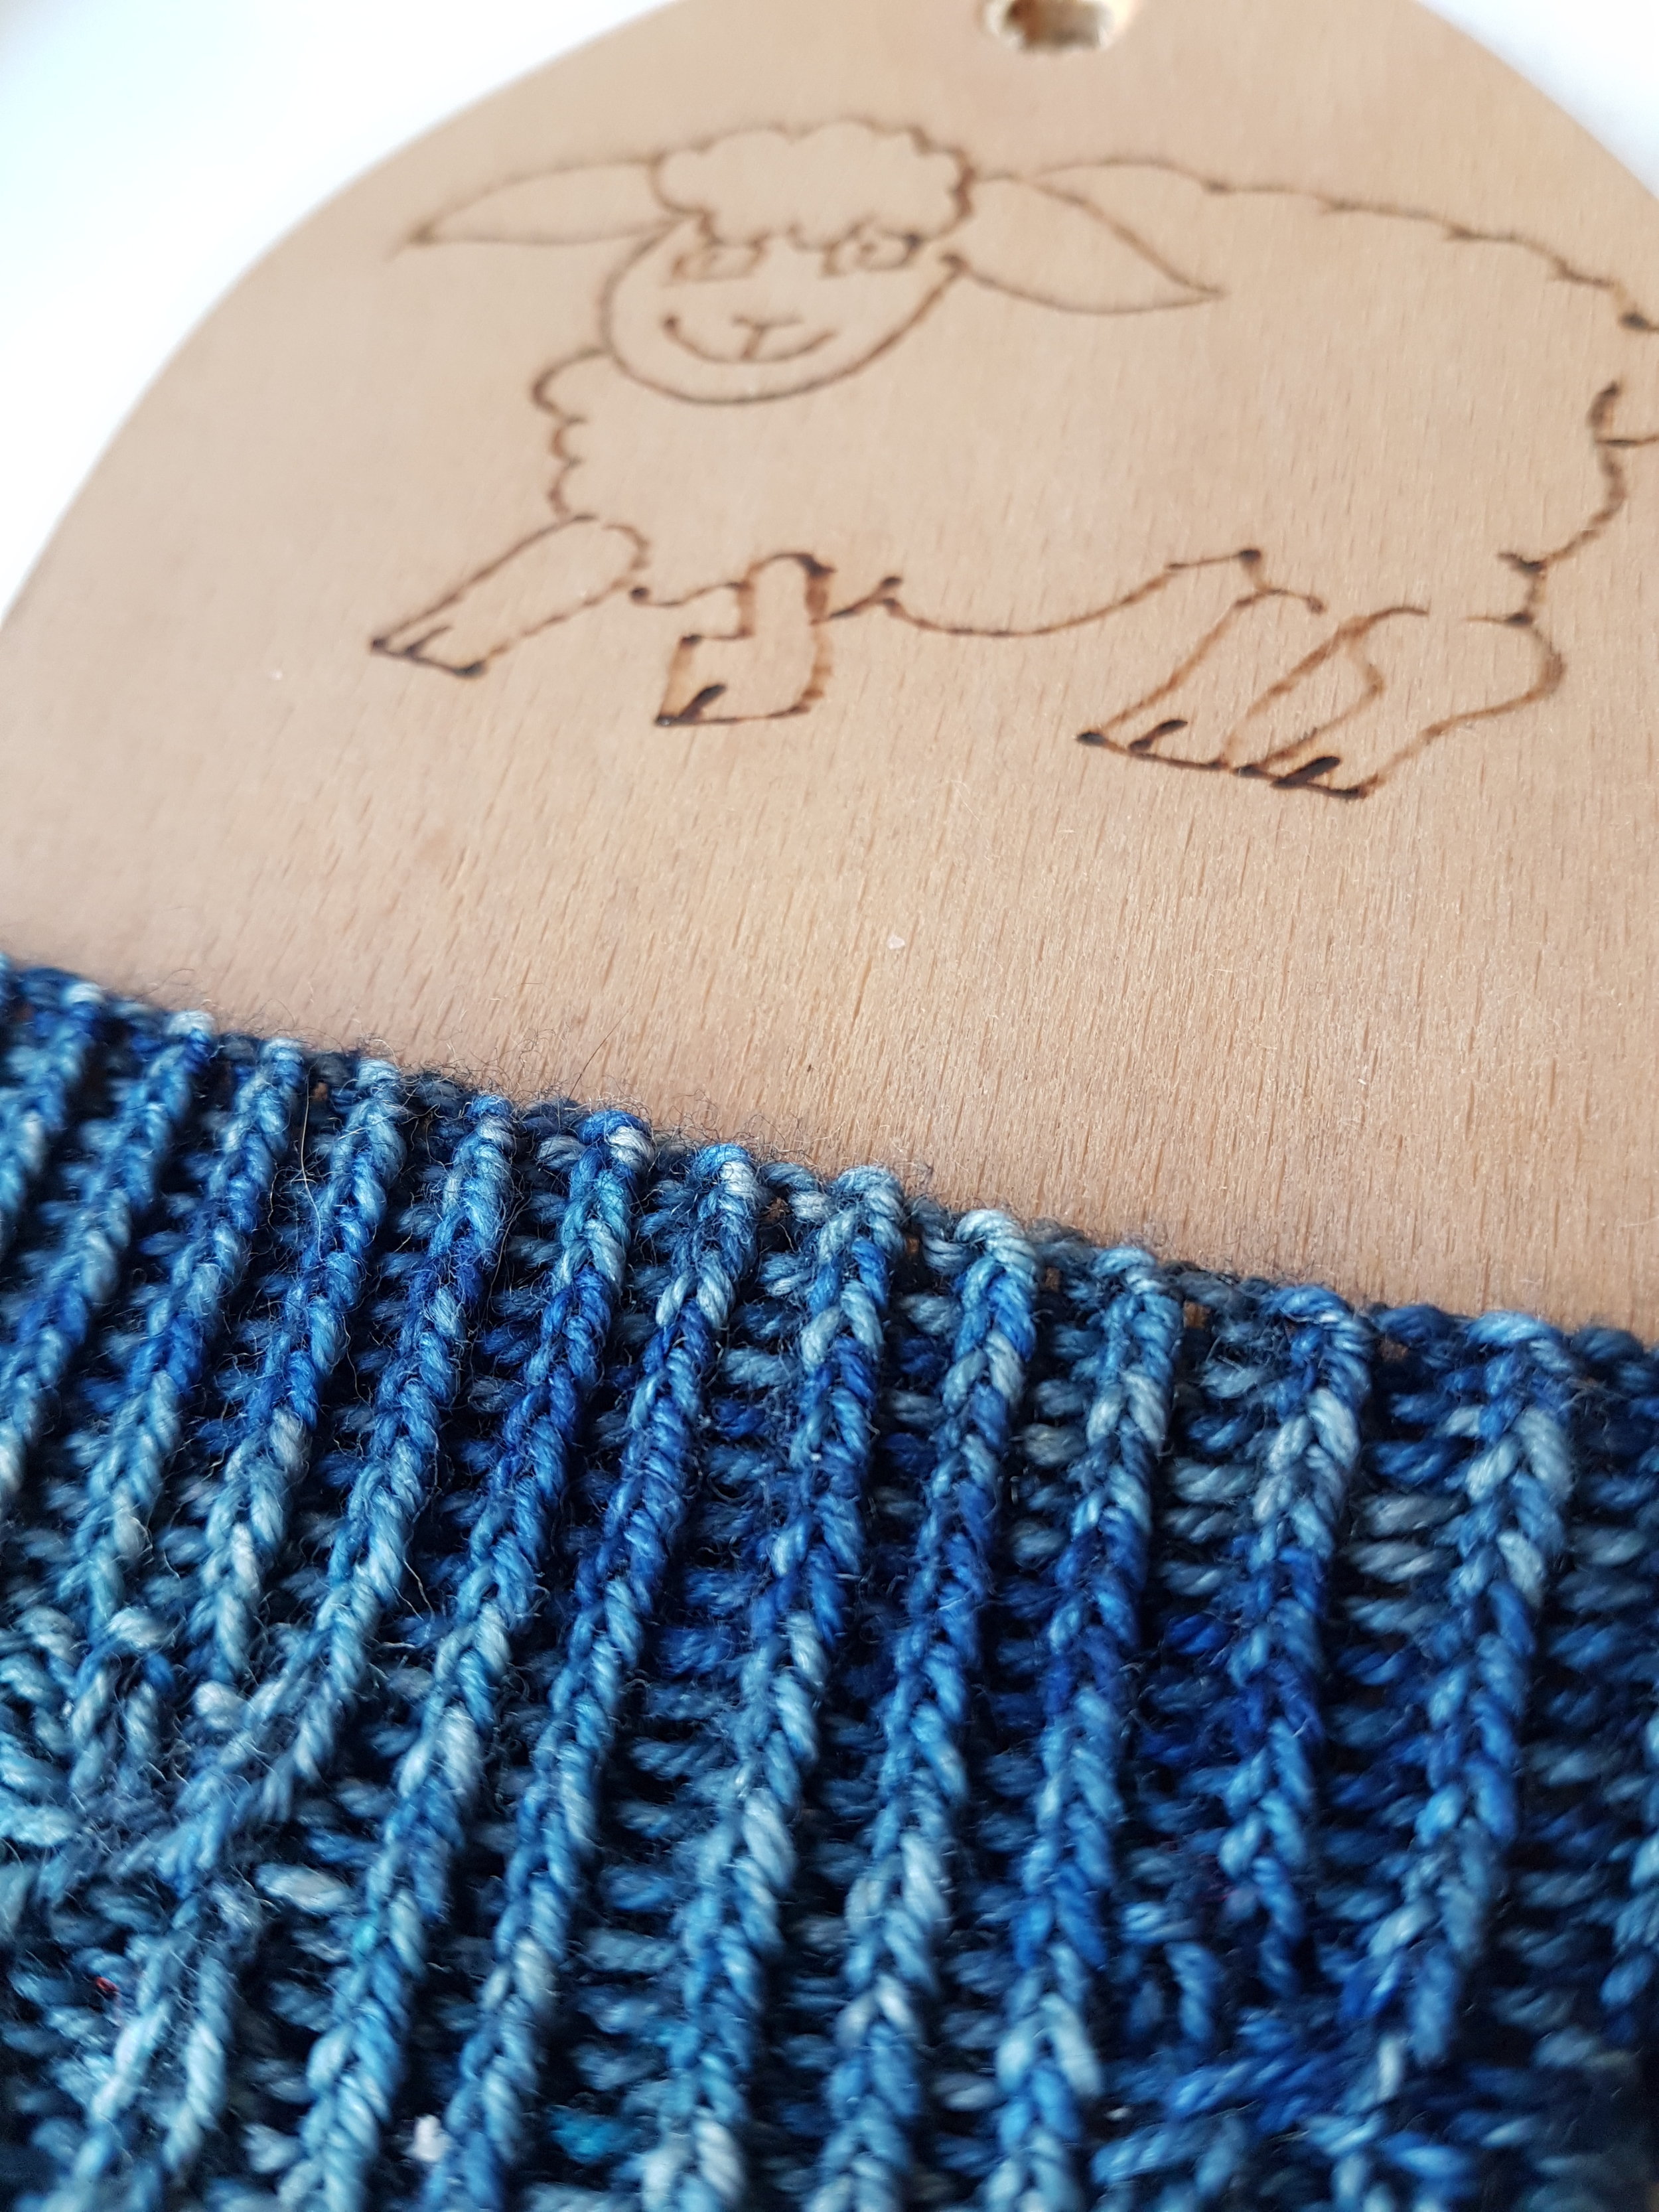
Sock tip #6: Try a twisted rib for a better fitting cuff.

Often a ribbed cuff just calls for a K1 P1 rib but I find that can be a bit too floppy unless I go down a needle size. And let's face it, by the time I reach the cuff I usually want the darned thing off my needles as quick as possible. I prefer instead to work a twisted rib - K1tbl, P1. The twisted stitch - whilst I know isn't everyone's favourite - really does add a bit of extra firmness to the cuff whilst keeping it sufficiently stretchy.

I'm not a huge fan of ribbing at the best of times but I can usually manage an inch or two of twisted rib before dashing headlong into the cast off. I think it was Elizabeth Zimmerman who once said that you should work your ribbed sock cuff for 1.5 inches or until you are sick of ribbing. I think she had it just about right.

Try a different toe increase.

If you like toe-up socks as much as I do, why not try a different type of toe increase? Most patterns have you start with Judy's magic cast on (or similar) and then increase by working Kfb ( knit into front and back) or M1 L/R make 1 left/right.

Now I don't know about you but I'm fairly confident that no one is going to be staring at my sock toes hard enough to be able to distinguish a make 1 left from a make 1 right. Life is far too short for that.

Instead, why not try a yo increase? On your increase round work a yo in place of the standard increase - usually 1 stitch in from each side of the toe. Then on the alternating plain rounds knit that yo through the back loop.

This gives a great unidirectional increase which is neat, tidy and doesn't involve trying to work out your make 1 left from your make 1 right.

PIN FOR LATER:

Avoid twisting your cuffs

Even though I am normally a die hard toe-up girl I do recognise that there are times when a cuff down sock is preferred. Sometimes a design works out better that way and sometimes people, despite my best efforts at persuasion will still insist on preferring a cuff down approach.

And when I teach beginner sock knitters, cuff down is usually the way I start.

Today's little tip is designed to make life easier for anyone who is new to sock knitting or anyone else for that matter who hates ribbing as much as I do.

Sock tip #4 Start off your sock cuff flat and then join.

Ribbing is bad enough but trying to do it whilst juggling unfamiliar tiny needles and working in the round is just too much.

I normally advise casting on the total number of stitches for your sock - say 64 - onto 1 DPN (or 1 needle if you are using magic loop). Work 2 rounds of rib and then join to knit in the round. This makes it so much easier to obey the next crucial instruction which always follows that statement ' being careful not to twist'.

I'm sure no one ever intentionally twisted a sock cuff - fairly sure that mobius socks aren't a 'thing' - but when you only have 1 row of newly cast on stitches it's easily done.

Having 2 rows of rib already established makes the process a lot less stressful and you can easily divide the cuff stitches onto your needles and continue the rib in the round. 


How to avoid sock "ears"

Sock toes!!

Have you ever noticed that sometimes, whether you are doing your socks toe-up or cuff down, you sometimes end up with a little 'ear' or bump of fabric on the side of the toe? Here are a few tips you could try to avoid this happening.

Sock tip #3 How to avoid little sock ears.

Cuff down socks: before you start to graft the toe slip the first stitch on needle 1 over the 2nd, and slip the last stitch on needle 1 over its neighbour. Then repeat on needle 2.

This helps to draw the sock fabric in slightly at the sides and eliminates any excess bulk.

Toe-up socks: It sounds counterintuitive but a tight cast on can make the problem worse. If you are using Judy's magic cast on it is easy to work this quite tightly and this gives the central stitches of the toe very little give - hence the fabric can bulge slightly at the sides.

1. Try casting on with a needle 1 size larger and then switching up to your normal size.

2. Try working a yarn over increase (knit the you through the back loop on the next round). This type of increase can eliminate the slight lump that a Kfb increase can cause.

3. Try increasing on the 1st round after the cast on rather than knitting 1 round plain. This can help to loosen up the cast on slightly and give the stitches a bit more room.

Why not experiment the next time you come to do a sock toe and see how you get on. Alternatively you could decide that who the heck sees your sock toes anyway and go and get some cake instead.

As I've often repeated - There are no knitting police here.

PIN FOR LATER:

Be a rebel

There are alternatives to Kitchener Stitch

When it comes to sock knitting there's no need to follow the rules unless you want to. So many knitters I know hate doing Kitchener stitch to close the toe of a sock. So much so that some chose only to knit toe-up socks to avoid the dreaded K word.

Whilst that's a perfectly reasonable strategy there are other ways to close the toe of a sock that don't involve our friend Mr Kitchener.

Sock tip #2: You don't have to use Kitchener stitch

Alternative No. 1 is simply to carry on the toe decreases until you have 8 stitches in total. Then cut the yarn, with a tapestry needle draw the yarn through the remaining stitches and pull tight before weaving in the end as normal. This gives a nice rounded, roomy toe that some people prefer - and it's super simple. Worth a shot to see how you like it.

Alternative No 2 is to work a knitted version of the Kitchener stitch. There is a great tutorial on how to do this here.

Both of these are well worth a try if you really can't get on with Kitchener. You never know, you might find a new favourite.

February Sock Challenge

Welcome to the 1st February and the first day of our #februarysockchallenge. However you are choosing to take part please just jump in over on the Ravelry group or in the Everyday Knitter Facebook page and let us know what you are working on.

It turns out that I'm having way too much fun with this daily blogging malarky to stop now so I thought it would be fun to try and blog a short sock related tip every day this month. So if there are any burning questions or things that you've always wondered about now would be a great time to ask.

To start with, this is a simple thing but is often overlooked in our haste to cast on.

Sock tip #1: Use a smaller needle size than you think. Click to tweet.

When it comes to sock fabric it's always best to go for a slightly denser fabric than you would do normally as this will vastly improve the fit and longevity of your socks. After all your hard work and all that pretty yarn no one wants to see holes appearing. Not all sock yarn is created equal and you might find that your standard choice of 2.5mm needles just isn't the right size for some of the finer or more tightly spun sock yarn on the market. If you find that you tend to wear through your socks quickly, or if your loved one is particularly hard on their socks, you might find that switching down a needle size could make all the difference.