The right bind off

If you are knitting toe-up socks achieving the perfect bind off can be a bit of trial and error. You want something stretchy and elastic so that they are comfortable to wear. Not so tight that they cut off your circulation and not so loose that the cuff frills out and is baggy. Frilly cuffs look OK when you are 5 but after that it isn't really a good look.

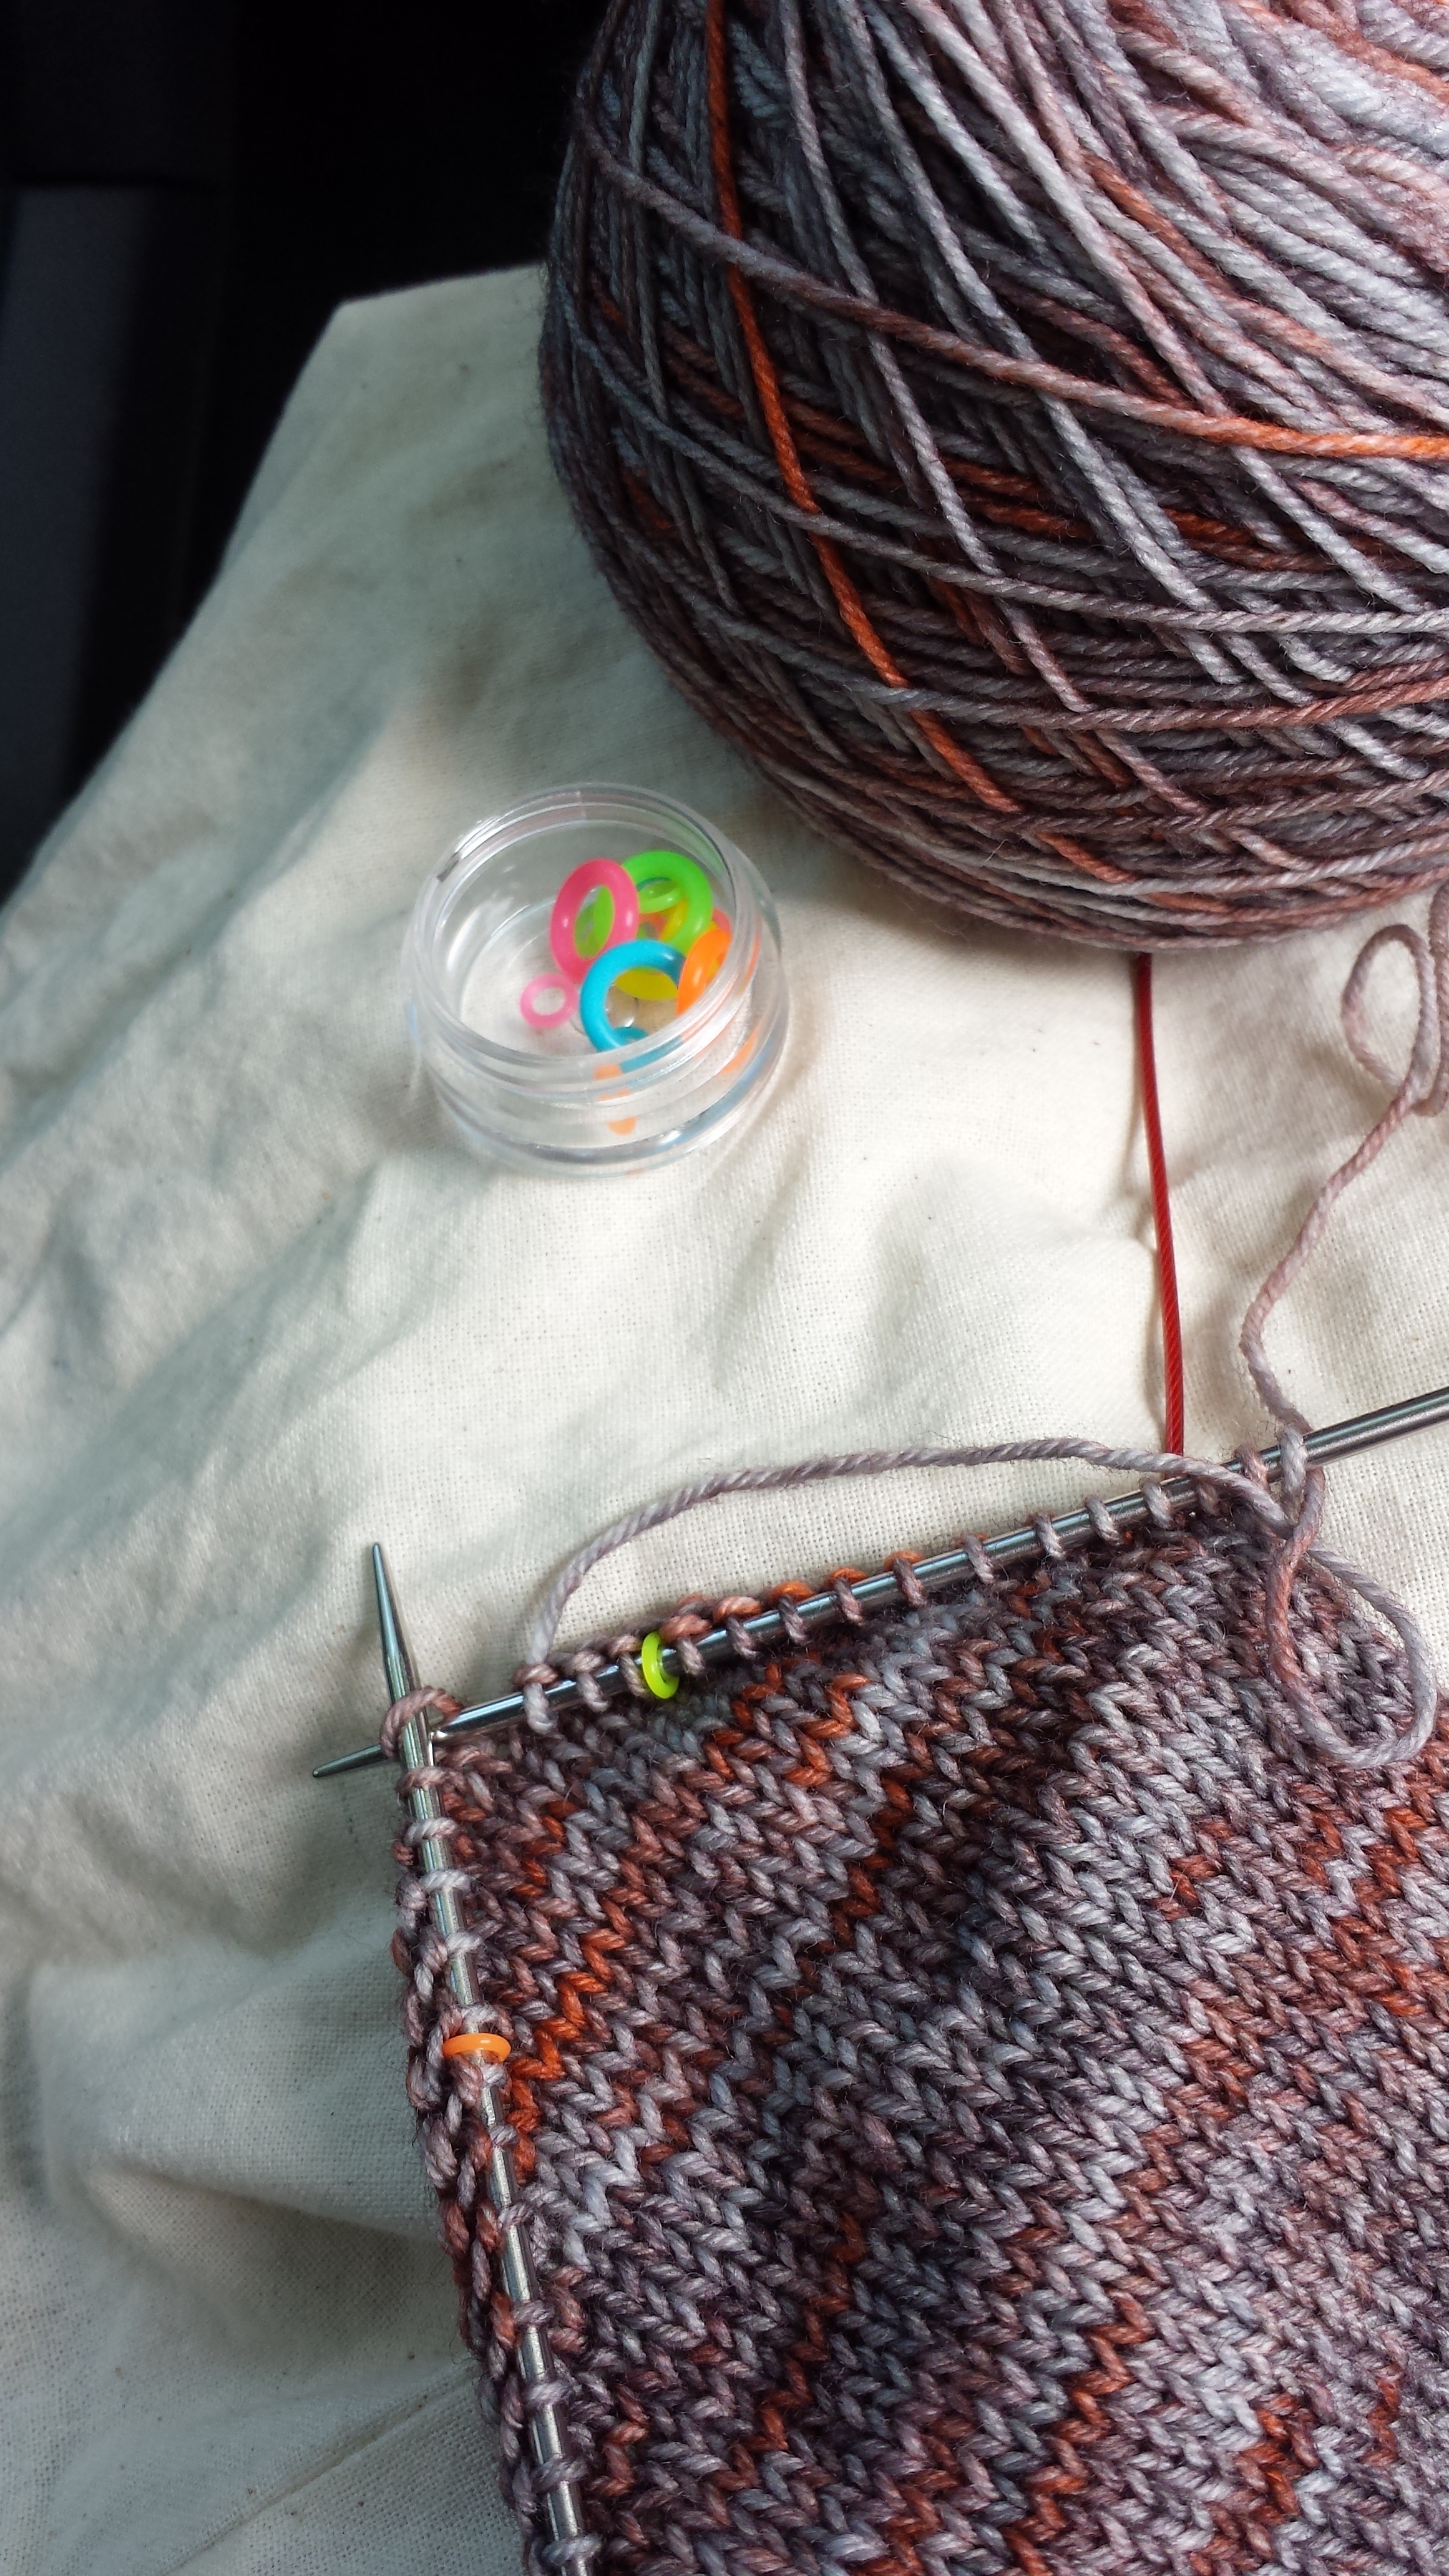
My personal favourite is the Russian bind off. Super simple and easy to work. Just k2tog, slip that stitch back to your left hand needle and repeat to the end...simples!

The trick is to not pull the stitch too tight as you return it to the left hand needle. Give it a bit of room to manoeuvre and you will find that the cast off edge achieves the perfect balance of stretch and firmness.

As with so many things in knitting there are a wondrous variety of different methods to try. Some swear by Judy's Surprisingly Stretchy bind off and the sewn bind off as recommended by Elizabeth Zimmerman herself also works well. I tend to go for the simplest one which gives good results and for me that is the Russian bind off.

Have a go and see which one works best for you.

A smoother SSK

The SSK is the most commonly used left leaning decrease but some people find that it never seems to lie as neat and flat as it's right leaning counterpart, the k2tog. One way to get a neater SSK (or slip, slip, knit) is to slip the first stitch knitwise and then slip the 2nd stitch purlwise, before knitting both of the slipped stitches together as usual.

And, hey presto - a nice, flat line of SSKs. 


Slip as if to knit then slip as if to purl

Avoiding ladders

Stripy socks in Britsock from the Knitting Goddess

Sometimes, despite all of your best efforts you find yourself with little ladders forming in your sock, where the fabric stretches between the needles. Some knitters find this is a  problem for them with DPNs but less so with magic loop so it’s often a good idea to experiment with different techniques to see which works for you. It might also be worth switching between different needle types - ie between wood or metal to see if that makes a difference.

One top tip to avoid ladders is to avoid over-tightening the first stitch on the needle as this can distort the fabric and actually make the ladders worse, not better. Instead knit the first stitch on the needle normally and then pull the yarn tighter than usual when knitting the 2nd and 3rd stitches.

I am often asked “How tightly, exactly” but there’s no easy answer to that. It’s a bit like “how long is a piece of string”. In answer I usually say to pull just a little firmer than you would do normally without strangling the stitch.

Sometimes, no matter what you do you can end up with a little bit of laddering but in most cases a good wash and block will even out the fabric and it will hardly be noticeable on the finished sock. I think that sometimes certain yarns are more prone to laddering - I particularly find it with those that have a higher than 25% acrylic or non-wool content - in fact I tend to avoid bamboo based yarns for this reason.

As with so many things in knitting this is all highly personal and subjective and as ever, the advice is to find the solution which suits you best. Or just embrace the ladders - as I often say - there are no knitting police. Especially not here.


Progress

Now don't get me wrong. I absolutely love a bit of plain knitting in the round. Give me some self striping sock yarn and I'll happily knit a plain vanilla sock for hours on end - given the chance. Sometimes though it can feel as though you are wading through treacle, knitting and knitting but not seeing much in the way of results. My husband has very long feet and that trek along to the heel turn can feel very, very long.

This is when I like to use little progress keepers. Those little clip on stitch markers that you can clip directly into your knitting. Stick one in at the start of the day, carry your sock around with you as you would do normally and by the end of the day you can see how much progress you've made. Perfect for those times when you are lacking a bit of motivation. 

I also like to use them if I'm knitting in the cinema so that I can see how much progress I've made whilst everyone else has been busy guzzling popcorn.

It's a little thing, but sometimes it's those little things that can help to perk up your motivation and keep your knitting moving in the right direction.

Don't underestimate the humble stitch marker

I don't know about you but I never hesitate to use stitch markers to demarcate repeats when I'm knitting lace shawls. Somehow though I'm often reluctant to use them in sock knitting. Partly because they are on such a small scale, part of me thinks that I should be able to manage without them. And also, for ages I didn't have any stitch markers that were really suitable. Anything too large or too dangly got tangled up and anything too heavy just felt cumbersome.

Now I have found the very small solid type of stitch markers I am a complete convert and now own an impressive selection. I like my sock stitch markers to be very narrow - about 3mm - is perfect and solid with nothing dangle or tangly to get in the way. These tiny fluorescent markers from The Little Grey Girl are ideal - especially as you can locate them when they ping off into the dark recesses of the sofa cushions.

The secret to getting a good fitting sock

A toe-up sock (Yewbarrow coming soon) in all its glory

I have taught a lot of people to knit toe-up socks and one concern which comes up time and again is the issue of getting a good fit around the heel. If you are used to knitting your socks from the cuff down it can take a while to adjust to the toe-up mindset and how a heel is constructed.

When you are knitting from the cuff down you don't really need to think too hard about heel placement. You knit down the leg until it is long enough then you knit the heel and as you work your way down the foot you can slip it on as needed to check where the toe decreases start.

With toe-up socks you need to be a bit more precise about where the heel placement is and I think this is where many new toe-up knitters suffer from a lack of confidence.

What I suggest, for a standard short row heel, is to start the heel once the finished sock is the total length of your foot minus 2.5". One thing that it is important though is that when you are measuring the sock length you stretch it really quite firmly. It's no use taking the measurement on an unstretched sock as you need a degree of negative ease. No one wants a baggy heel. The fabric needs to have negative ease so it will cradle the heel and give a good fit.

The problem is that if you are unusued to knitting this way the foot looks disproportionately short and knitters lack confidence in 'going for it'. So, to achieve the the perfect heel fit try the following:

1. Try the sock on as you go.

2. Knit until the firmly stretched sock reaches a point 2.5" away from the back of your heel.

3. Put in a lifeline (just in case of freak accident)

4. Work your heel

5. Knit a few rows up the leg and then try on again

If it has all gone to pot then your lifeline is there waiting to save you but 9 times out of 10 these simple steps will work. Depending on foot anatomy you may have to adjust the crucial 2.5" measurement (if someone has a particularly high instep, for example) but this would be the case with cuff down socks as well.

As with all these sock tips do let me know if you've tried them out, and more crucially, whether they worked for you.