Progress

Now don't get me wrong. I absolutely love a bit of plain knitting in the round. Give me some self striping sock yarn and I'll happily knit a plain vanilla sock for hours on end - given the chance. Sometimes though it can feel as though you are wading through treacle, knitting and knitting but not seeing much in the way of results. My husband has very long feet and that trek along to the heel turn can feel very, very long.

This is when I like to use little progress keepers. Those little clip on stitch markers that you can clip directly into your knitting. Stick one in at the start of the day, carry your sock around with you as you would do normally and by the end of the day you can see how much progress you've made. Perfect for those times when you are lacking a bit of motivation. 

I also like to use them if I'm knitting in the cinema so that I can see how much progress I've made whilst everyone else has been busy guzzling popcorn.

It's a little thing, but sometimes it's those little things that can help to perk up your motivation and keep your knitting moving in the right direction.

Don't underestimate the humble stitch marker

I don't know about you but I never hesitate to use stitch markers to demarcate repeats when I'm knitting lace shawls. Somehow though I'm often reluctant to use them in sock knitting. Partly because they are on such a small scale, part of me thinks that I should be able to manage without them. And also, for ages I didn't have any stitch markers that were really suitable. Anything too large or too dangly got tangled up and anything too heavy just felt cumbersome.

Now I have found the very small solid type of stitch markers I am a complete convert and now own an impressive selection. I like my sock stitch markers to be very narrow - about 3mm - is perfect and solid with nothing dangle or tangly to get in the way. These tiny fluorescent markers from The Little Grey Girl are ideal - especially as you can locate them when they ping off into the dark recesses of the sofa cushions.

The secret to getting a good fitting sock

A toe-up sock (Yewbarrow coming soon) in all its glory

I have taught a lot of people to knit toe-up socks and one concern which comes up time and again is the issue of getting a good fit around the heel. If you are used to knitting your socks from the cuff down it can take a while to adjust to the toe-up mindset and how a heel is constructed.

When you are knitting from the cuff down you don't really need to think too hard about heel placement. You knit down the leg until it is long enough then you knit the heel and as you work your way down the foot you can slip it on as needed to check where the toe decreases start.

With toe-up socks you need to be a bit more precise about where the heel placement is and I think this is where many new toe-up knitters suffer from a lack of confidence.

What I suggest, for a standard short row heel, is to start the heel once the finished sock is the total length of your foot minus 2.5". One thing that it is important though is that when you are measuring the sock length you stretch it really quite firmly. It's no use taking the measurement on an unstretched sock as you need a degree of negative ease. No one wants a baggy heel. The fabric needs to have negative ease so it will cradle the heel and give a good fit.

The problem is that if you are unusued to knitting this way the foot looks disproportionately short and knitters lack confidence in 'going for it'. So, to achieve the the perfect heel fit try the following:

1. Try the sock on as you go.

2. Knit until the firmly stretched sock reaches a point 2.5" away from the back of your heel.

3. Put in a lifeline (just in case of freak accident)

4. Work your heel

5. Knit a few rows up the leg and then try on again

If it has all gone to pot then your lifeline is there waiting to save you but 9 times out of 10 these simple steps will work. Depending on foot anatomy you may have to adjust the crucial 2.5" measurement (if someone has a particularly high instep, for example) but this would be the case with cuff down socks as well.

As with all these sock tips do let me know if you've tried them out, and more crucially, whether they worked for you.


The joys of mini circulars

Small circs in action on a stockinette West Yorkshire Spinners sock

Any method of sock knitting has it's firm devotees be it DPNs or magic loop but each of them is associated with a degree of unnesecssary needle wrangling. With DPNs I find it interrupts my knitting flow to have to transition from one needle to the other and no matter how hard I try I always waste valuable time in retensioning the yarn between each needle.

The same can be said for magic loop, where the speed I gain in knitting straight across for 32st is countered by the time spent moving the cable through and retensioning the yarn.

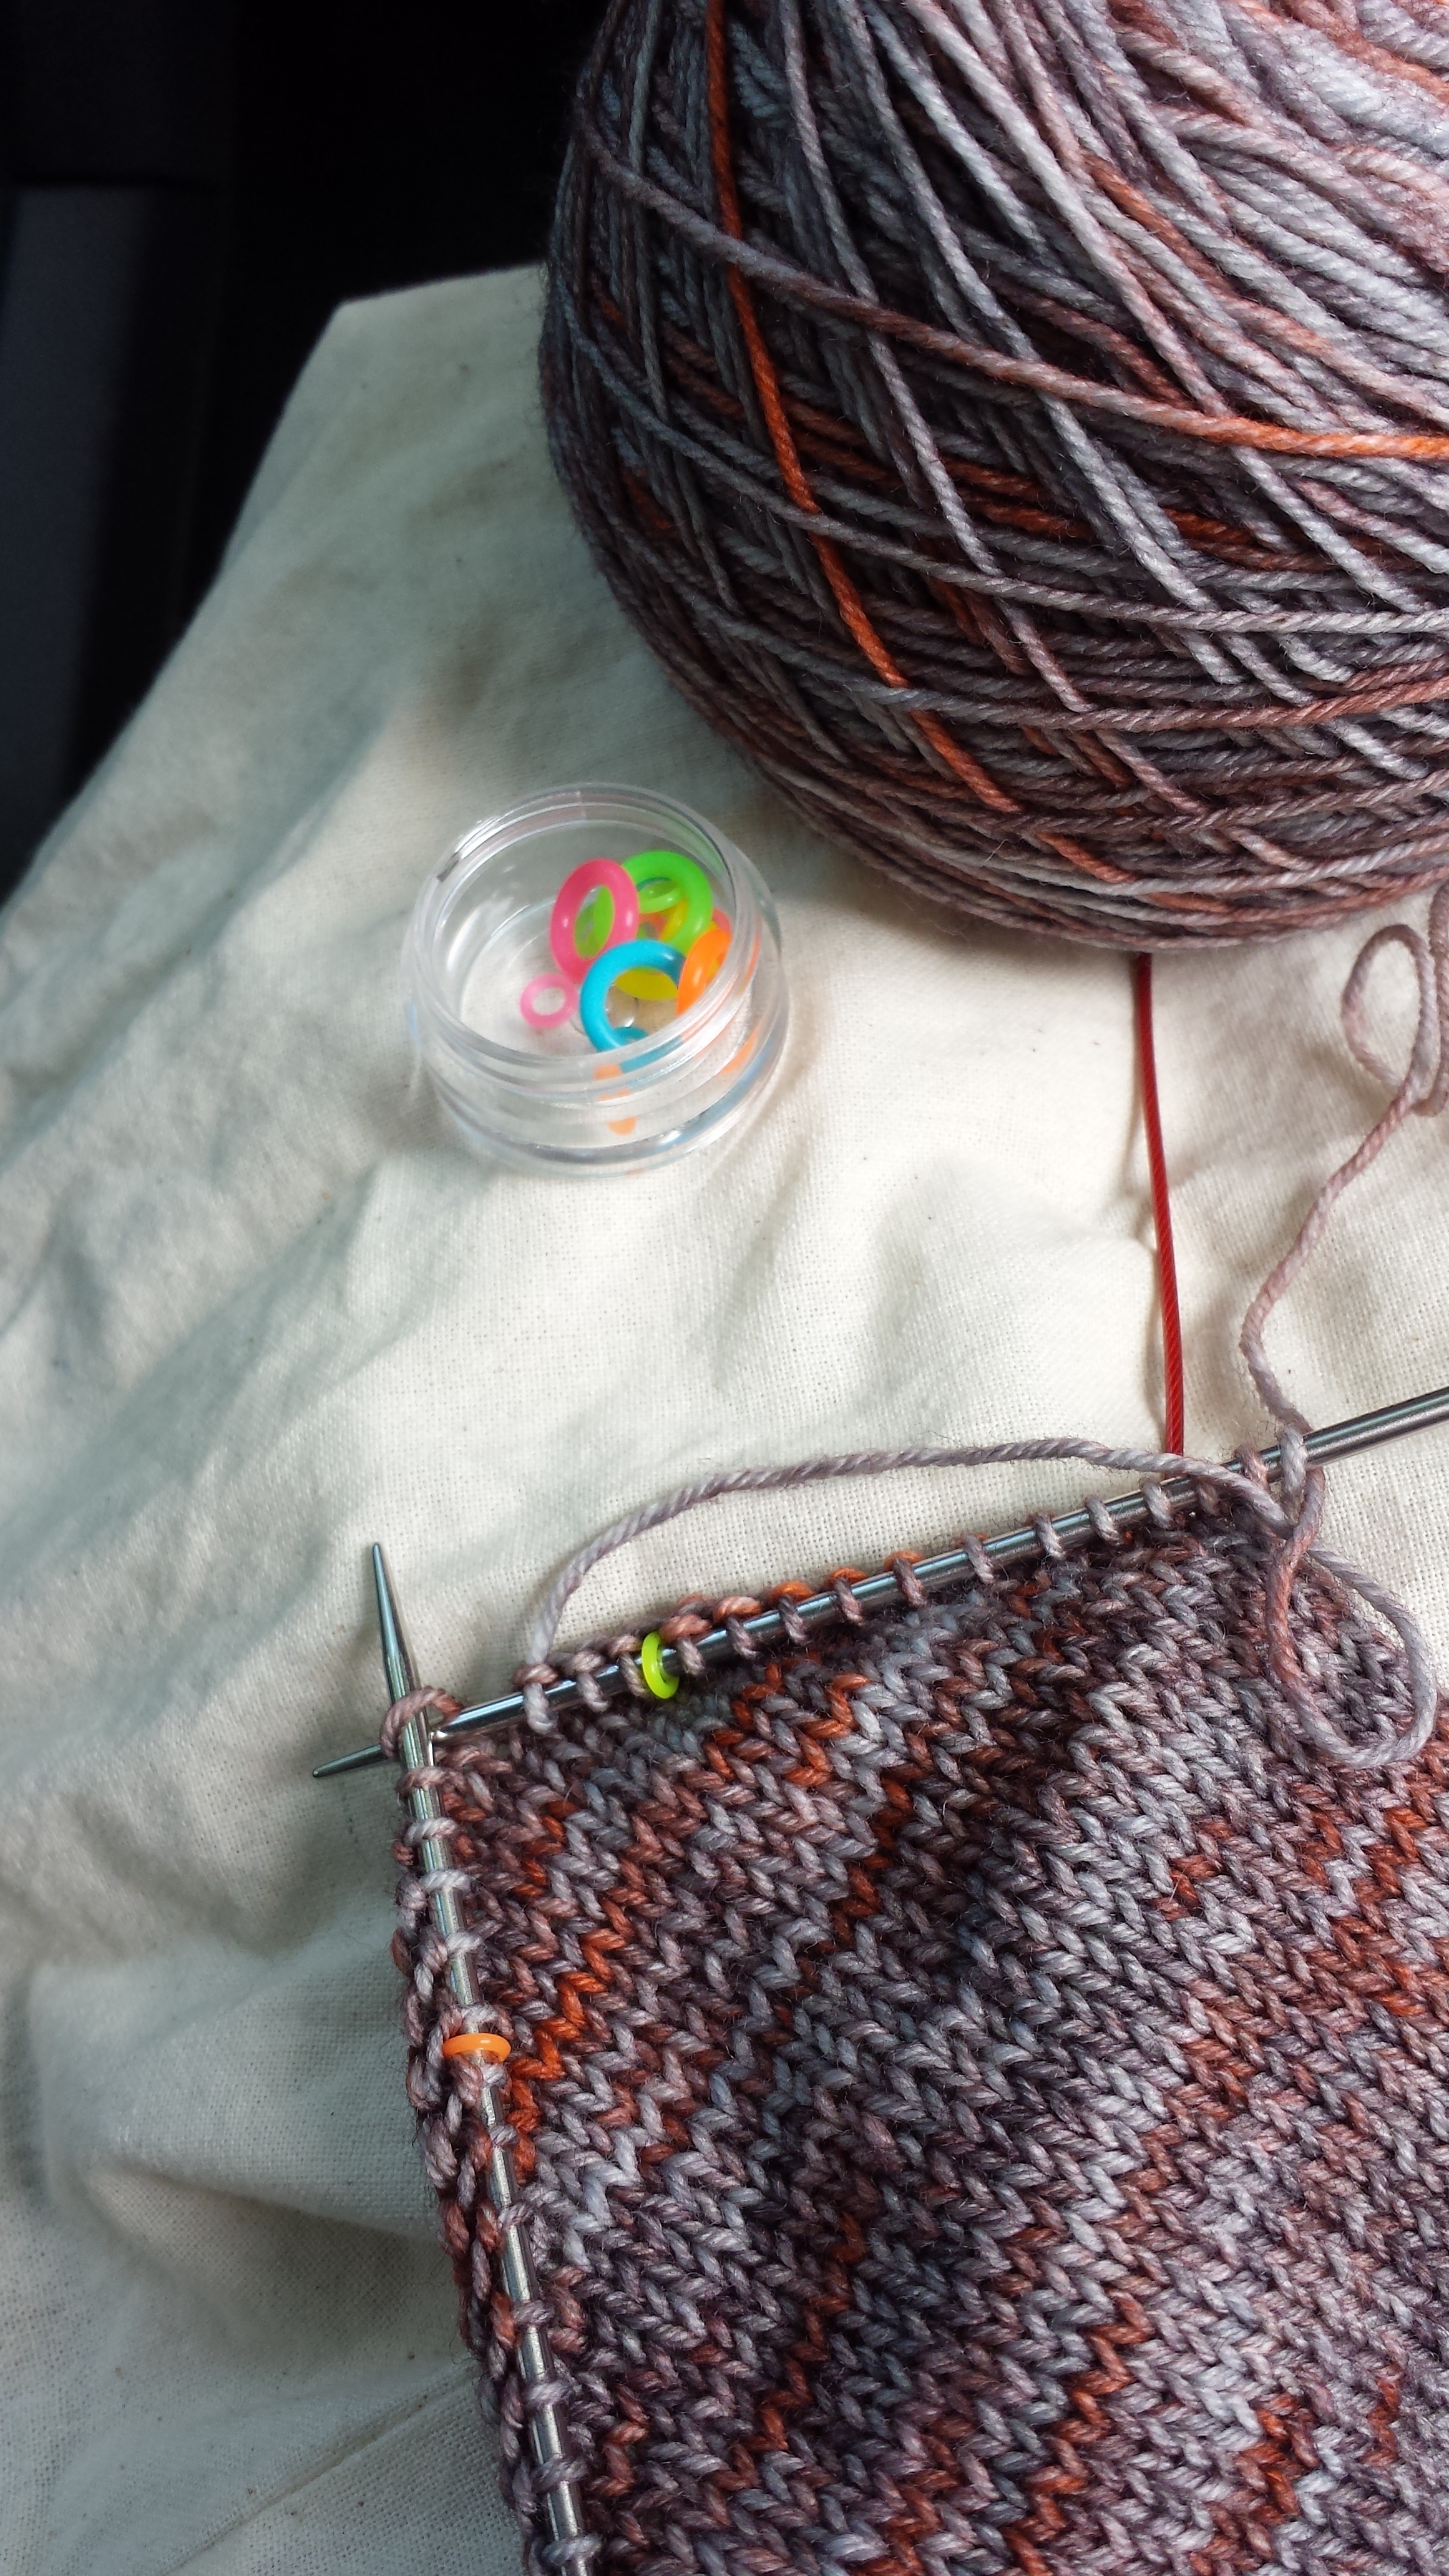
For this reason, one of my favourite methods for portable, travel sock knitting is to use a small circular needle. I typically use one which is 9" (23cm) diameter and of all the brands I tend to prefer Hiya Hiya for their super pointy tips.

If you haven't already tried one I do urge you to give it a go, although there a few things you might like to bear in mind

1. Don't expect to hold the needles as you would do normally. The tips are very small and if, like I do, you tend to rest the needle in the palm of your hand this might seem strange to you. Instead the movements happen at the tips of your fingers and work best if you release your death grip and try to hold the tips very lightly.

2. Give it time and practice a little every day. In the same way as you would allow yourself time to learn when transitioning from being an 'English thrower' to continental knitting, don't expect to jump straight in to using small circulars overnight. It takes time to develop new muscle memory and your fingers have to get used to making small, more controlled movements.

3. Stop and stretch your fingers after every few rounds. When knitting self-stripe yarn I usually stop briefly at each colour transition. Because you can knit around and around, without removing your fingers from the needles it is easy to give yourself cramp if you're not careful.

It really is worth trying these out if you do a lot of sock knitting on the go. It's worth noting that I only ever use these needles for plain, vanilla sock knitting. I use a long cable and magic loop for the toe, heel and cuff. For some reason, no matter how much I try, I really can't get the hang of purling with a small circular and so I have much speedier results working the ribbed sock cuffs via magic loop. For the die-hard sock knitter these needles really help you to wring as much productivity out of your down time as possible. For example, I can knit socks in the cinema or whilst standing in post office queues with no problems at all and quickly stuff it back in my project bag as needed, without fear of losing stitches or - horrors - dropping a needle.

Why not give it a go and see what you think. If you do decide to try, do pop back and let me know how you got on, I'd love to know.


Avoid heel flap holes

Everyone likes a good sturdy heel flap and gusset but quite often there can be gaps where you pick up stitches along the heel flap. The slipped stitches provide a great line to follow when picking up the stitches but they can be a little loose. But knitting them through the back loop on the next round helps to tighten them up a treat and gives a good solid heel flap which will be hard wearing and hole free.


Happy heels

Toe-up Have Fun Socks pattern with a fish lips kiss heel

If you've followed me on social media for any length of time you will certainly know that I am a huge fan of self stripe sock yarn. Toe up socks, knitted in plain stocking stitch with a fun stripey yarn are my go to project of choice. There is something about watching the stripes neatly line up as you knit which is immensely satisfying. The problem can come at the heels though, when the extra yarn needed to cover the back of the heel can interrupt the smooth flow of stripes along the front of the sock.

Sock tip #7: to preserve your sock stripes wind off 10g sock yarn before you cast on and use this to knit the heels. 

You can of course use a contrast yarn for your heels too but if you want your heels to roughly match the rest of your sock then simply wind off 5-10g sock yarn before you cast on. Whether you are working a short row heel (such as the fish lips kiss heel) or a traditional heel flap, most heel constructions require you to work back and forth (flat). When you reach this section of the sock simply join your spare 10g sock yarn and work the heel, before re-starting with the original yarn when you come back to working in the round.

This keeps the stripe sequence consistent along the front of the sock and will bring pleasure to your stripe-loving knitterly heart.